

From my last blog post, you may have read that I've started to shoot film again. It's been a lot of fun, but after spending nearly ~$50 developing and digitizing 2 rolls, I quickly realized that if I wanted to continue working in this medium, I'd need to re-learn how to do the development at home. I had taken a course waaaay back in high school (1999, to be precise) on black & white photography, and was taught the basic concepts of photography and how to do film development. After catching up on my film blogs and watching a lot of YouTube videos, I was happy to see that not much had changed in regard to the development process since high school.
All black and white photos shot in this post were shot with the following:
| Film |
|
|---|---|
| Cameras | |
| Lens | Nikkor 50mm f/1.4 |
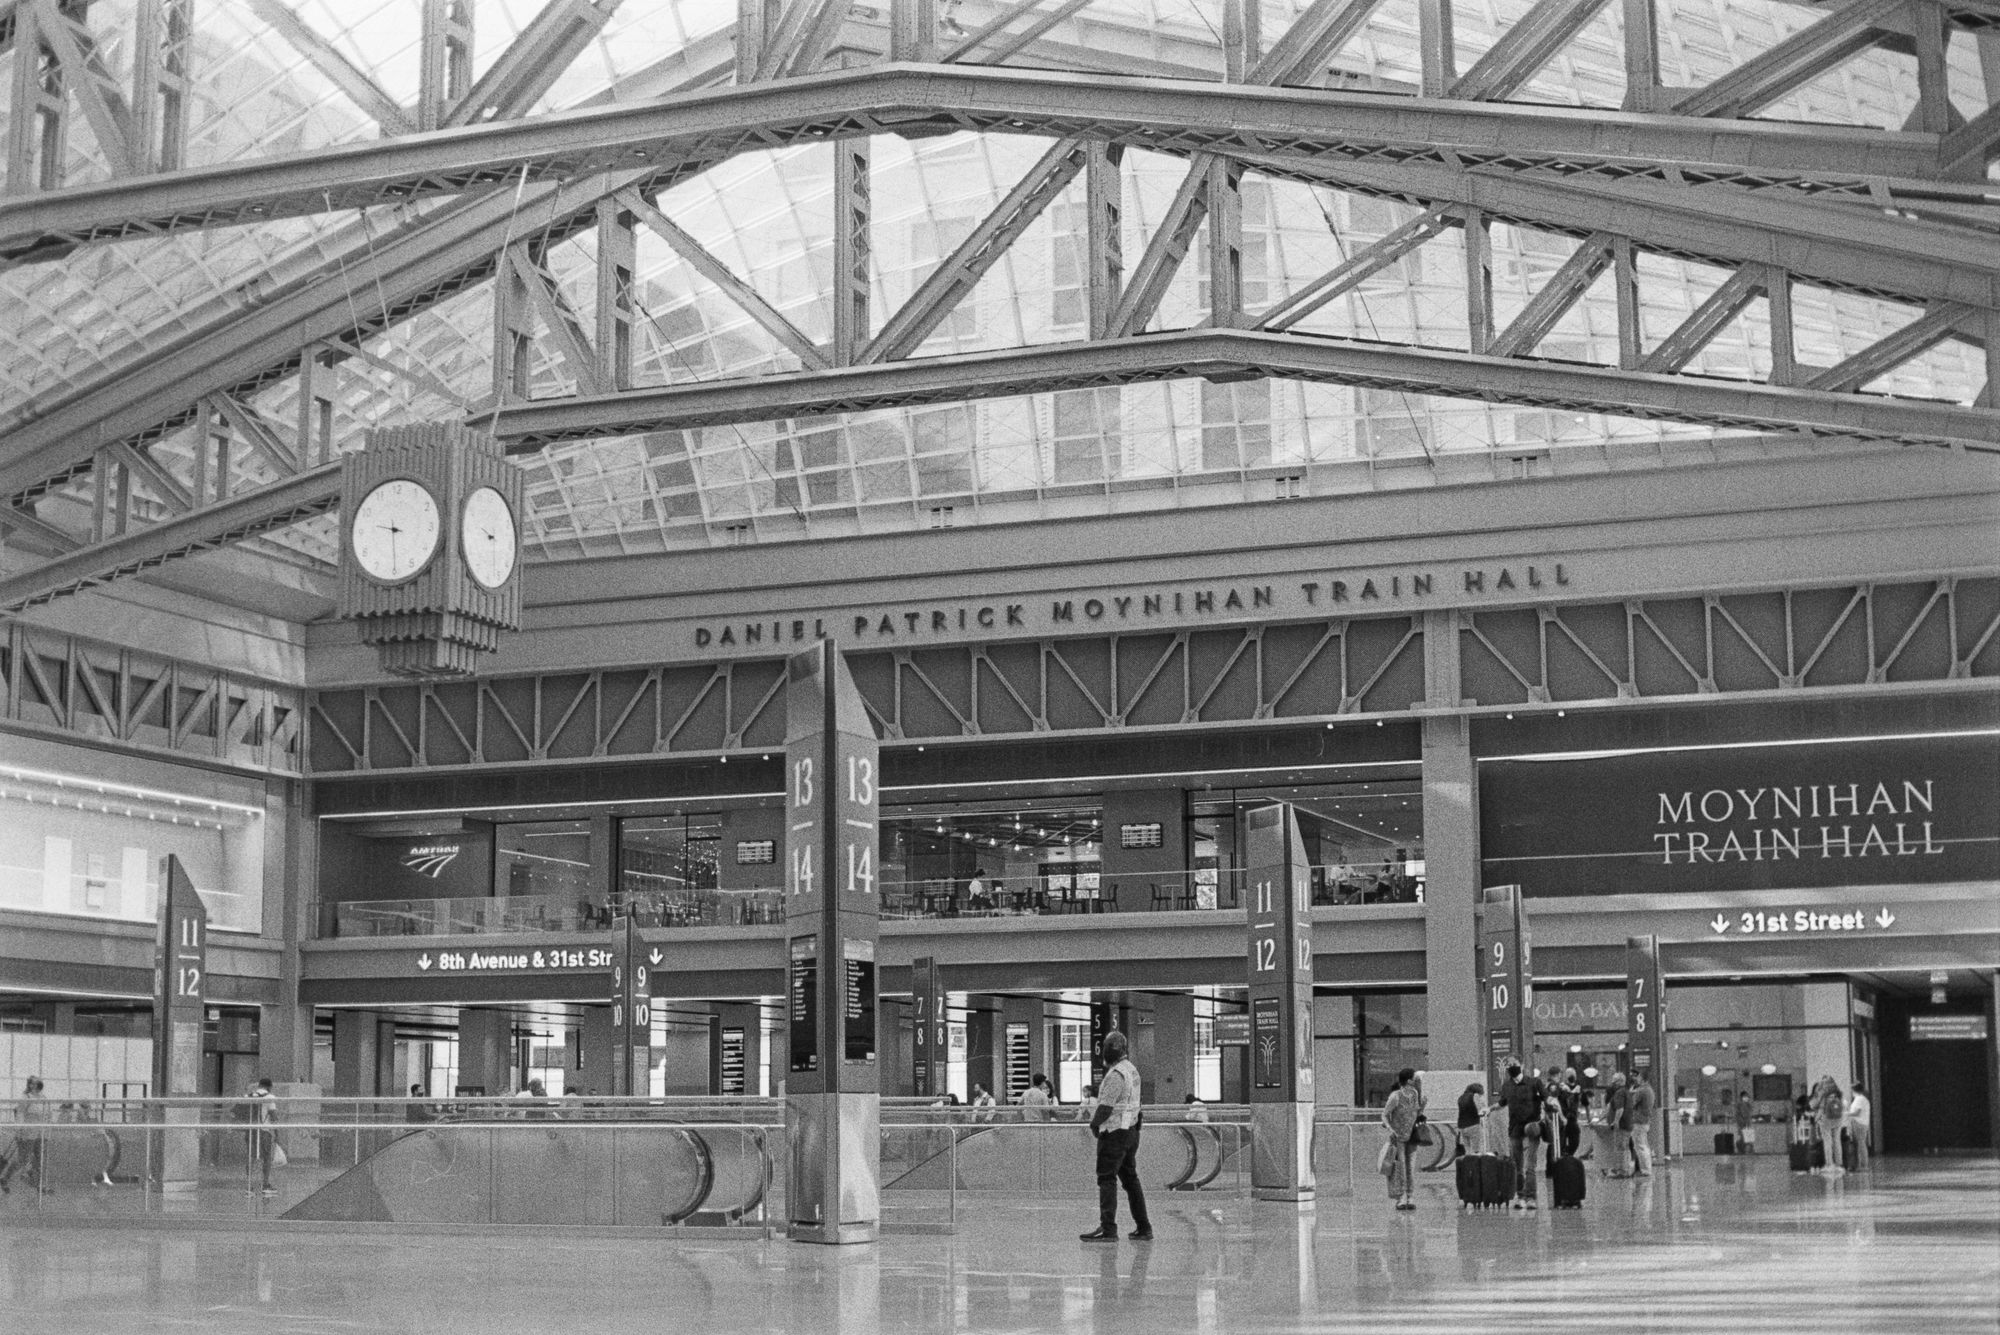
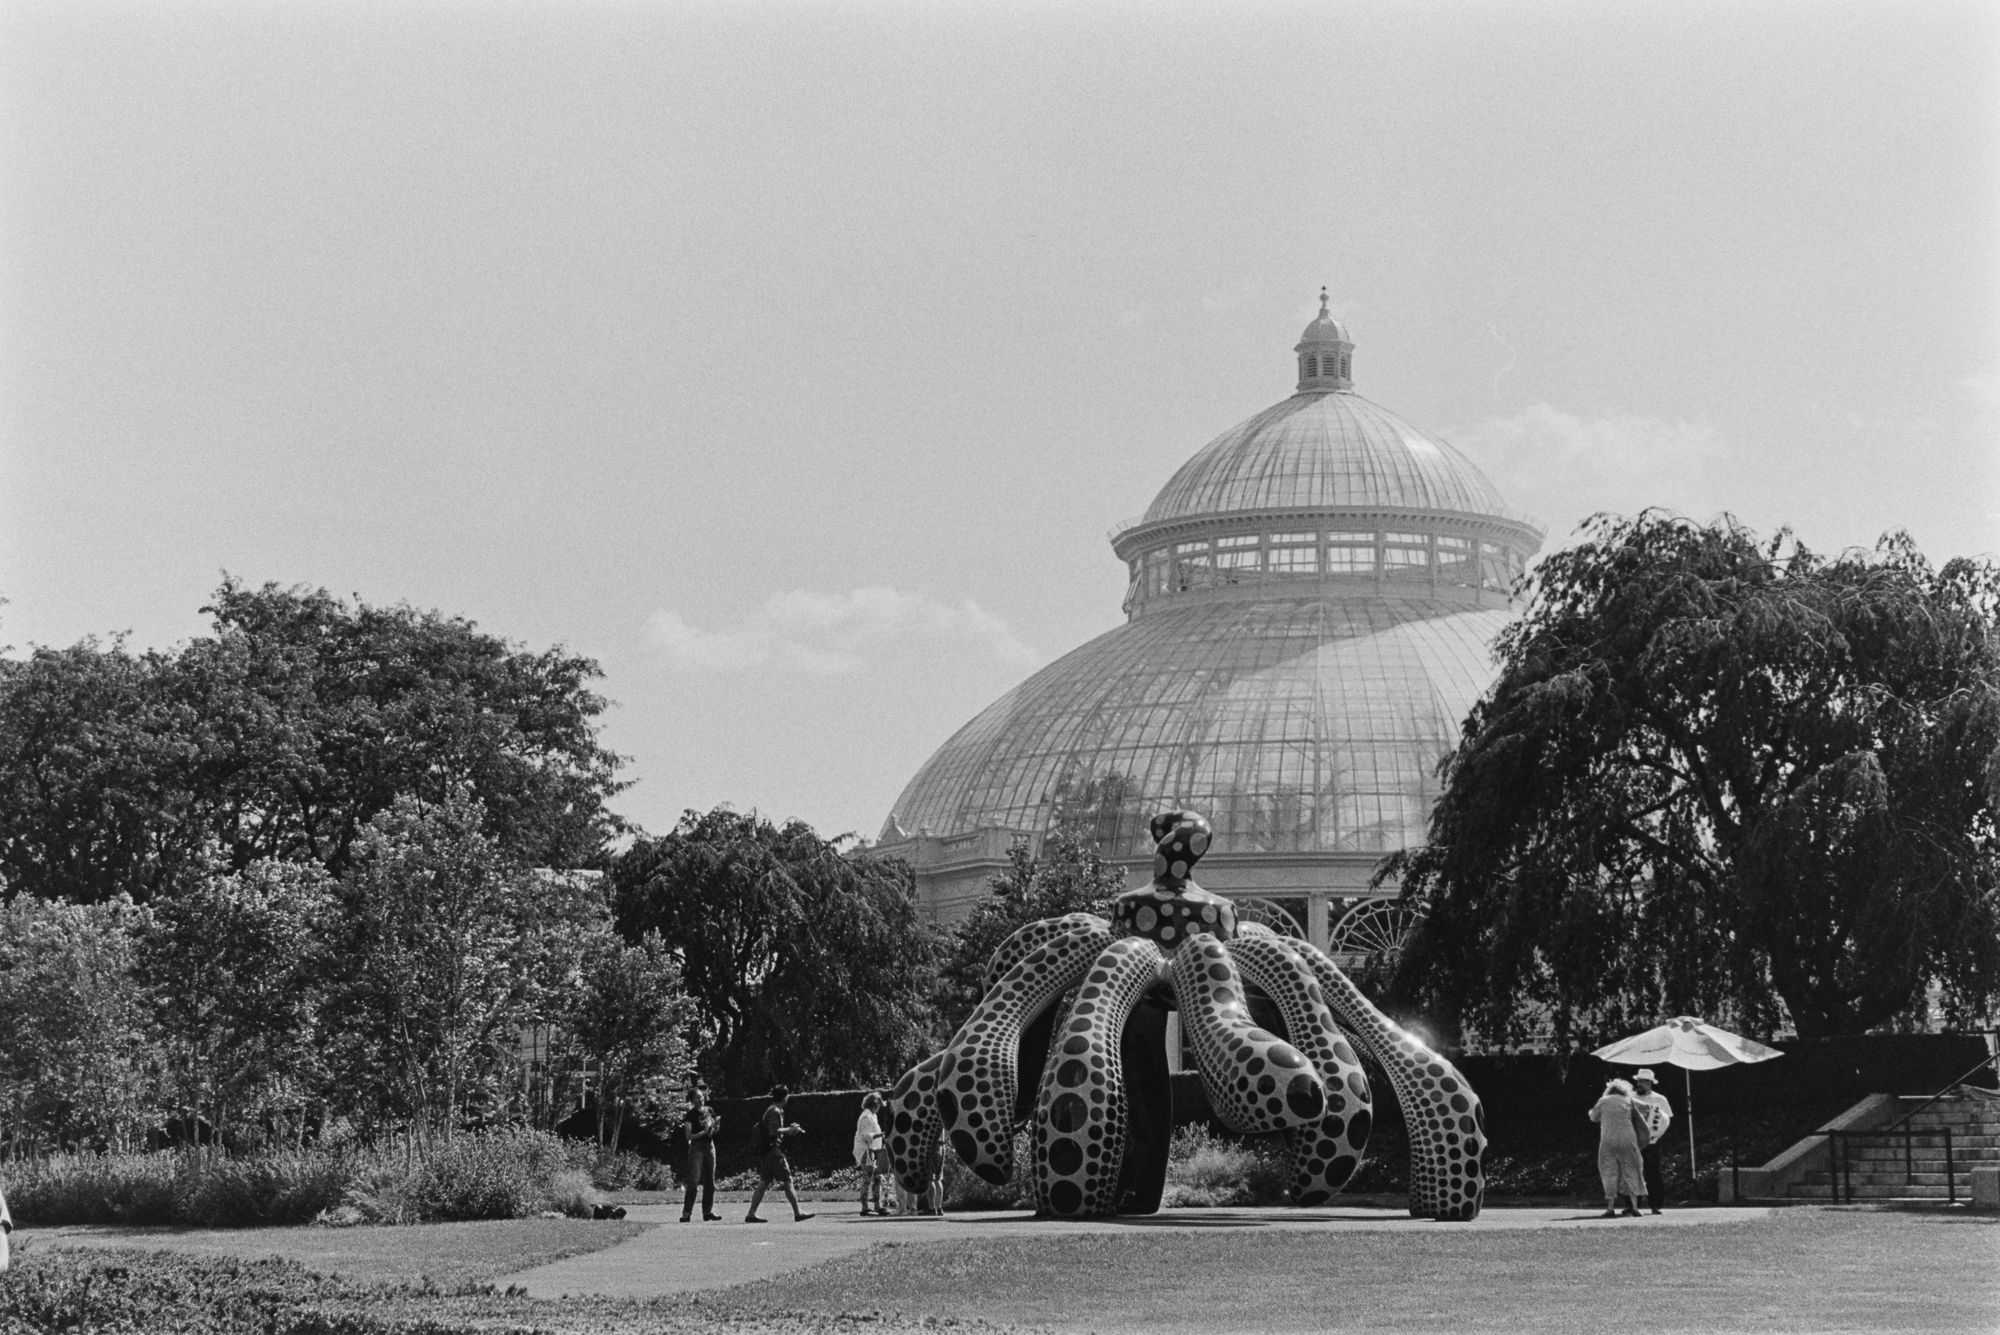
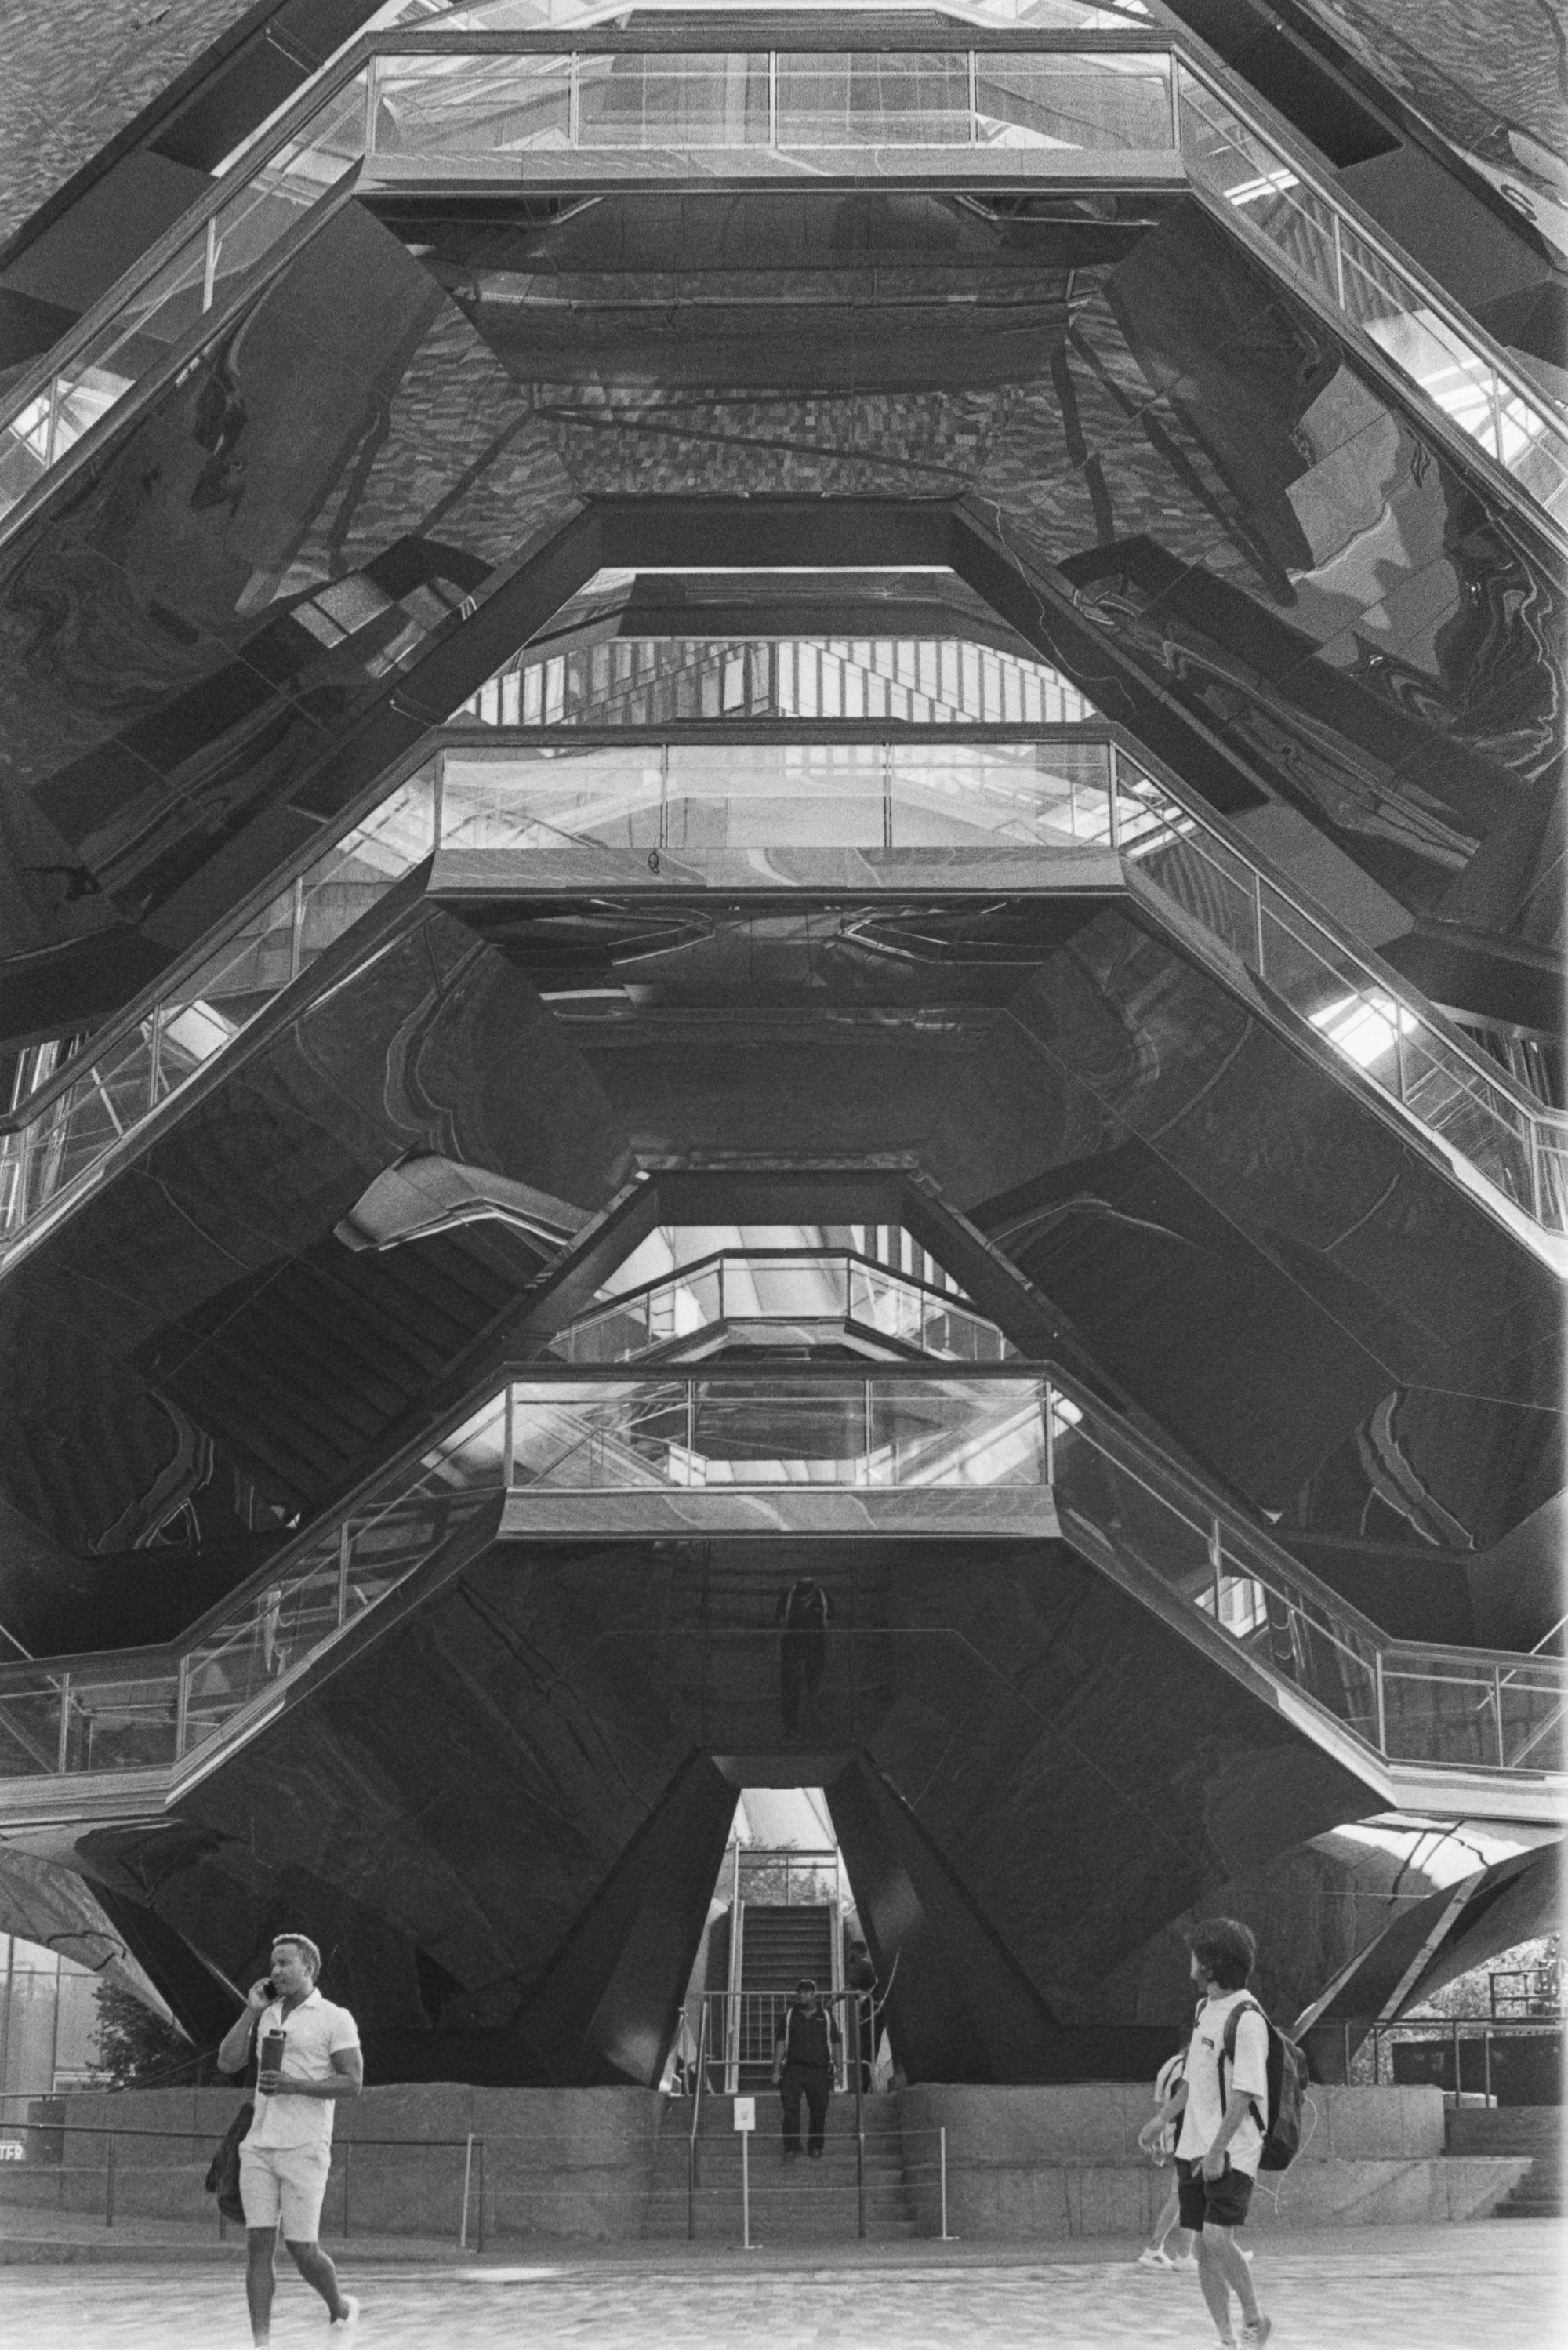
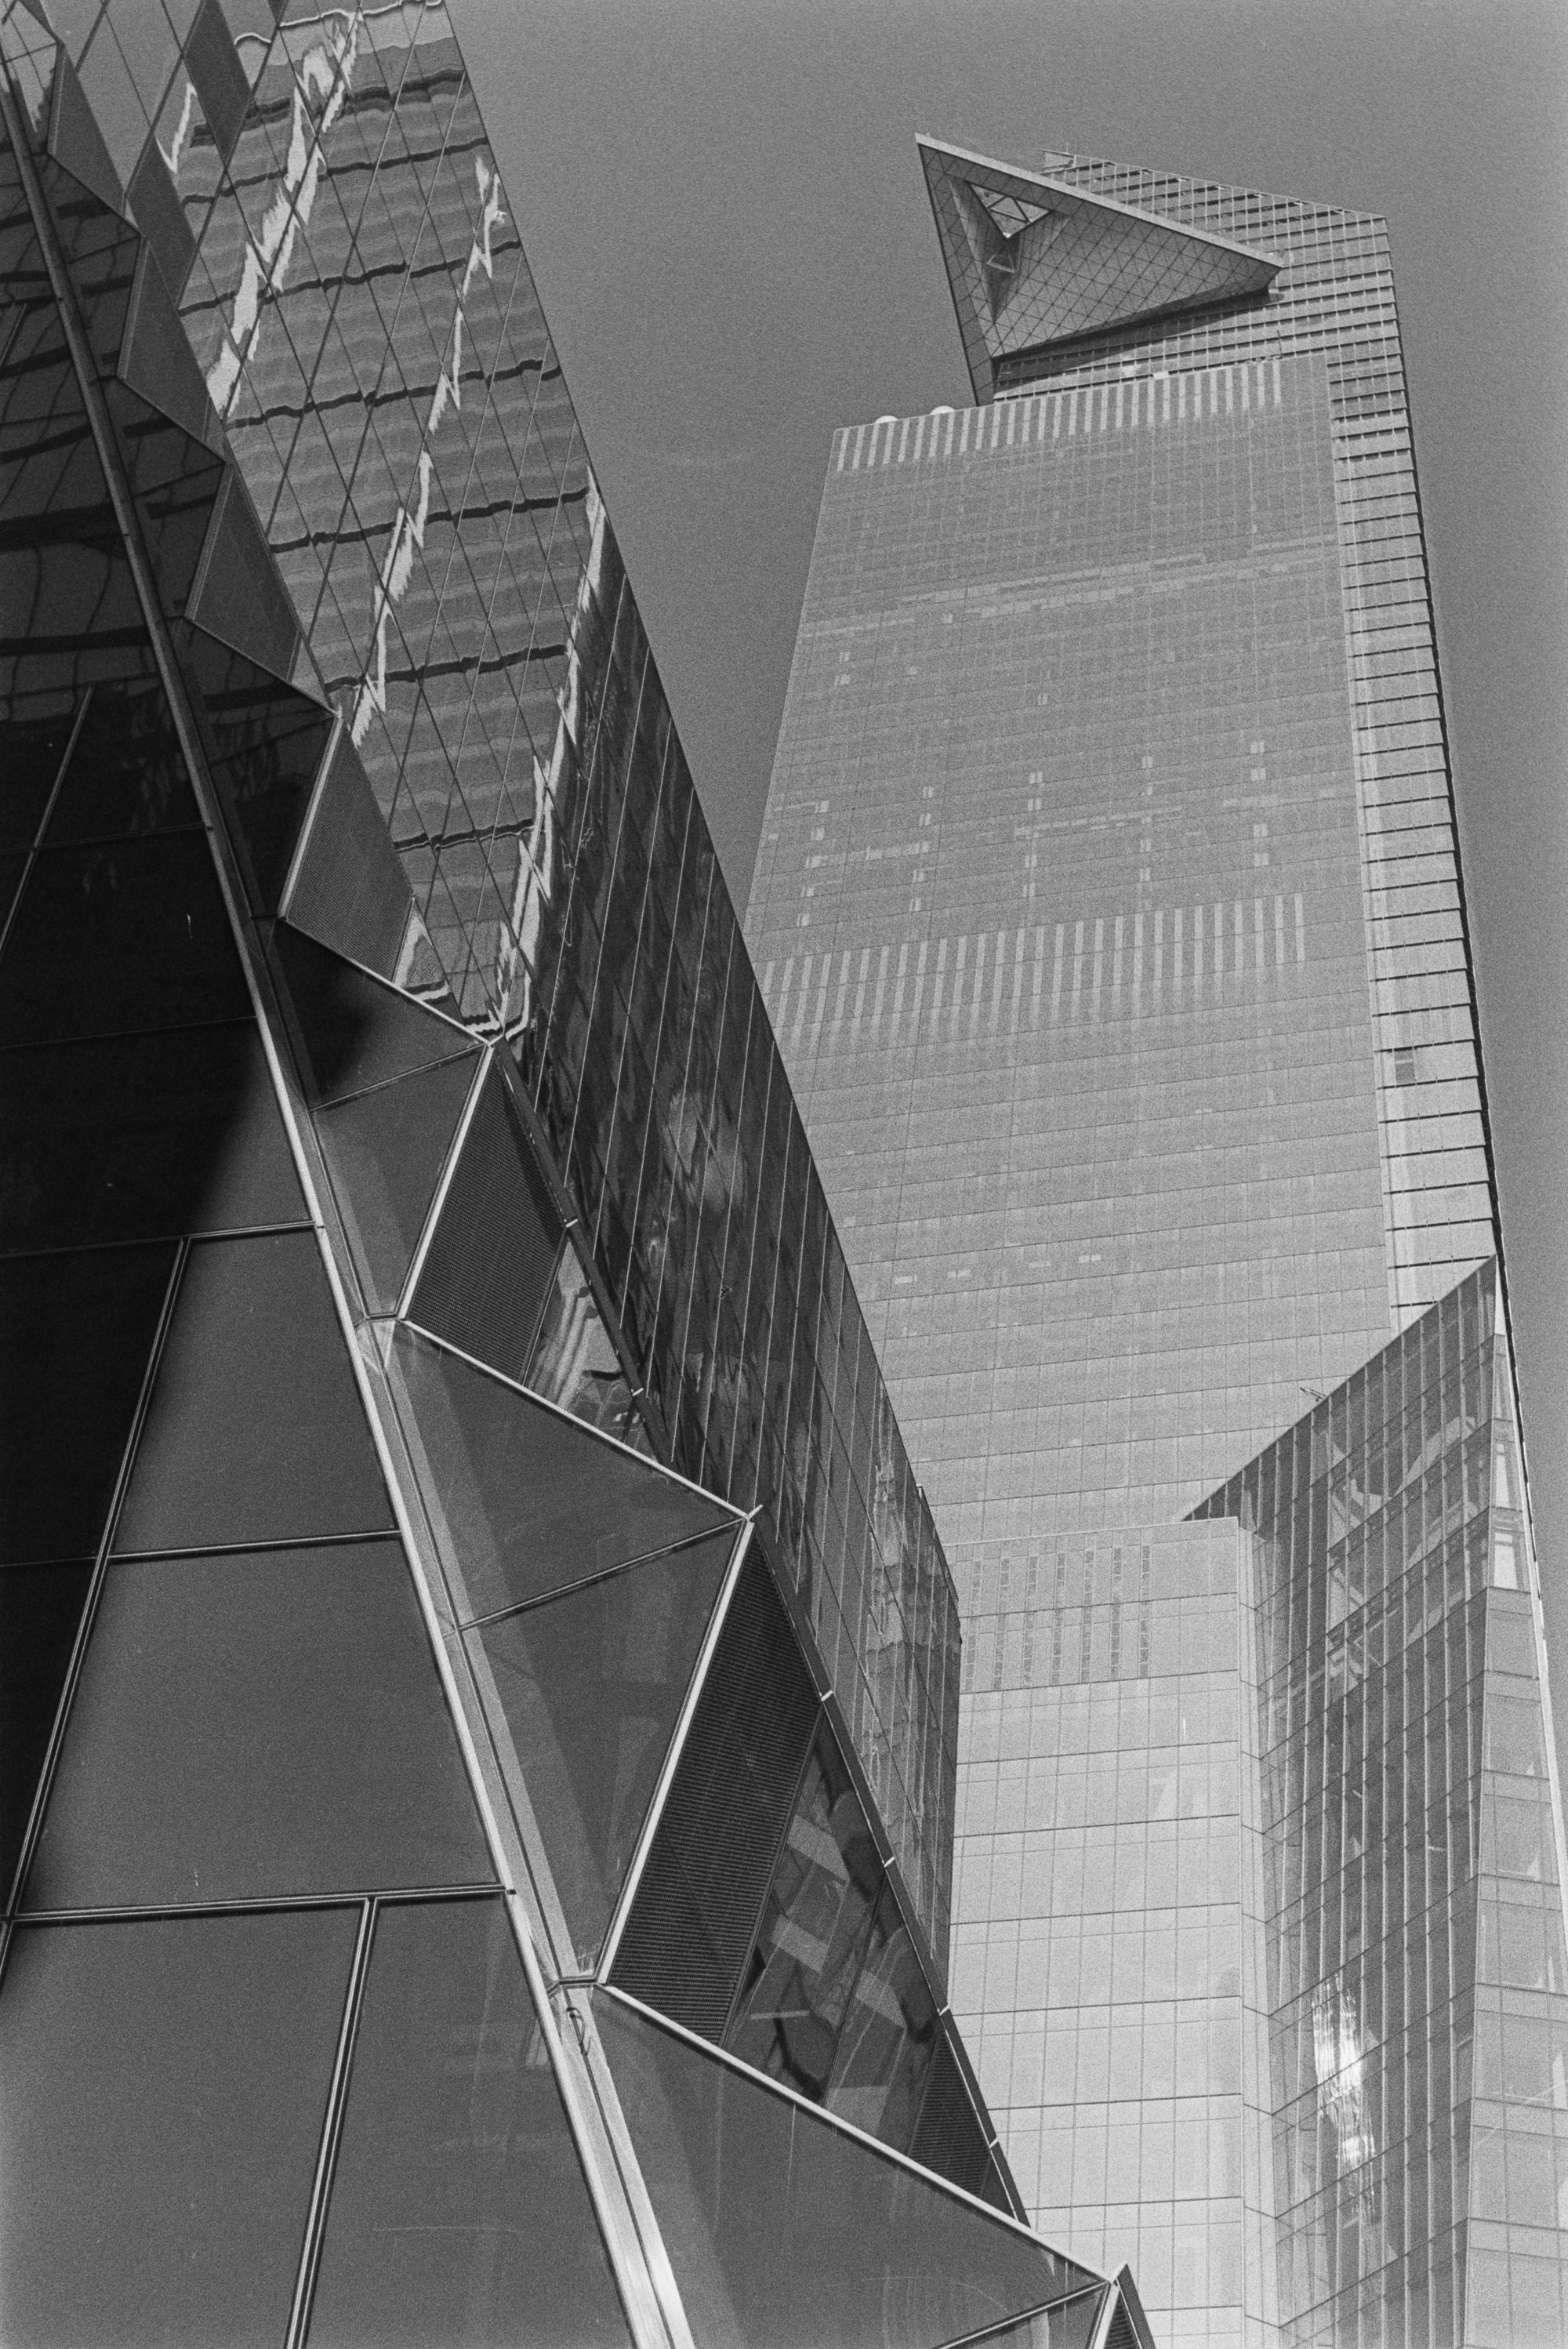
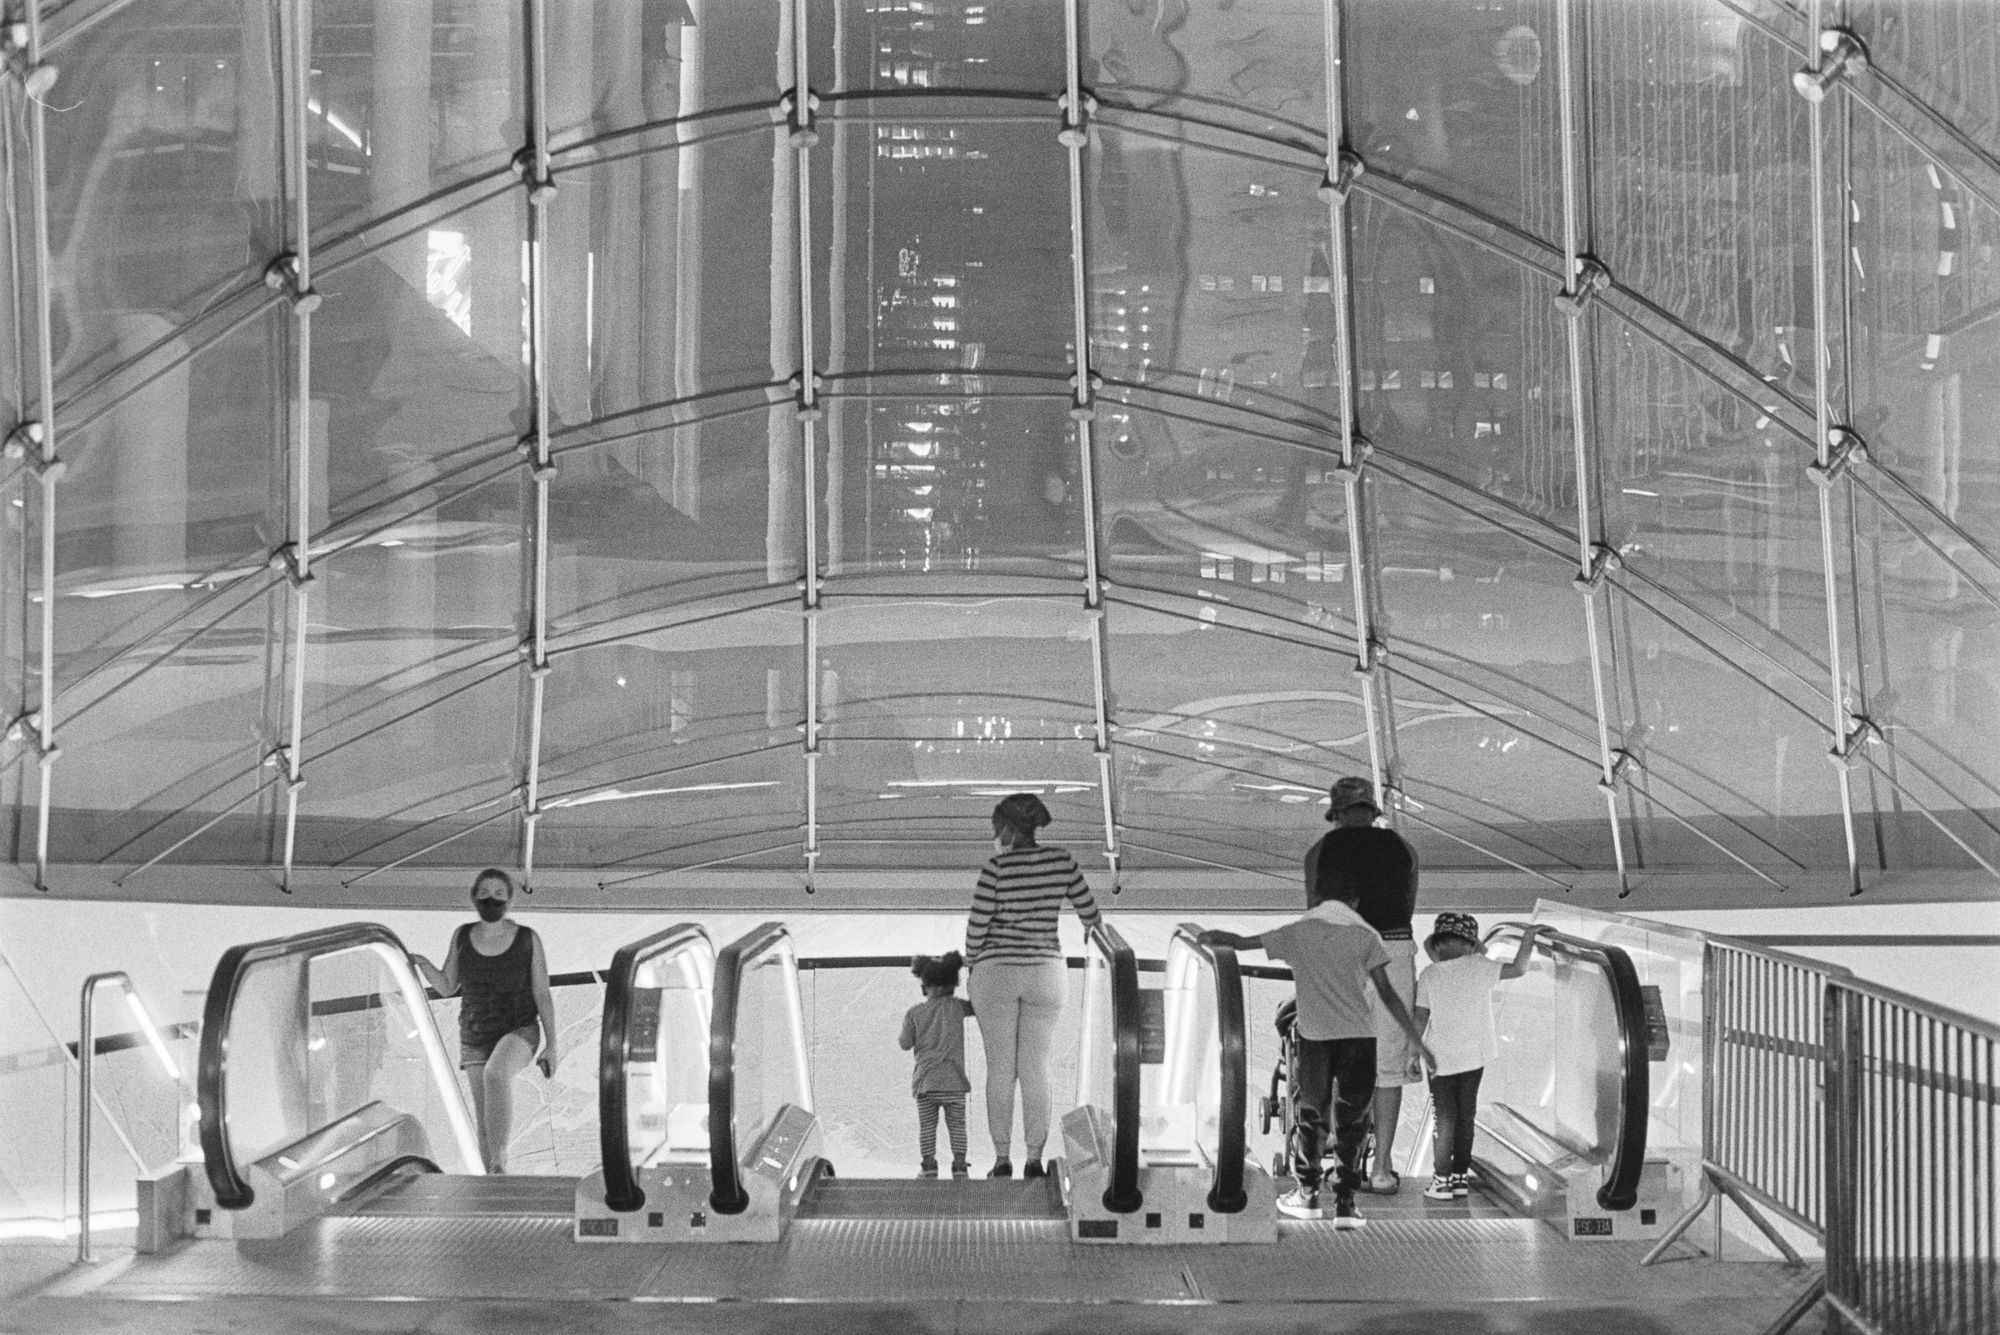
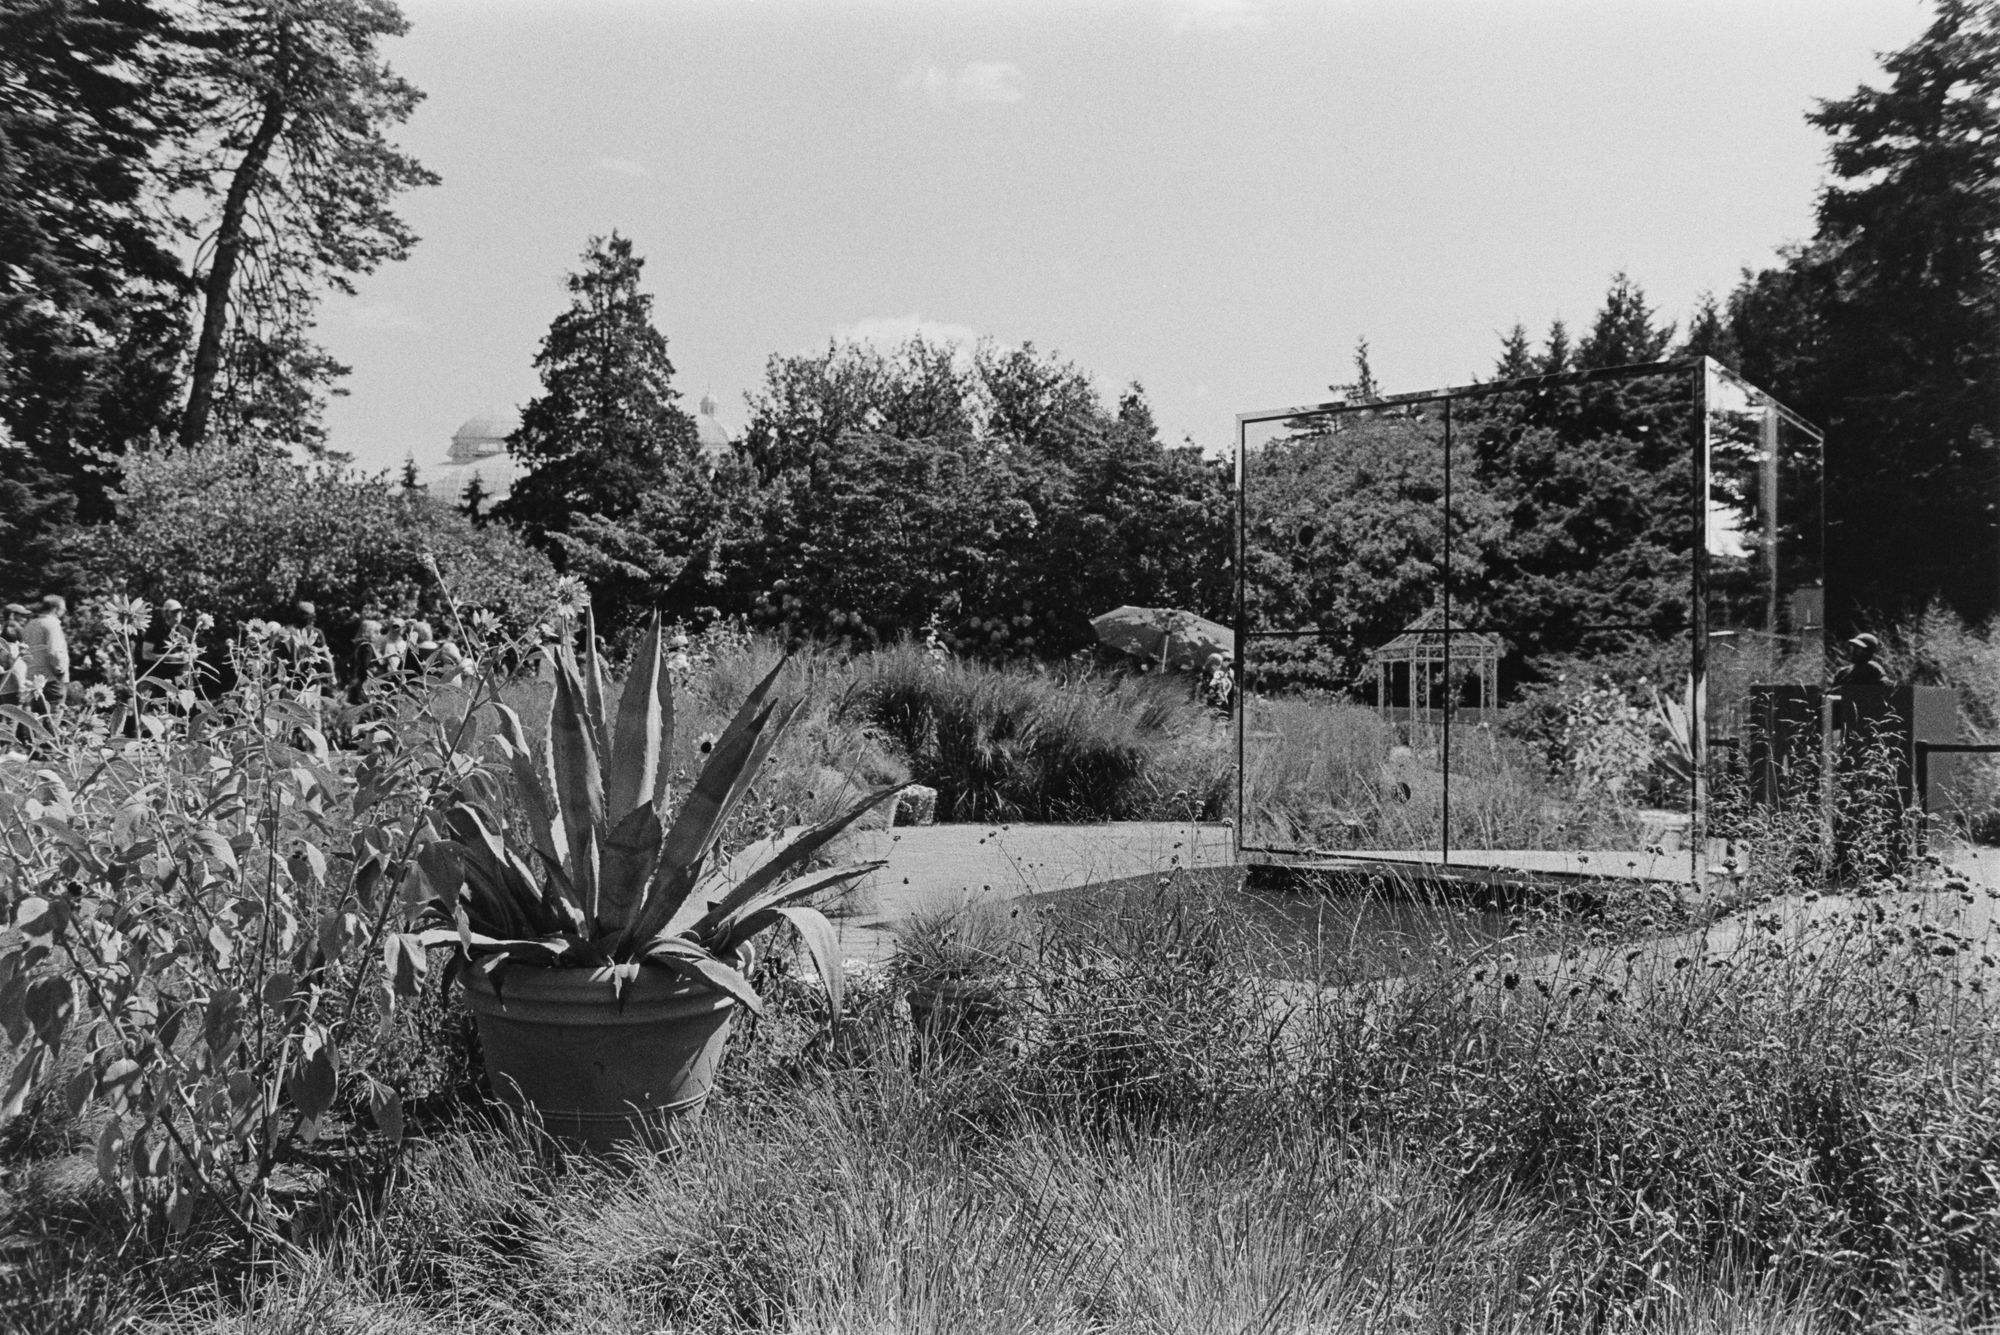
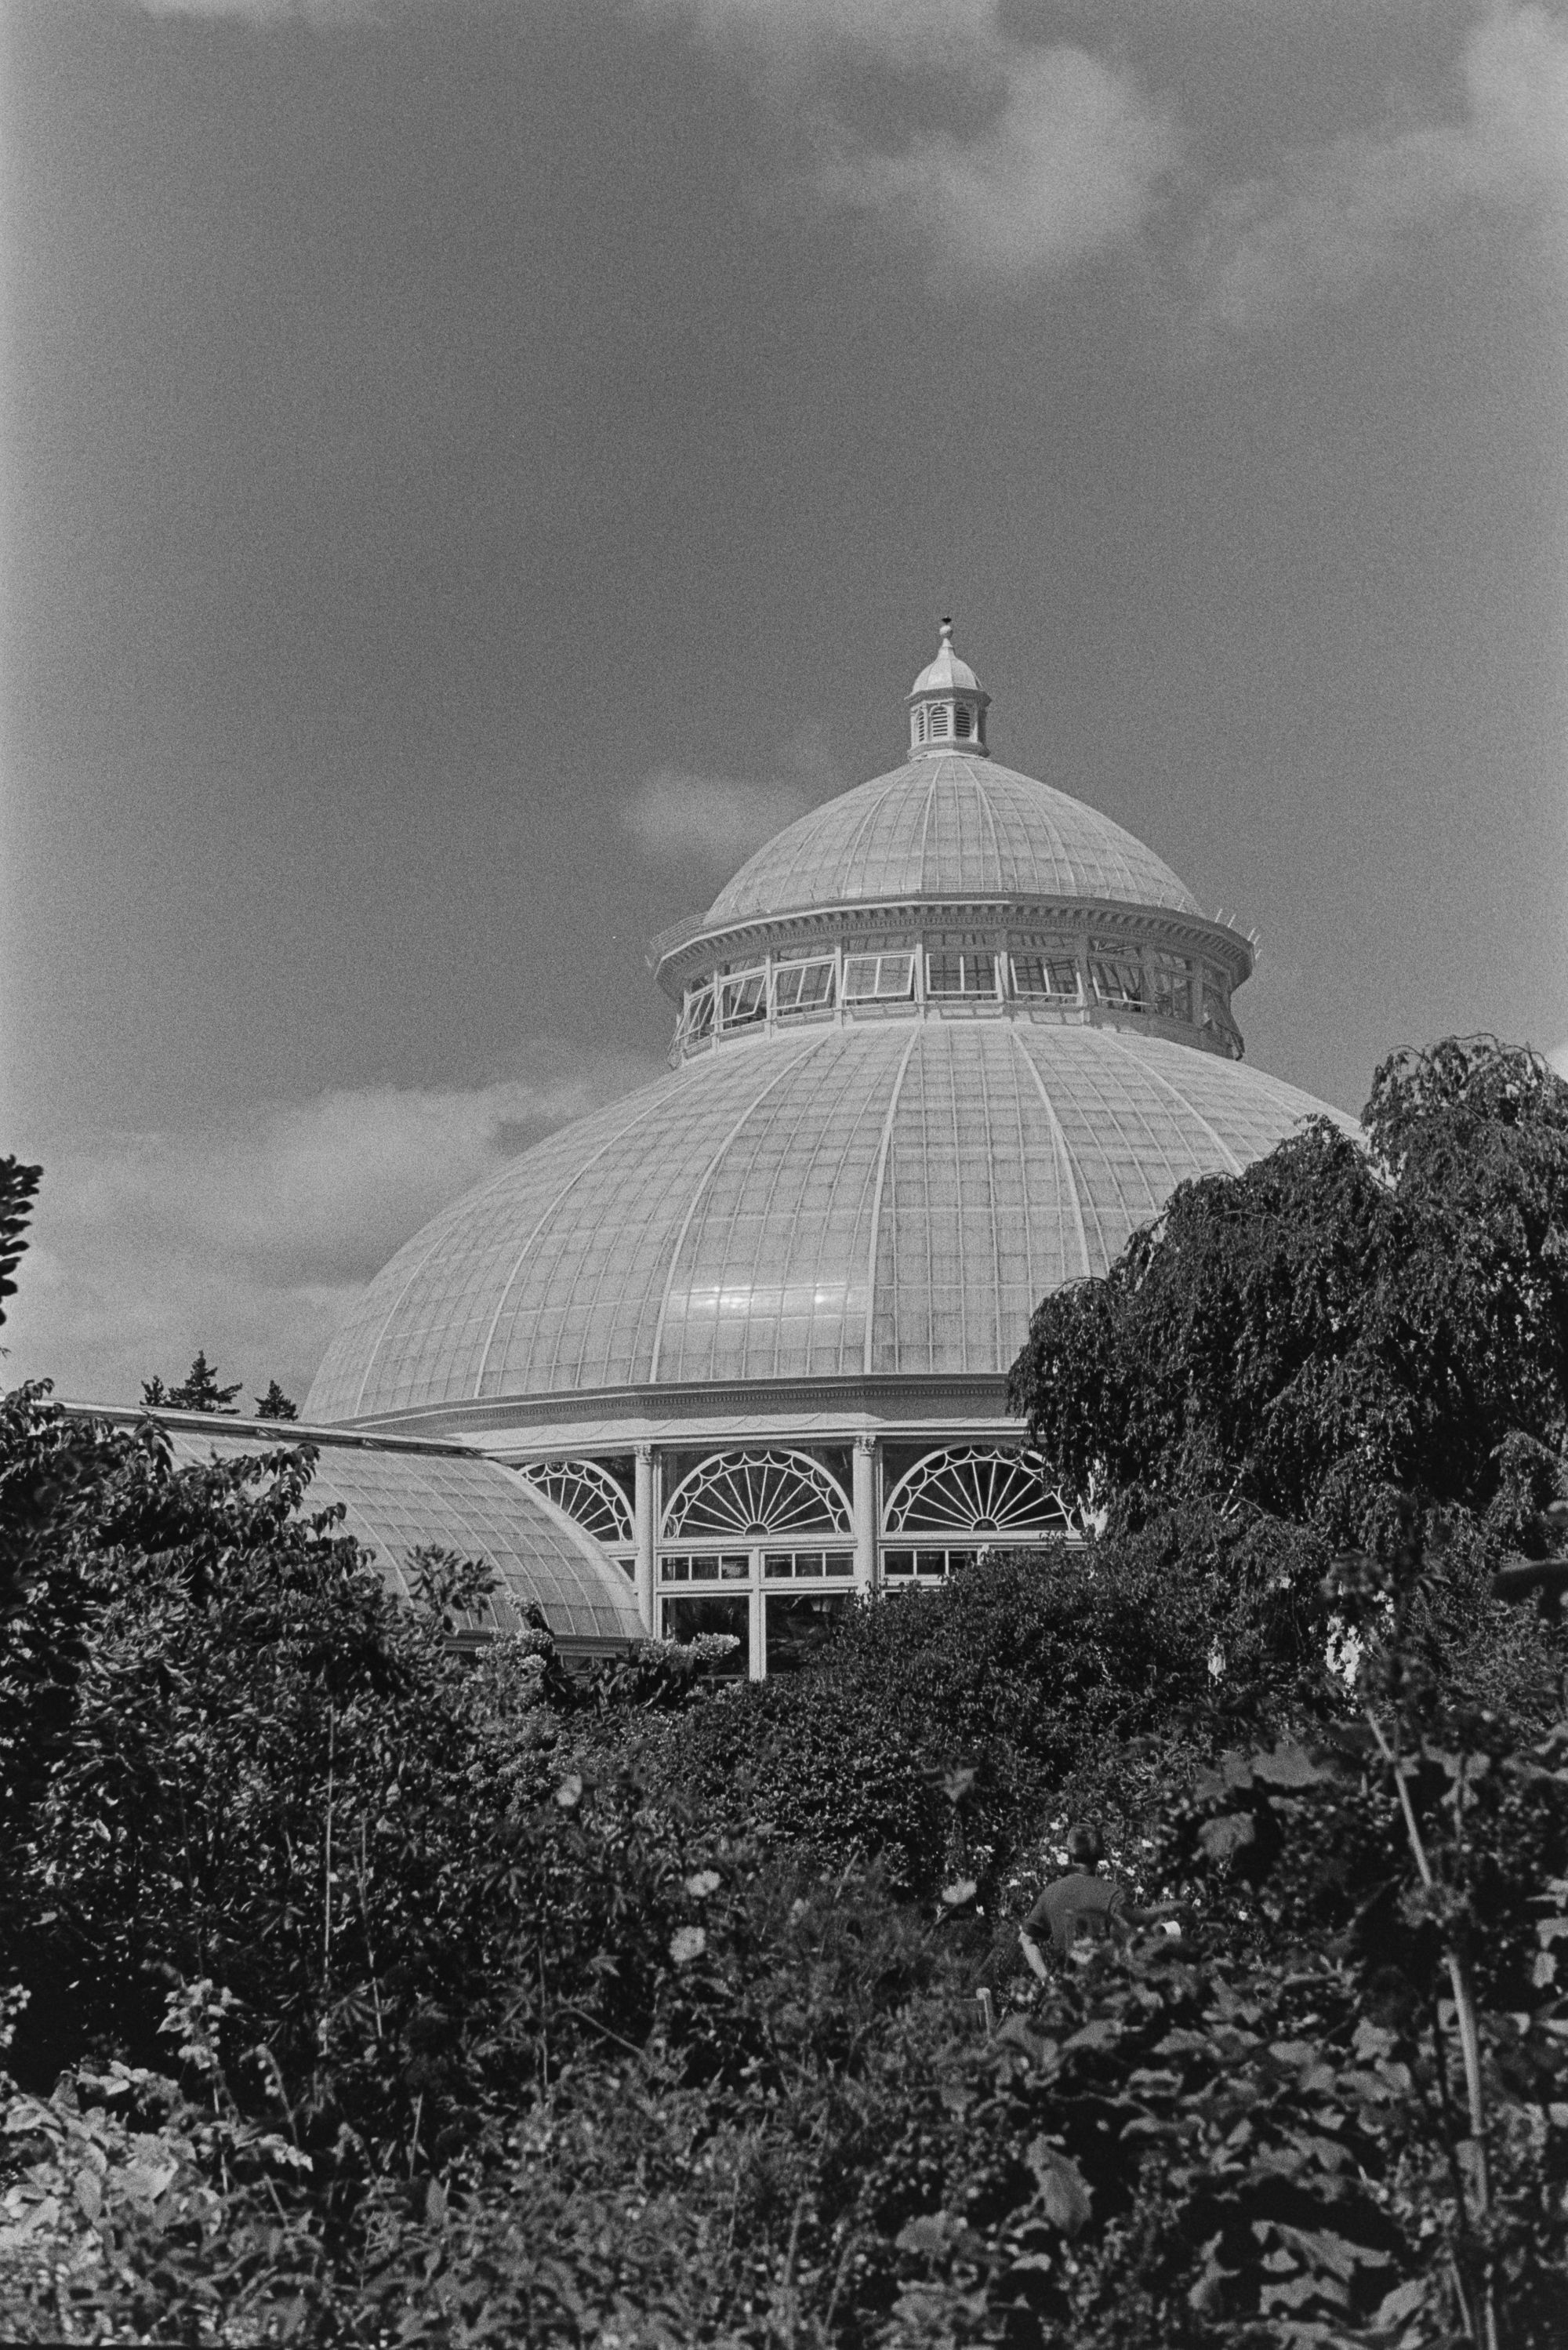
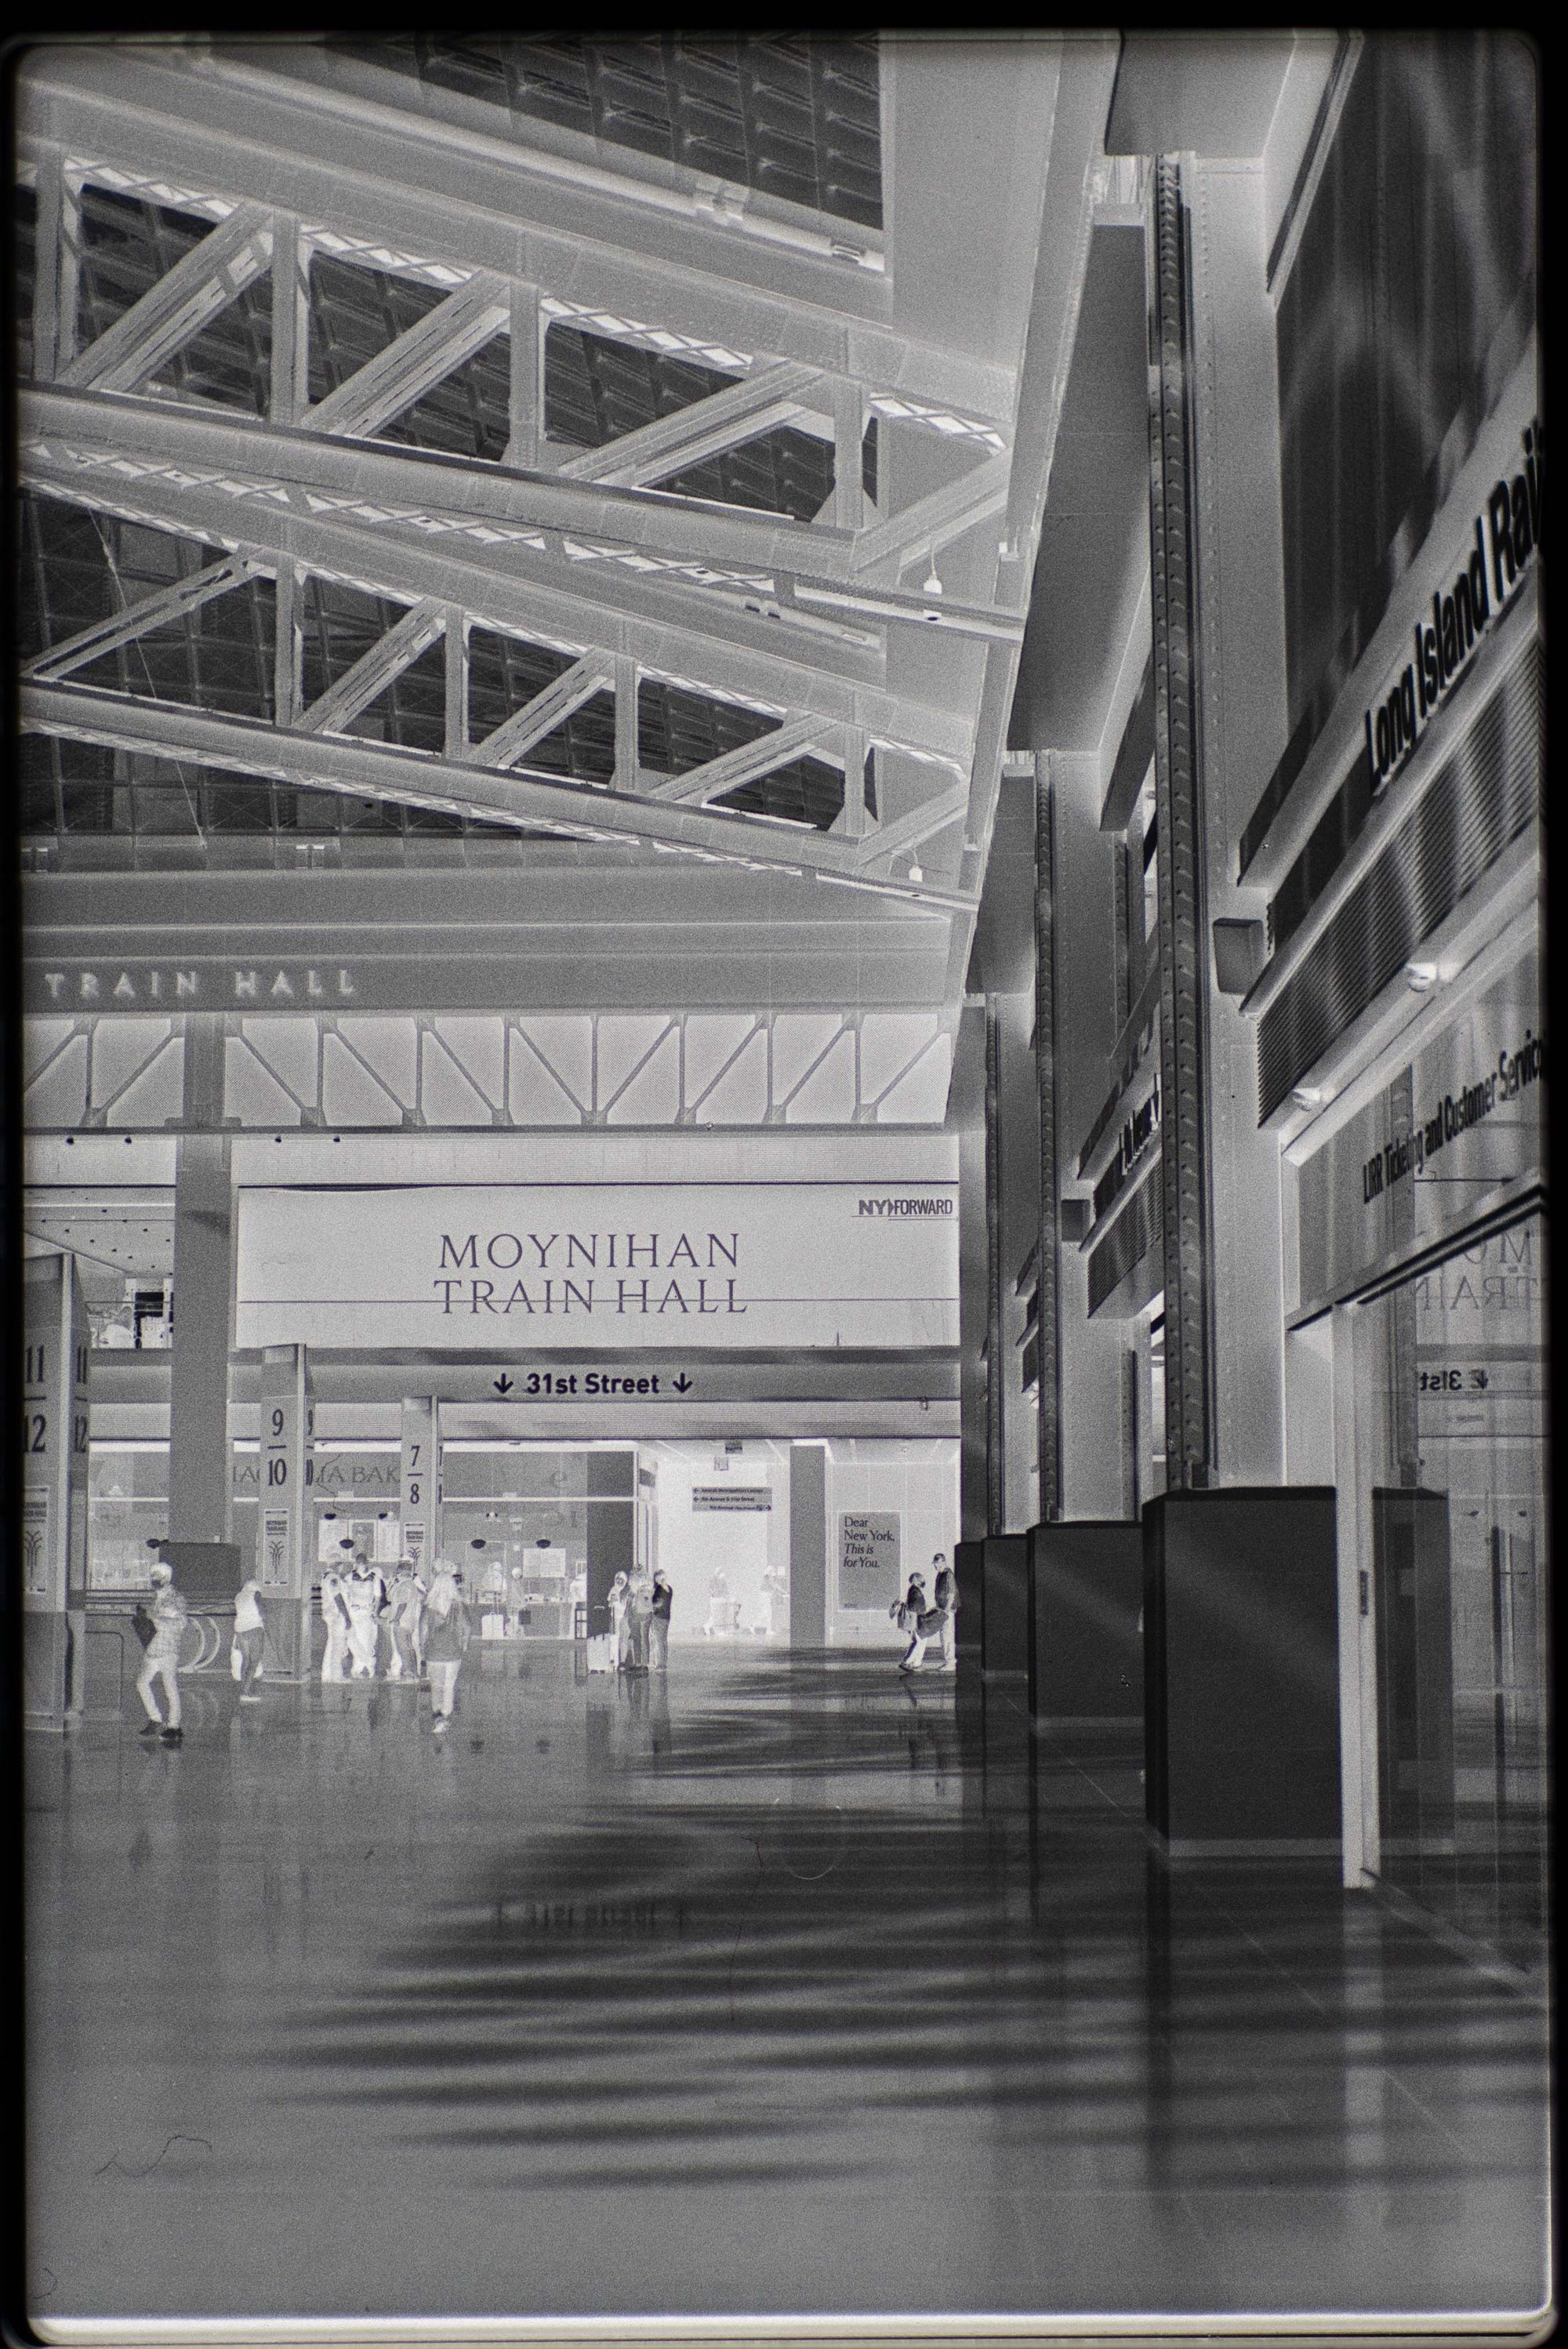
For the film rolls that I had planned to develop myself, I decided to bring my camera to the city and shoot after work one nice afternoon. I have been taking pictures of my children for the past few years now, and while I can be happy (and will be happy) doing that for the rest of my life, it was a nice change of pace to just walk around with the camera without much of plan. There was also a separate trip to the NYBG with the family for my wife's birthday, where I lugged my film cameras along.
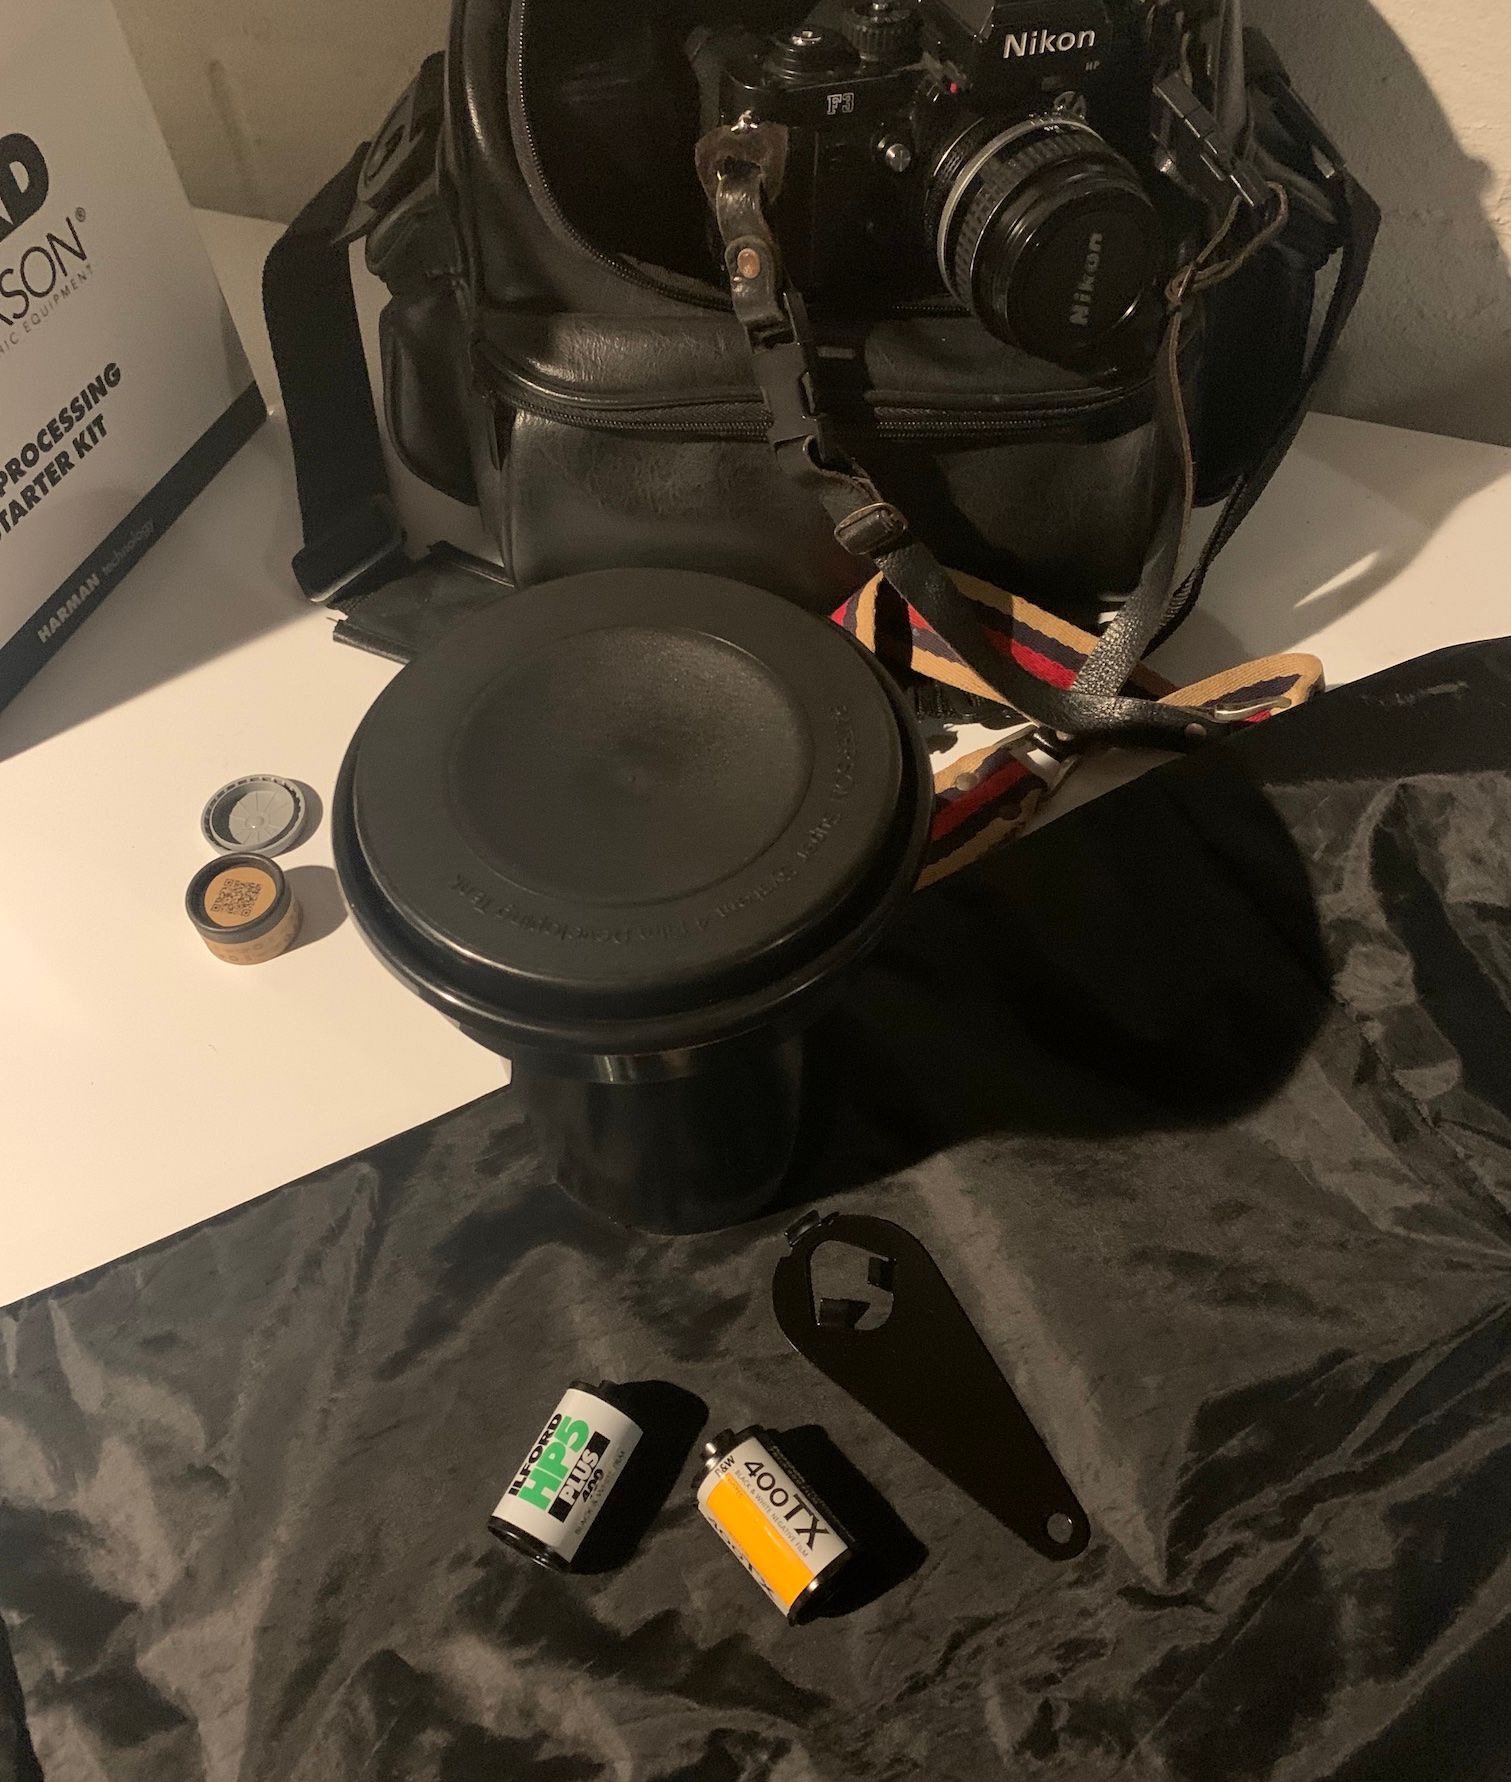
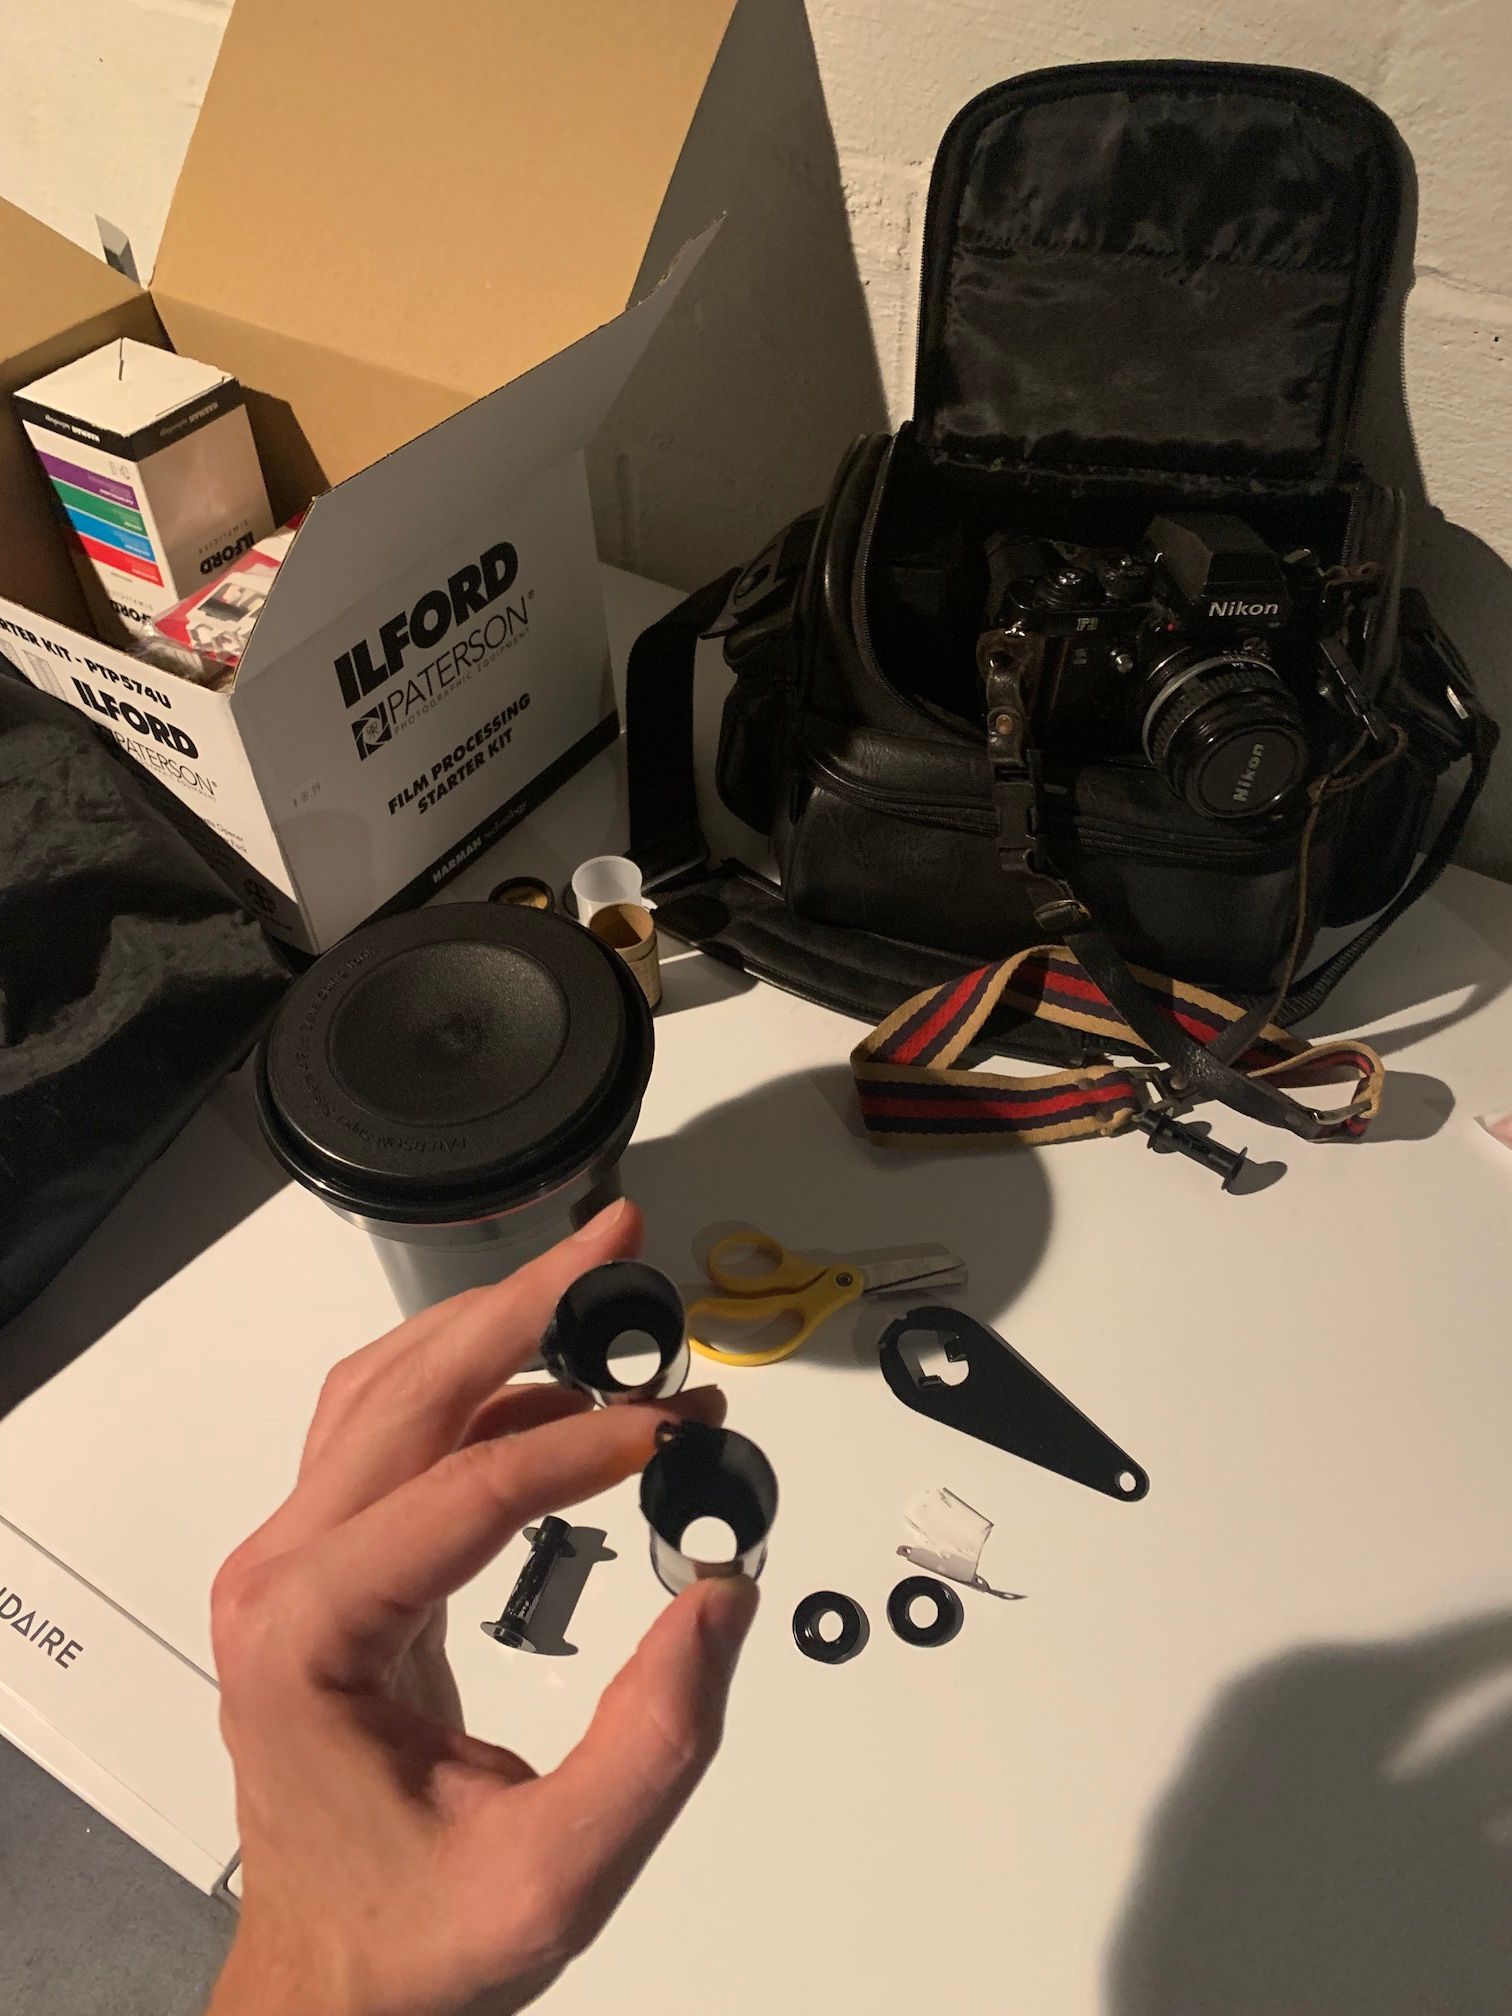
To develop the B&W film, I purchased a starter kit from Ilford, which came with a development tank and enough chemicals for 2 film rolls, and an old changing bag from the local camera store. I found this video from Ilford to be quite helpful as a general overview of the process before I got started:
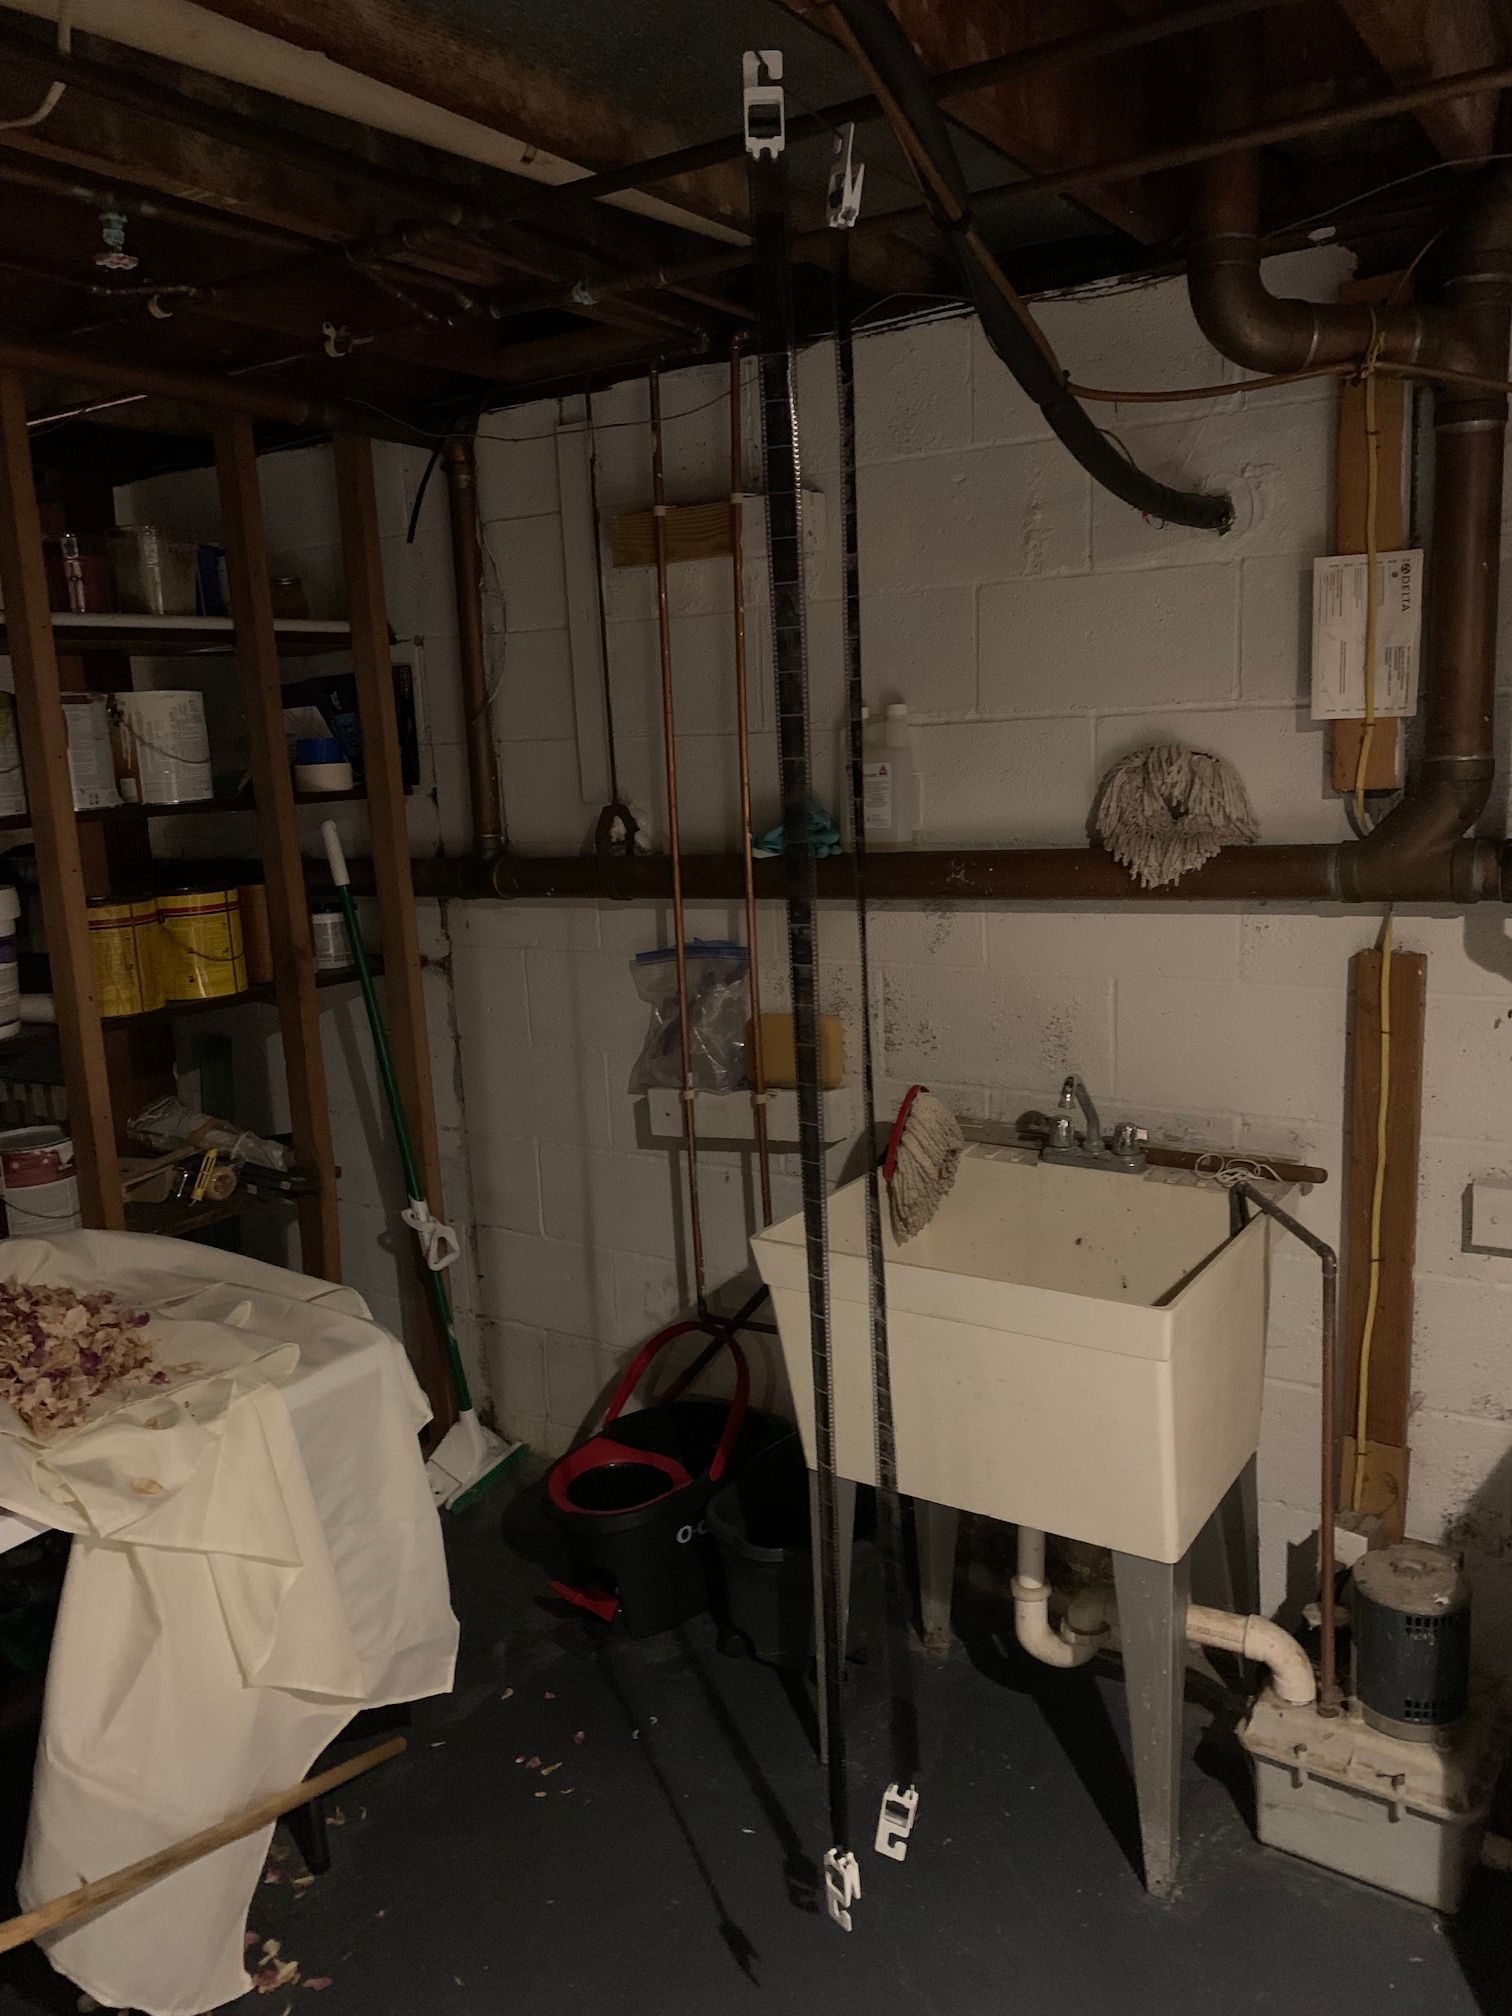
In my opinion, the trickiest part of the process is safely getting your film out of the canister and into the development tank without exposing the film to light and ruining your shots. I actually lost my first roll of film because I forgot how to properly wind my F3 - and just like the "monster fish" that got away, I'm pretty confident the best shots I had ever taken in my life were on that roll. Ahem. You effectively do this film transfer to the development tank "blind", with your hands in a changing bag that does not allow light in.
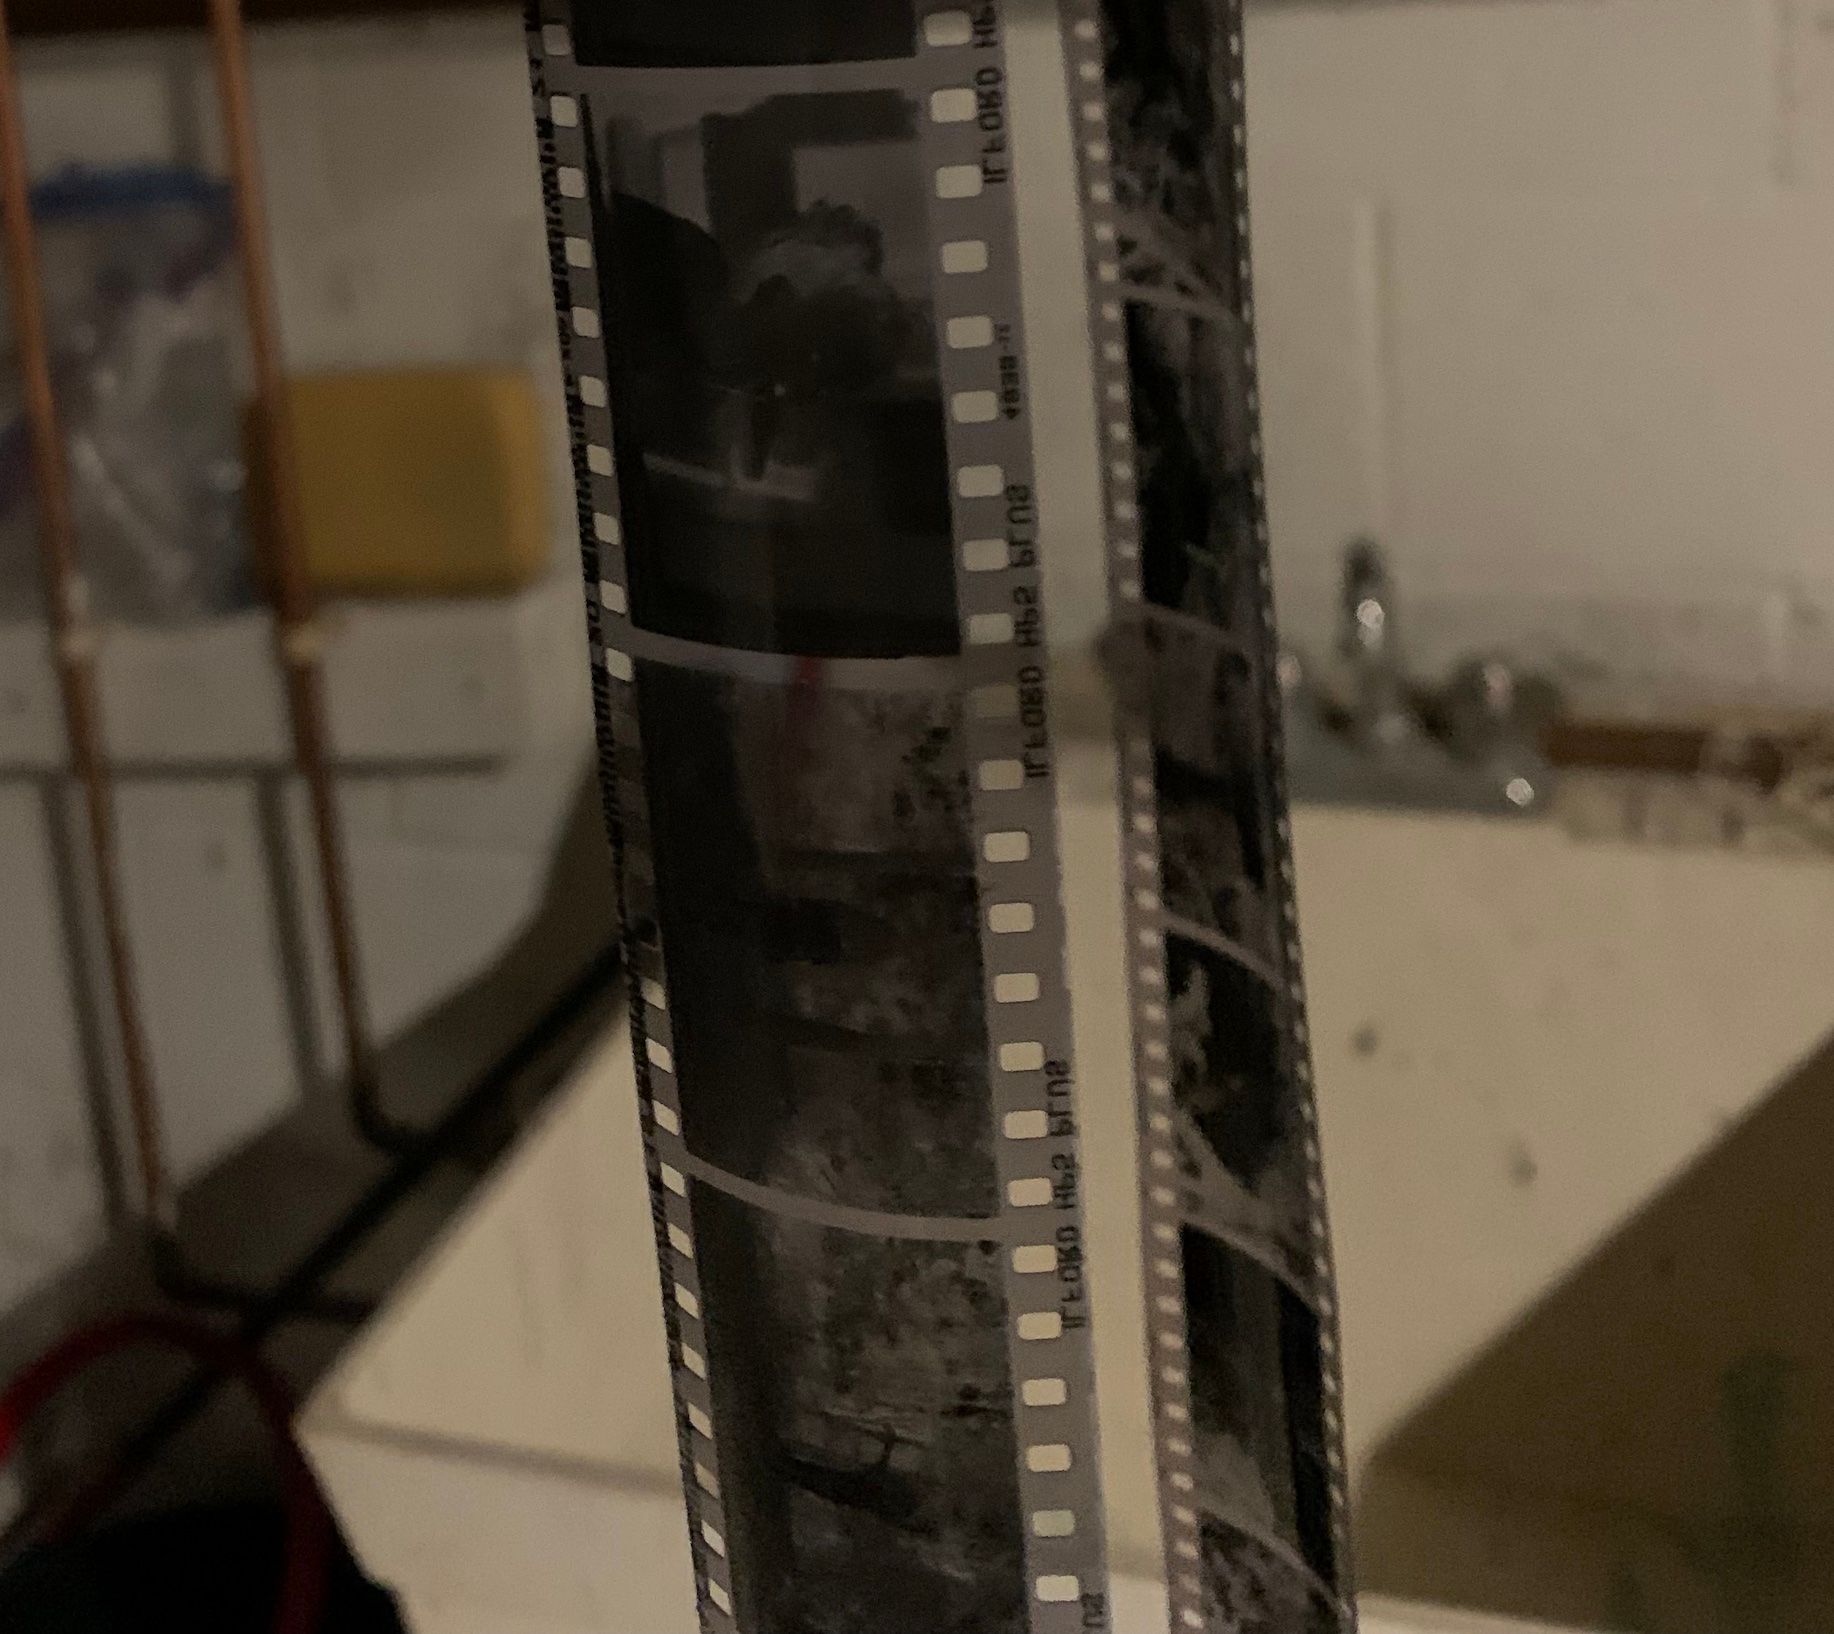
The development process with the chemicals was relatively painless. I followed the instructions that came with my development kit exactly. There is some precision in the timing of each step, and temperature of the chemicals used, but that is all very straight forward. Though, once I had the negatives developed, there was the whole thing about scanning / digitizing those negatives, which I had never done before. I didn't really know where to get started. First I tried scanning them with an old Canon printer & scanner. Unfortunately, those scans were low resolution and looked horrible, and it was a pain to flatten the film and crop / straighten each individual negative from the scans. Most of the film scanners that I found online seemed very expensive as well. I was worried that I would have had to abandon my project until I found a relatively inexpensive film negative scanning kit that was compatible with my D800: The Nikon ES-2 Film Digitizing Adapter.
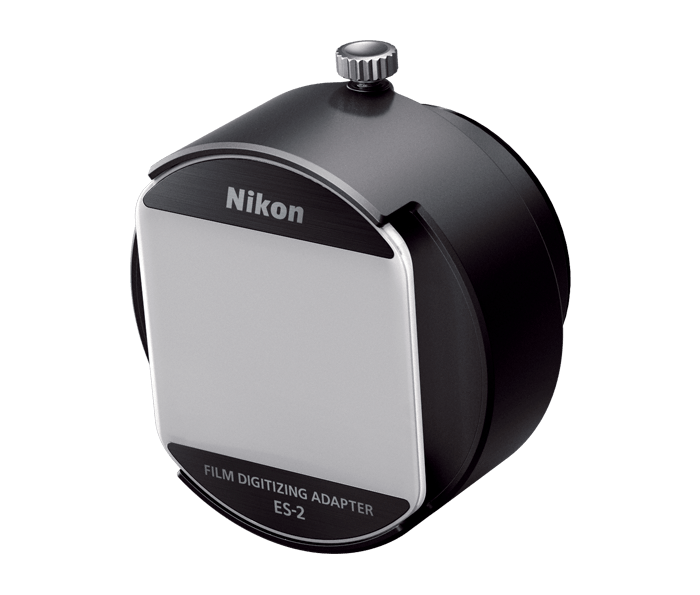
You mount this adapter onto the camera, load the film into the front slot of the adapter using a tray, and then photograph the negatives with an white LED back-light as the light source.
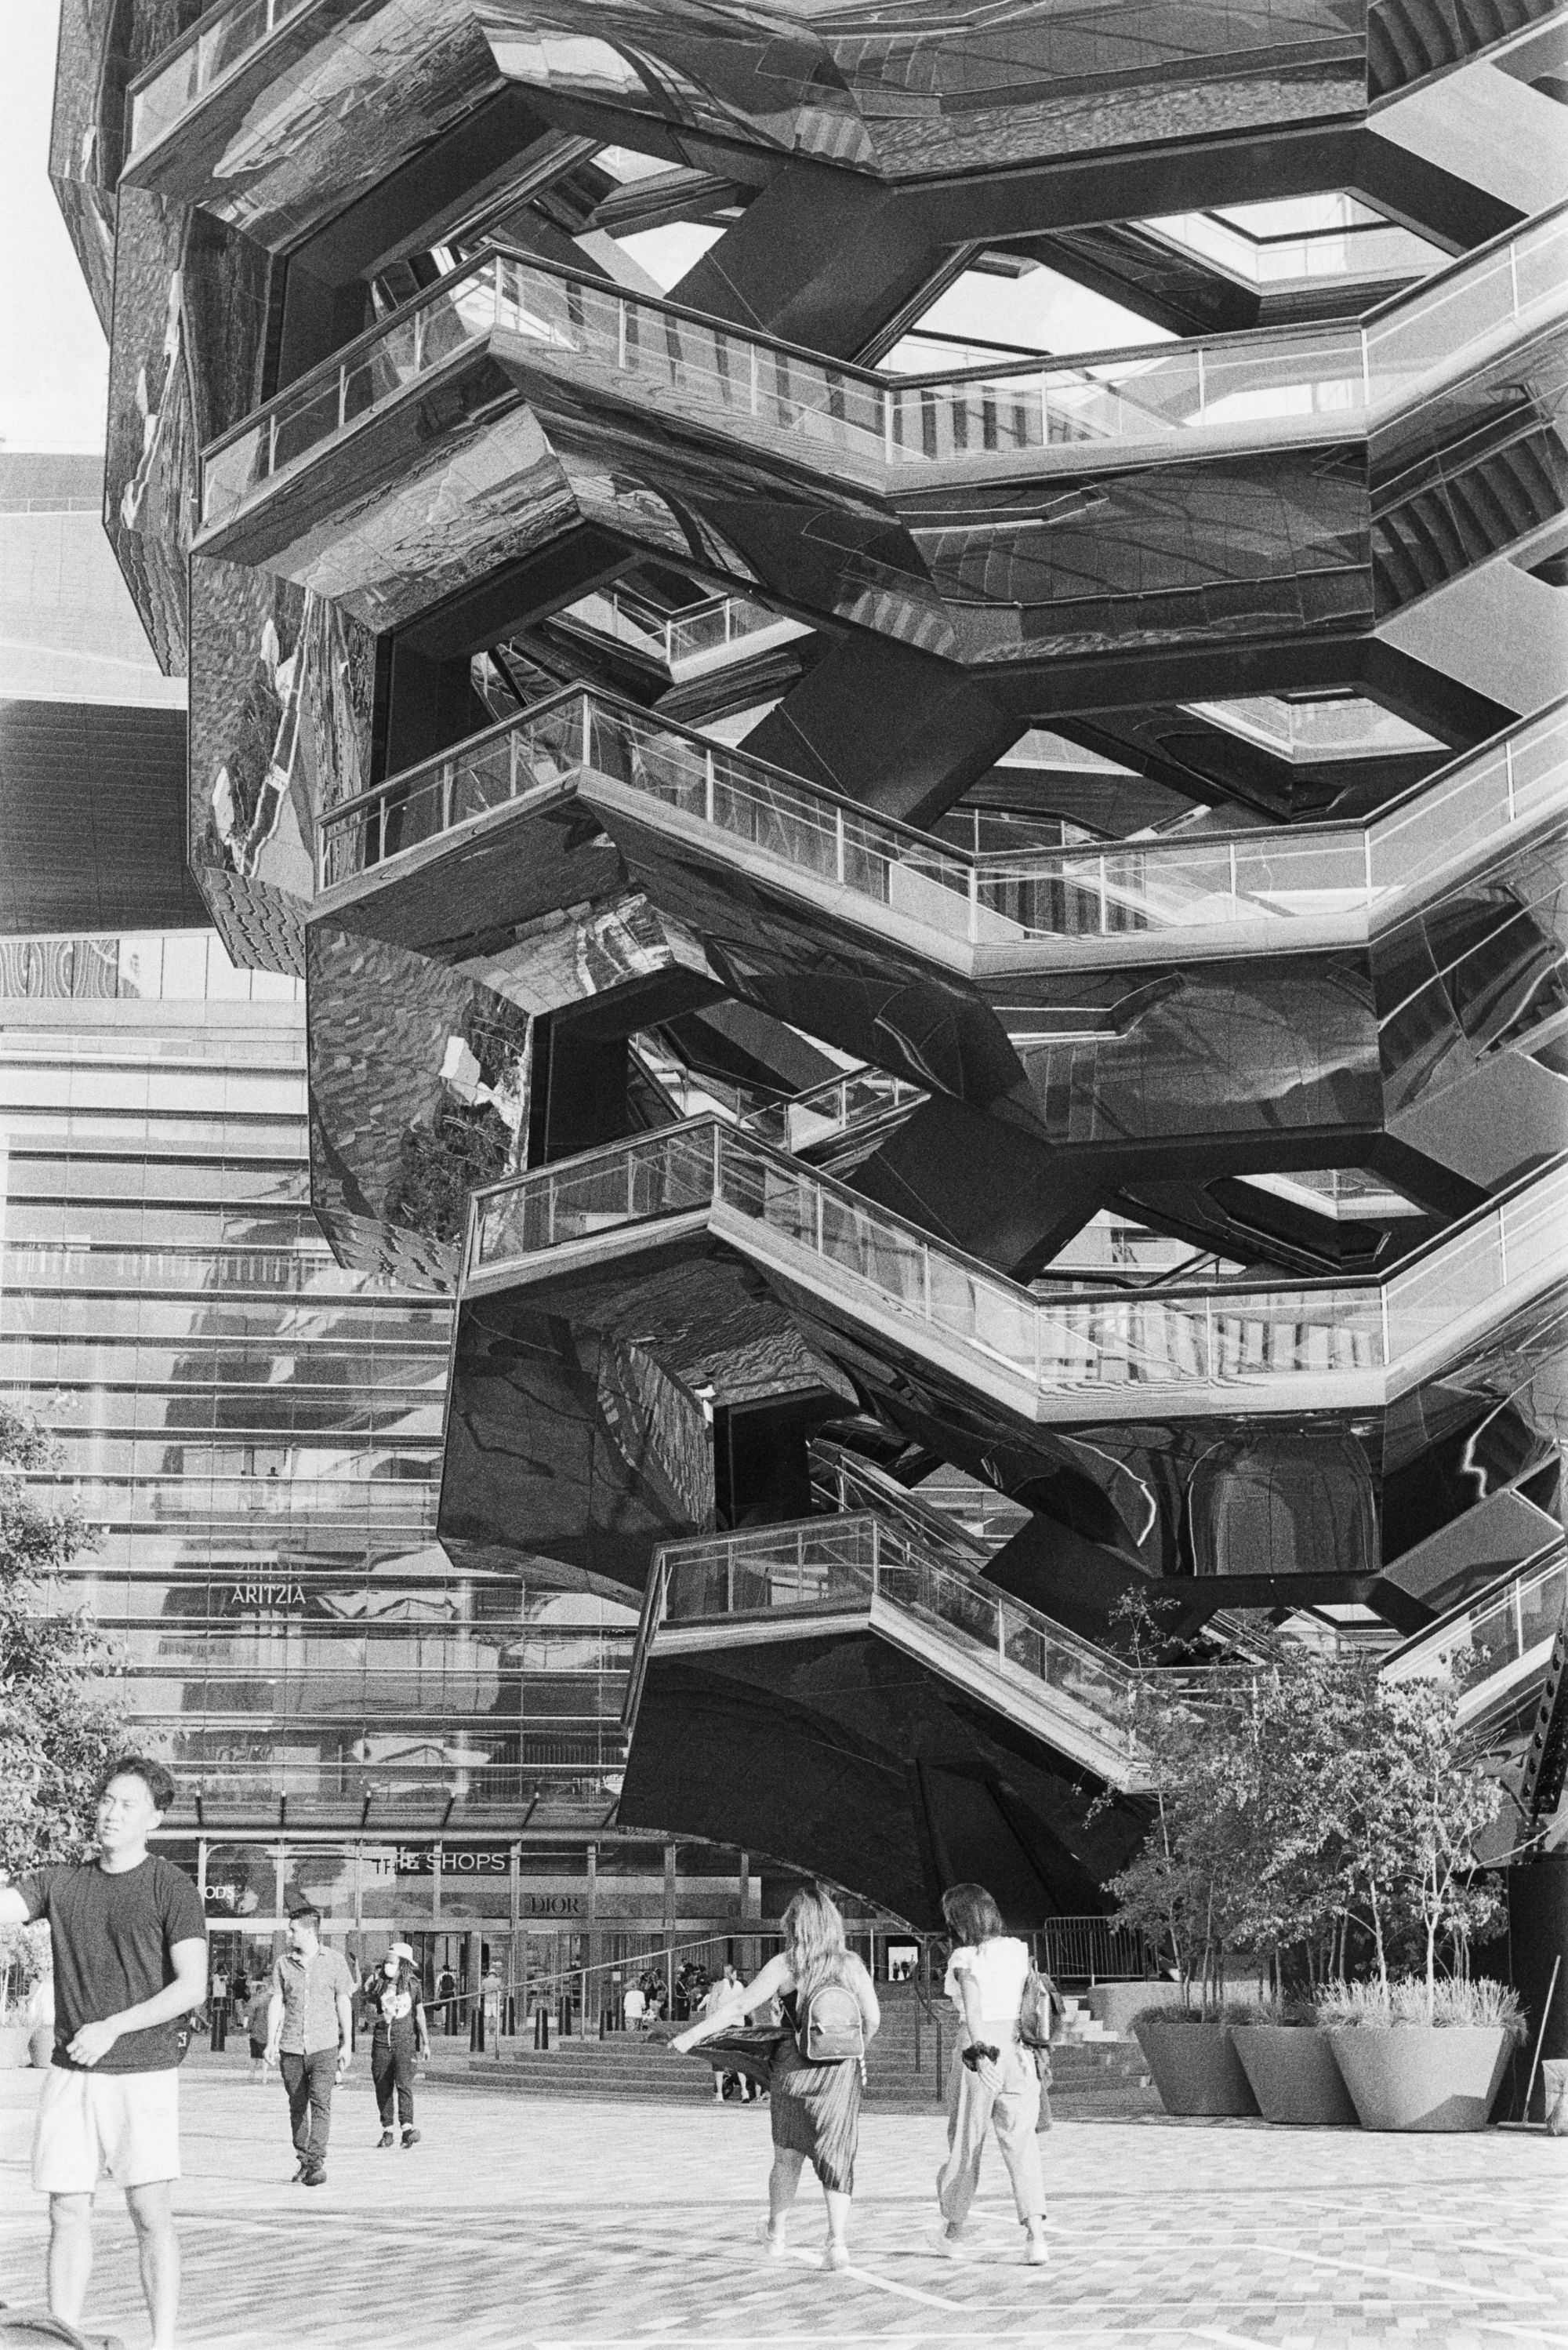
Simple enough, though after getting the ES-2 digitizing kit, I realized that I didn't have a compatible macro lens to use with it - which, as you can imagine, was a problem 😅 . Luckily the local camera store happened to be carrying a slightly dinged up Nikkor Micro 60mm f/2.5 D. The store wasn't confident that the lens would auto focus, so they sold it to me for $50. As it turns out, there is absolutely nothing wrong with the lens, aside from some cosmetic damage, so I ended up getting a ~$500 lens for a 10x discount. And, man, does it create some tack sharp 36MP scans with my D800. You can easily see the grain of the film when you zoom into the images in Lightroom.


Speaking of Lightroom, there are a number of resources online on how to process the film negatives once they have been digitized, though the process is relatively straight forward for B&W film. As you may have guessed, you simply invert the colors of the negative scan, and edit to taste in your editor of choice. Here is a before and after of an example scan. I inverted the colors, and adjusted crop, contrast, and exposure levels until I was happy with the result:

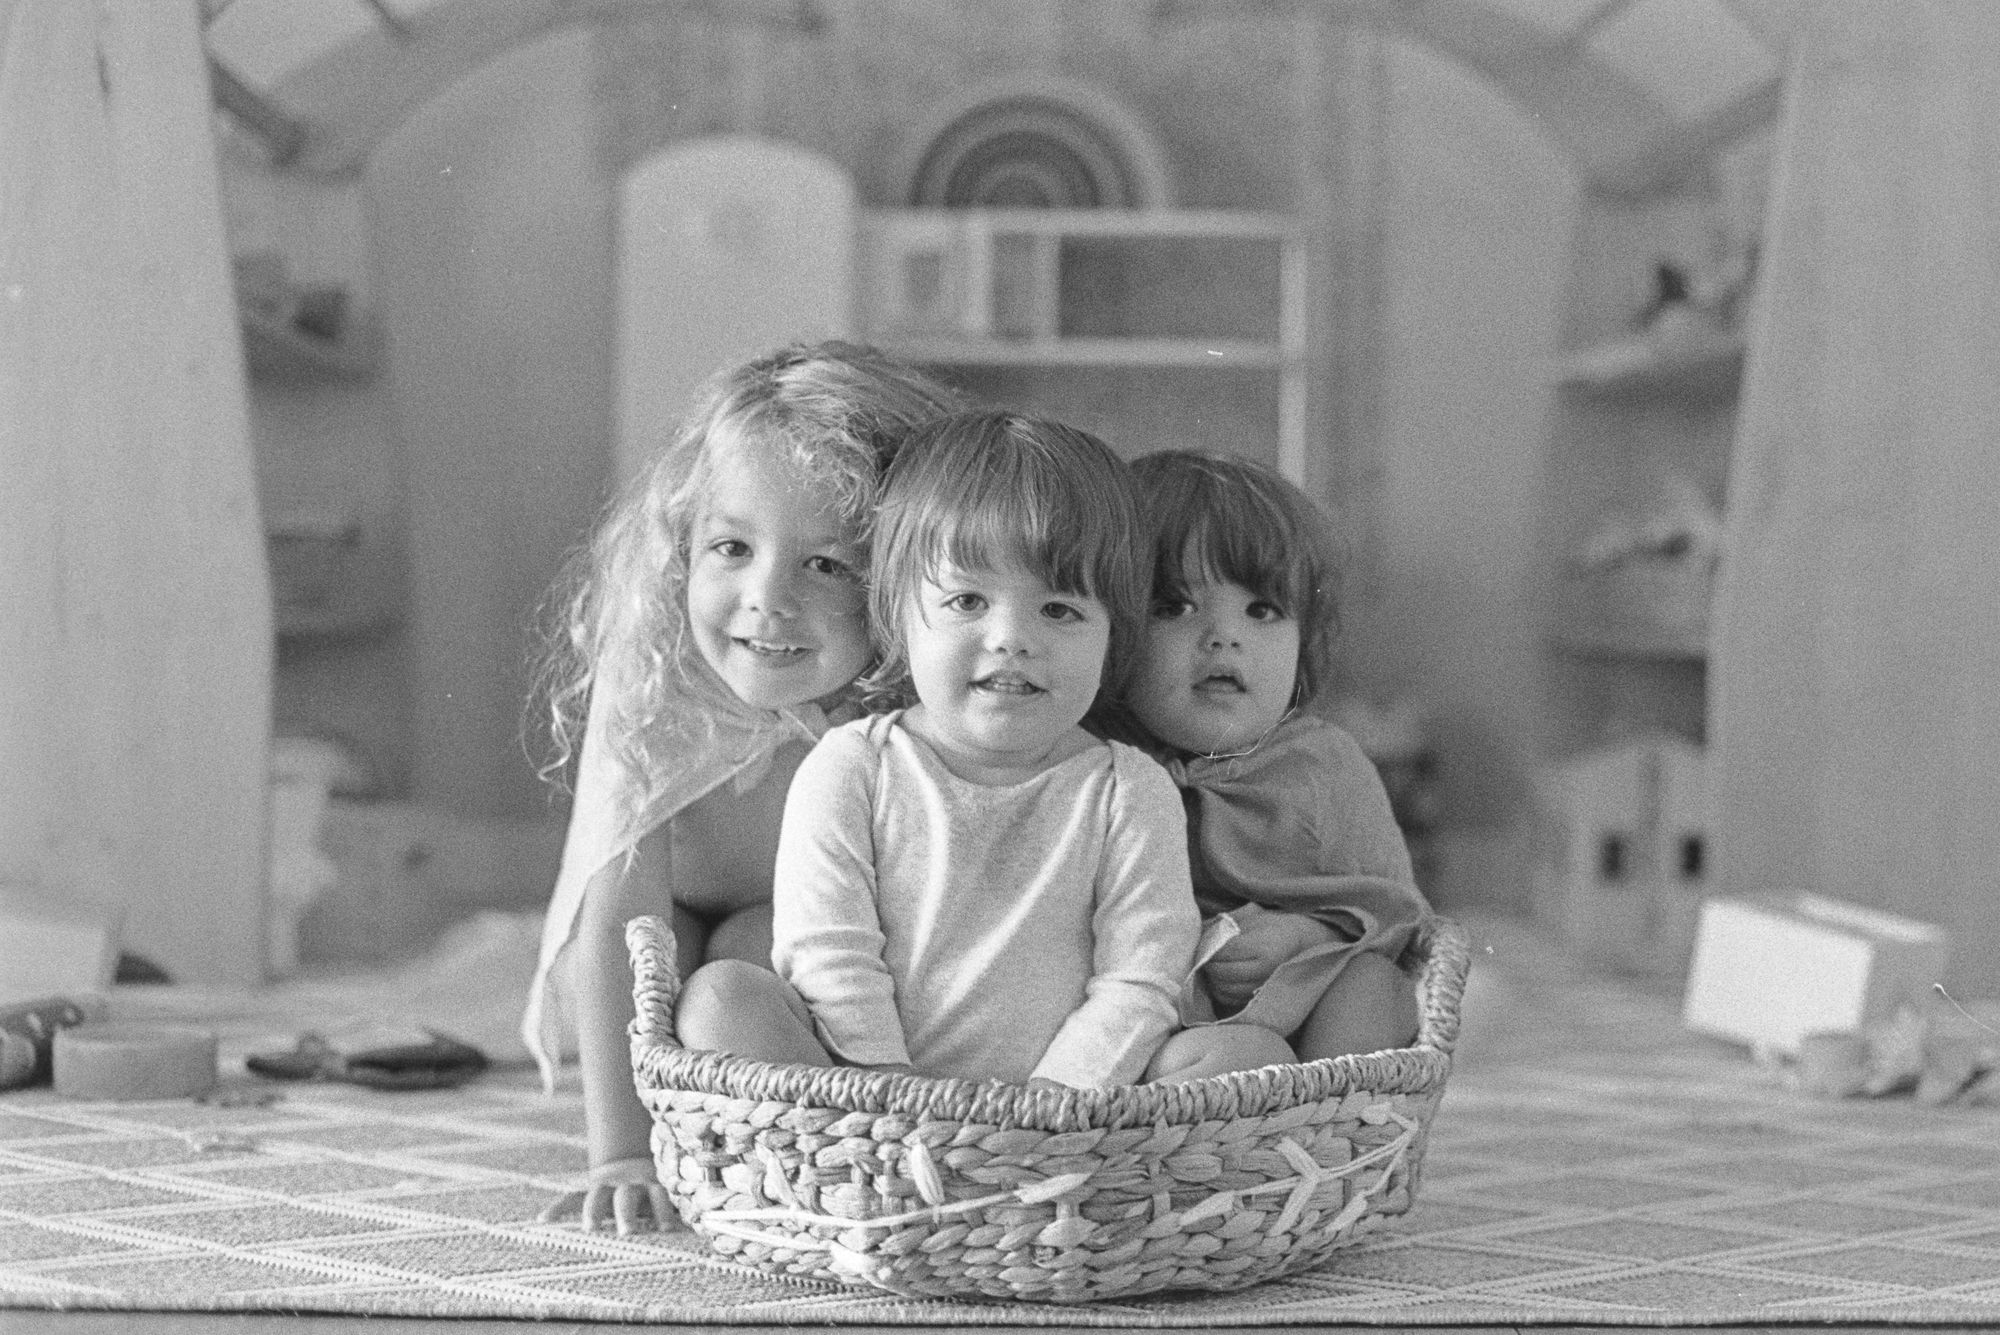
Despite having fun shooting in New York again, I must say that one of my favorite shots that I developed from these rolls was at home again, with my children. It was with my F3, and the 50mm f/2.8 kit lens that came with it. I love the shot not only because it is a really lovely picture of my 3 children, but also because I'm reminded of the fact that my father was taking pictures of me as a child with this same exact kit back in the early 80s. It is pretty surreal that here I am, ~35 years later, using the same setup to take pictures of my own children.
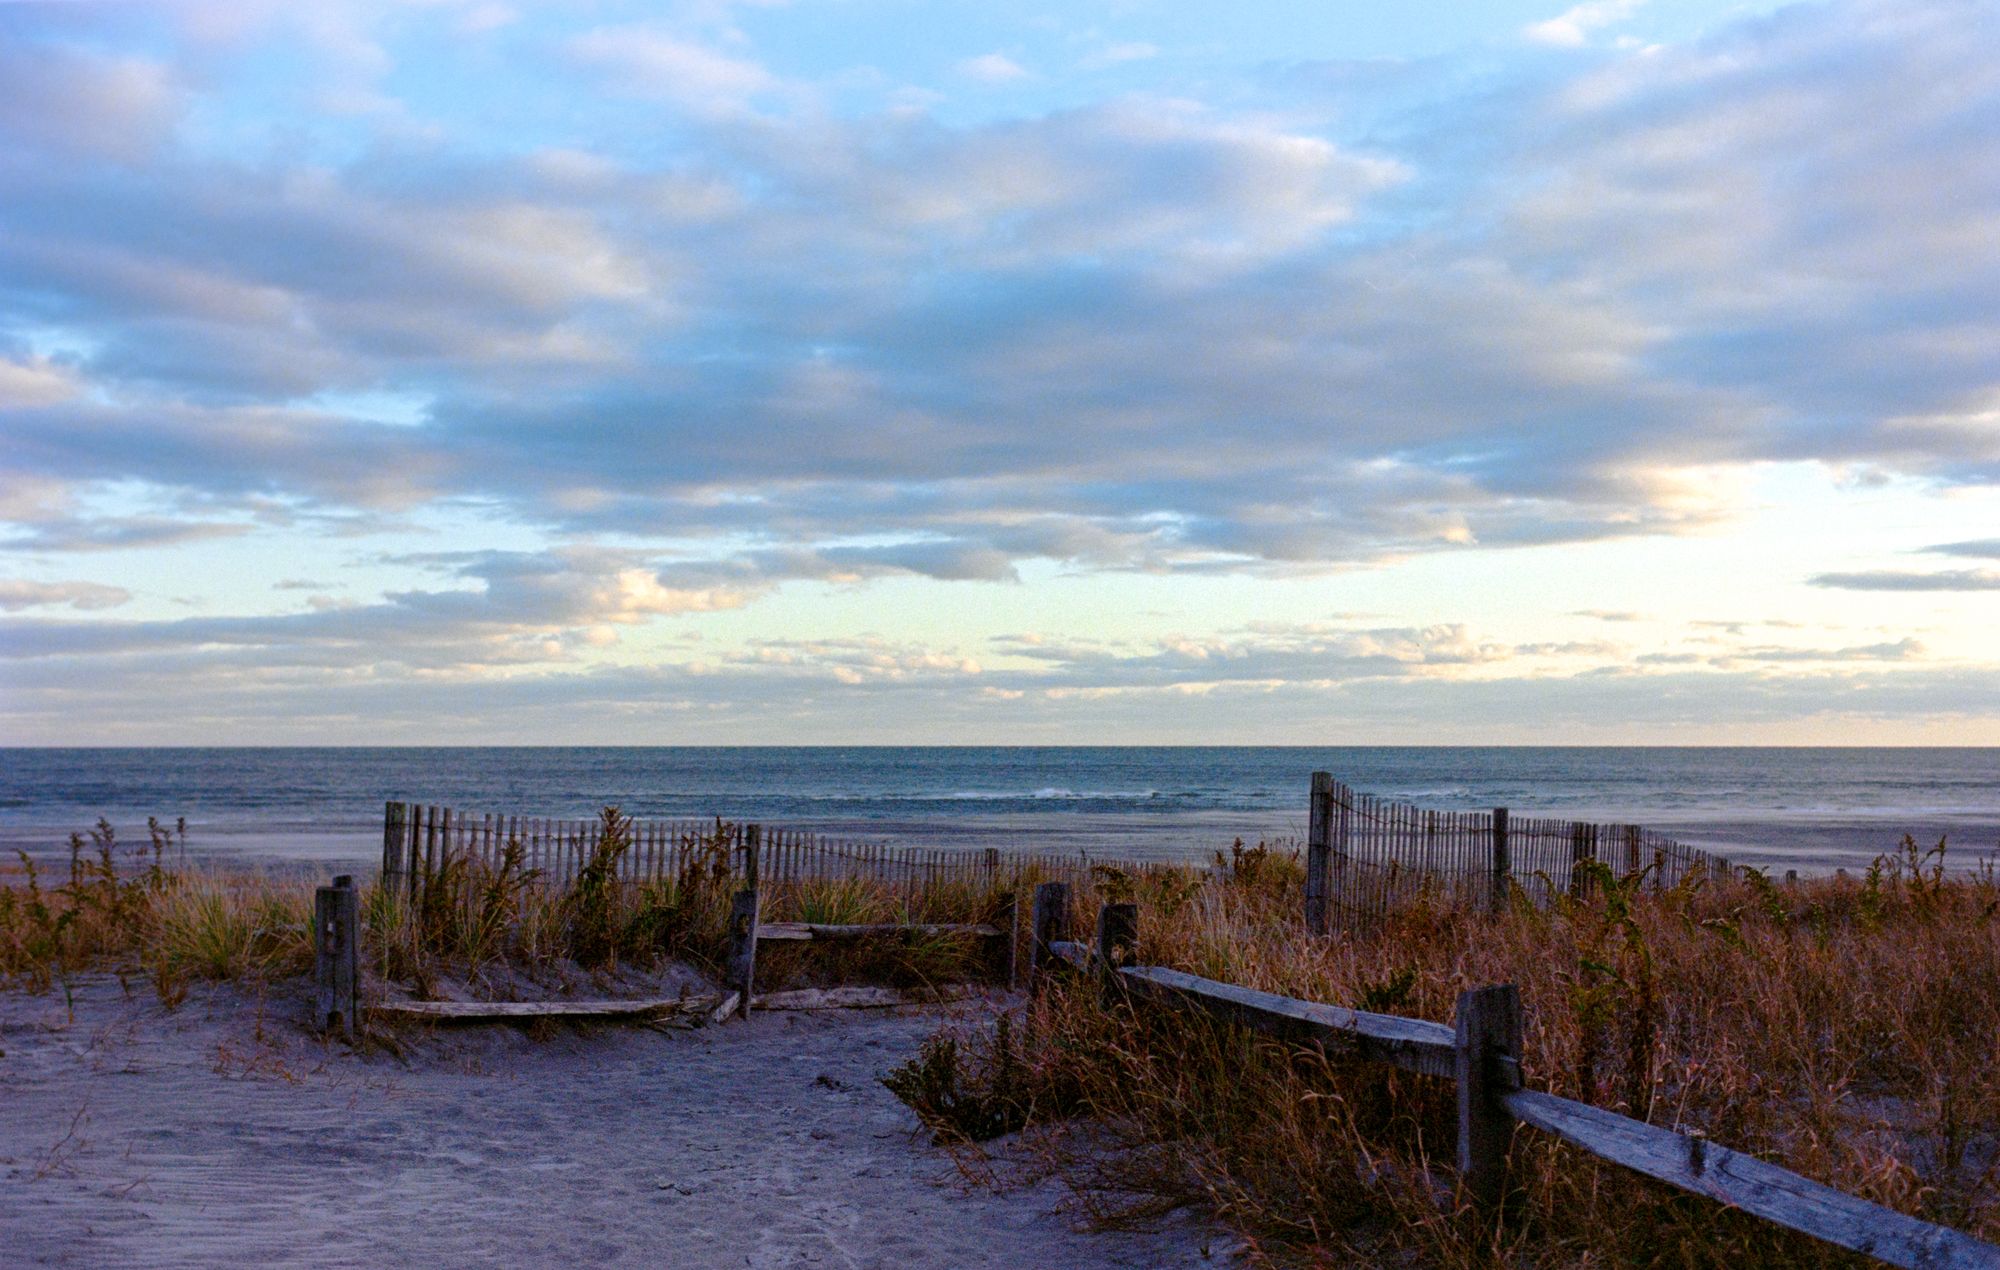
After conquering the world of B&W film development, I wanted to see if I could also tackle color film development at home. I'll be writing about that topic in a separate post, since there are a lot of differences to cover from shooting B&W film. The development process was mostly the same (with different chemicals), but the digitization and processing of the negatives was a much more complicated. I think I'm getting the hang of it though, and here is a sample of one of the pics I took on some Kodak Portra 400. Looking forward to sharing more soon:
Member discussion