
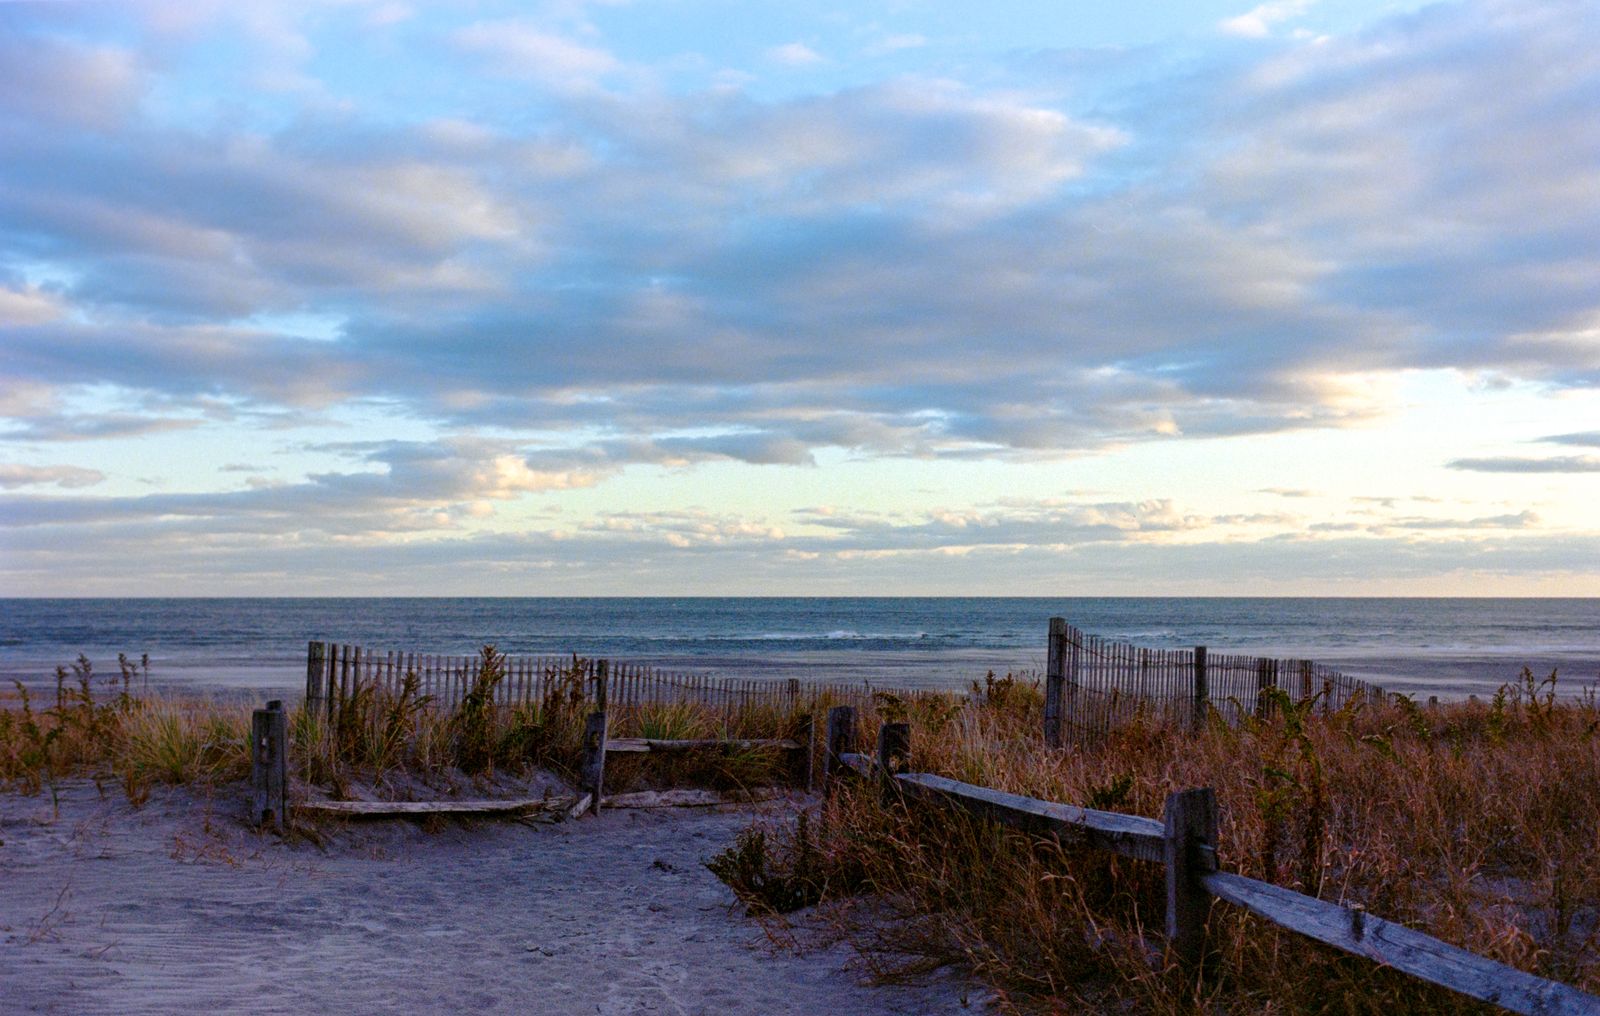
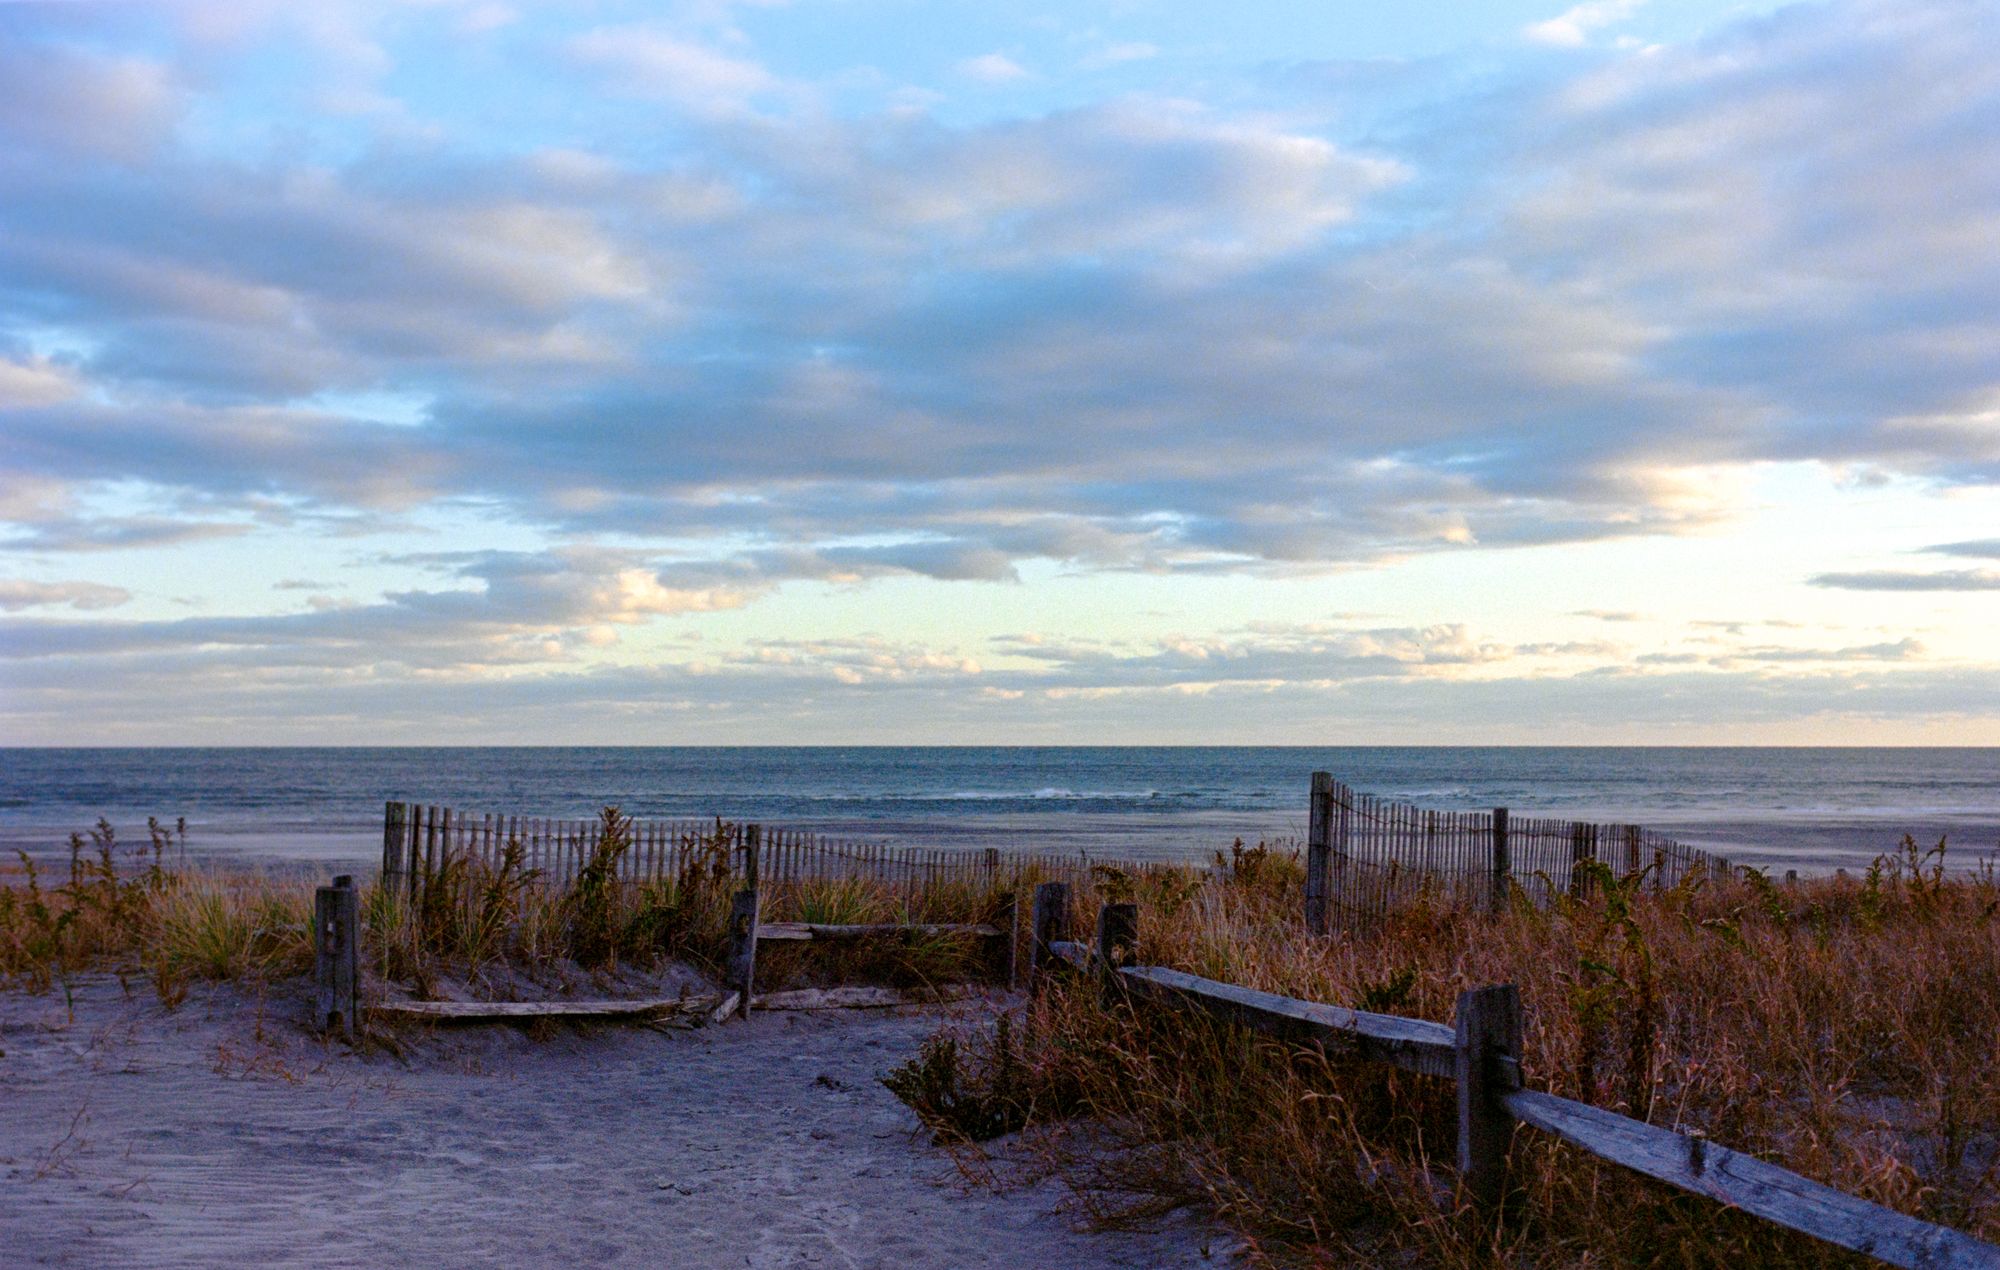
Having taken film photography classes in high school back in the late 90s, I've been exposed (ahem) to developing my own rolls for quite some time. However, I had only ever developed black & white film. There was always some mystique, or presumed danger around attempting to develop color film. Something about the chemicals being toxic, or the process being much less forgiving and difficult. Well, I'd like to dispel some of those false notions for you film enthusiasts out there, and encourage you to try home color development for yourself. It's easier than you've been led to believe.
| Film | Kodak Portra 400 |
|---|---|
| Camera | Nikon N80 |
| Lens | Nikkor 24-70mm f/2.8 G ED |
| Date | November 26, 2021 |
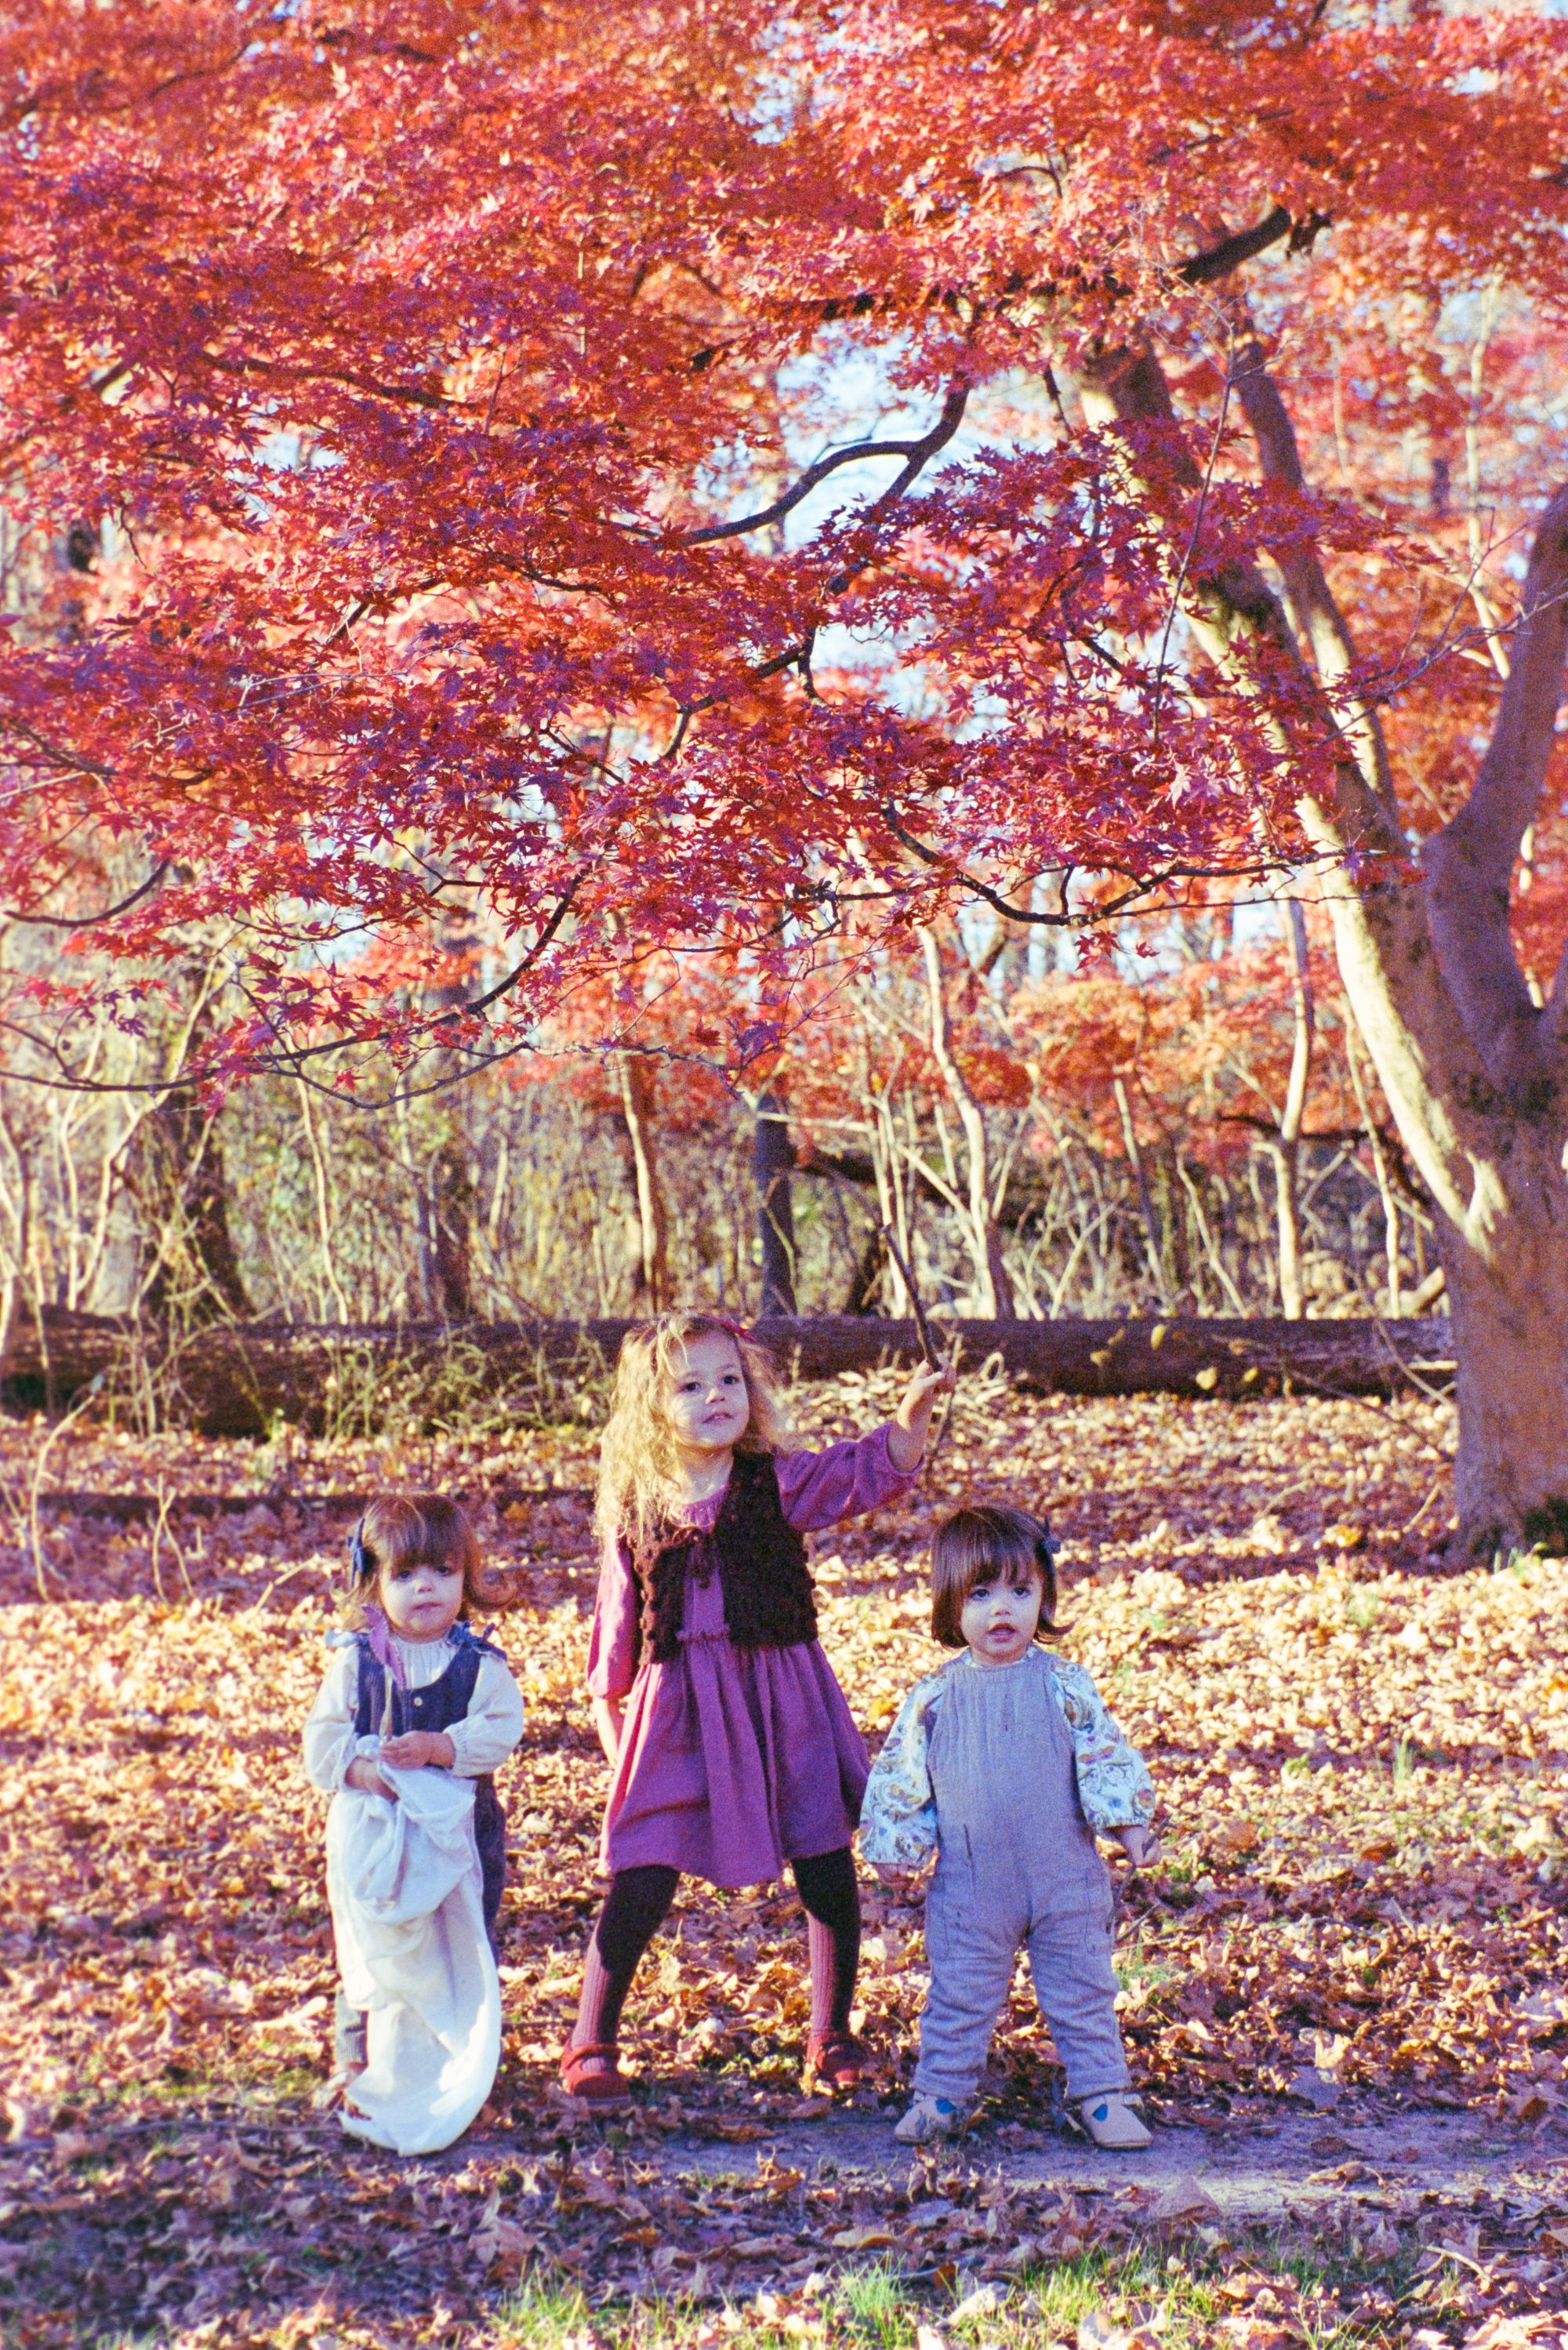
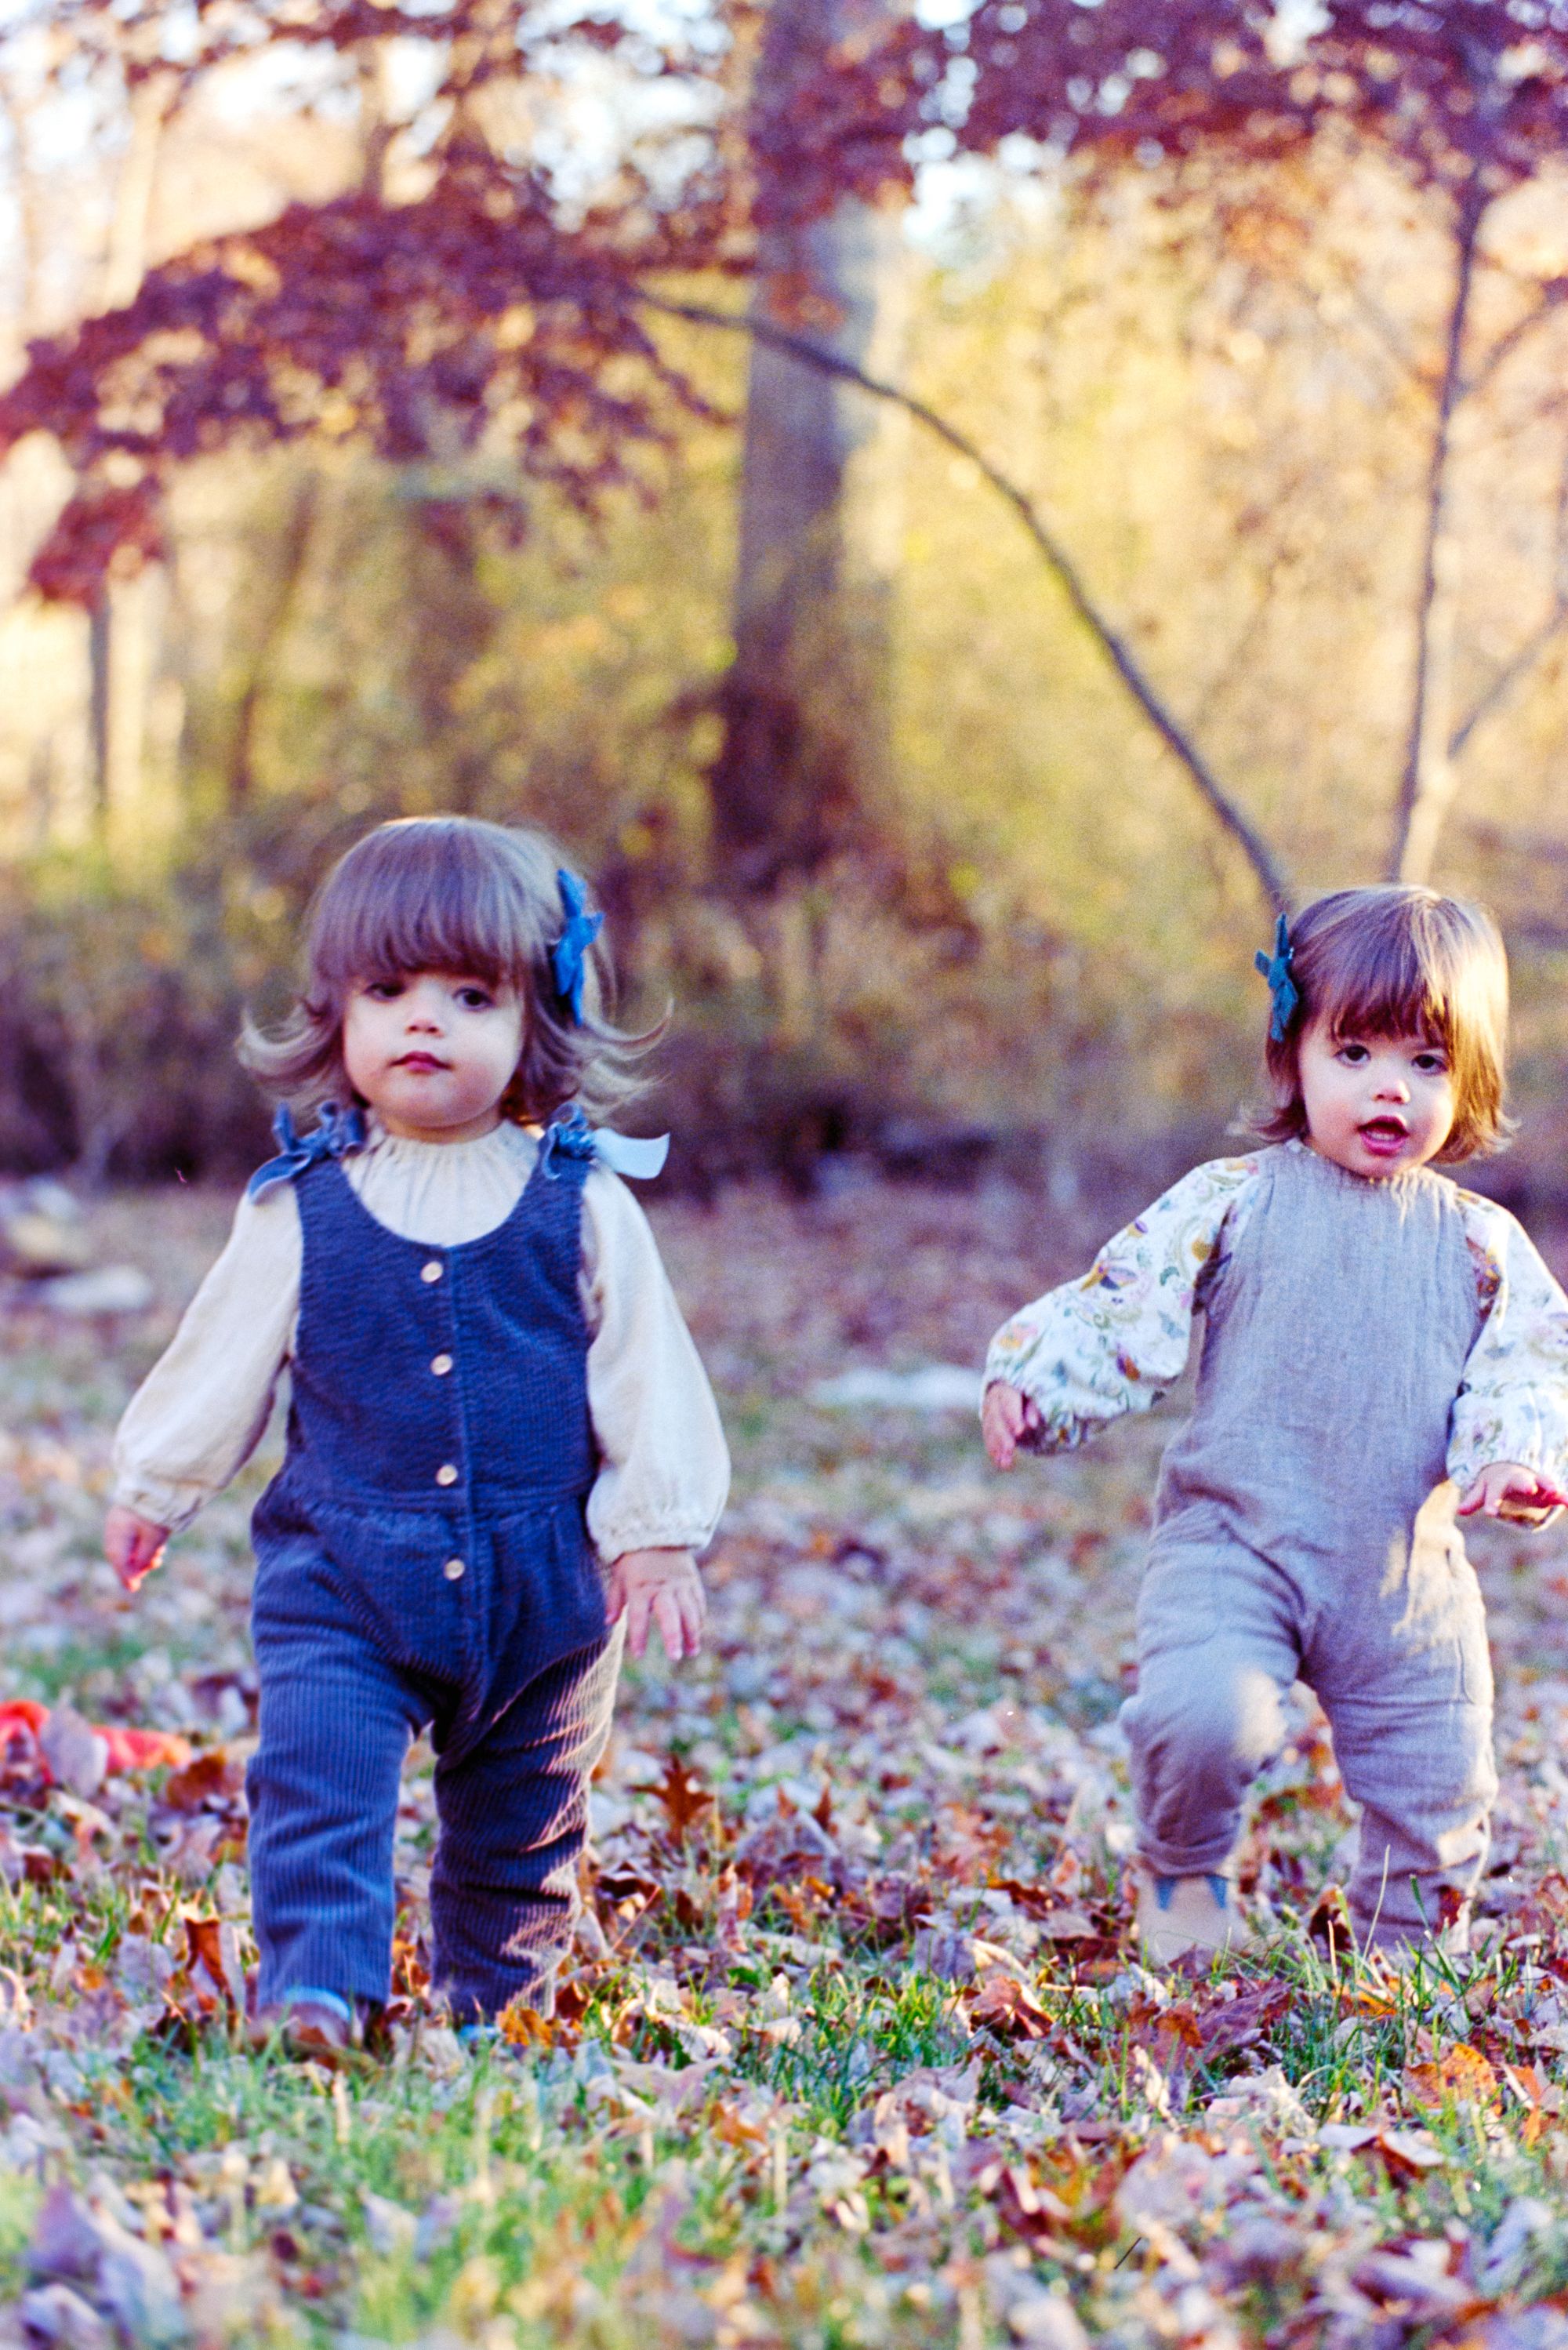
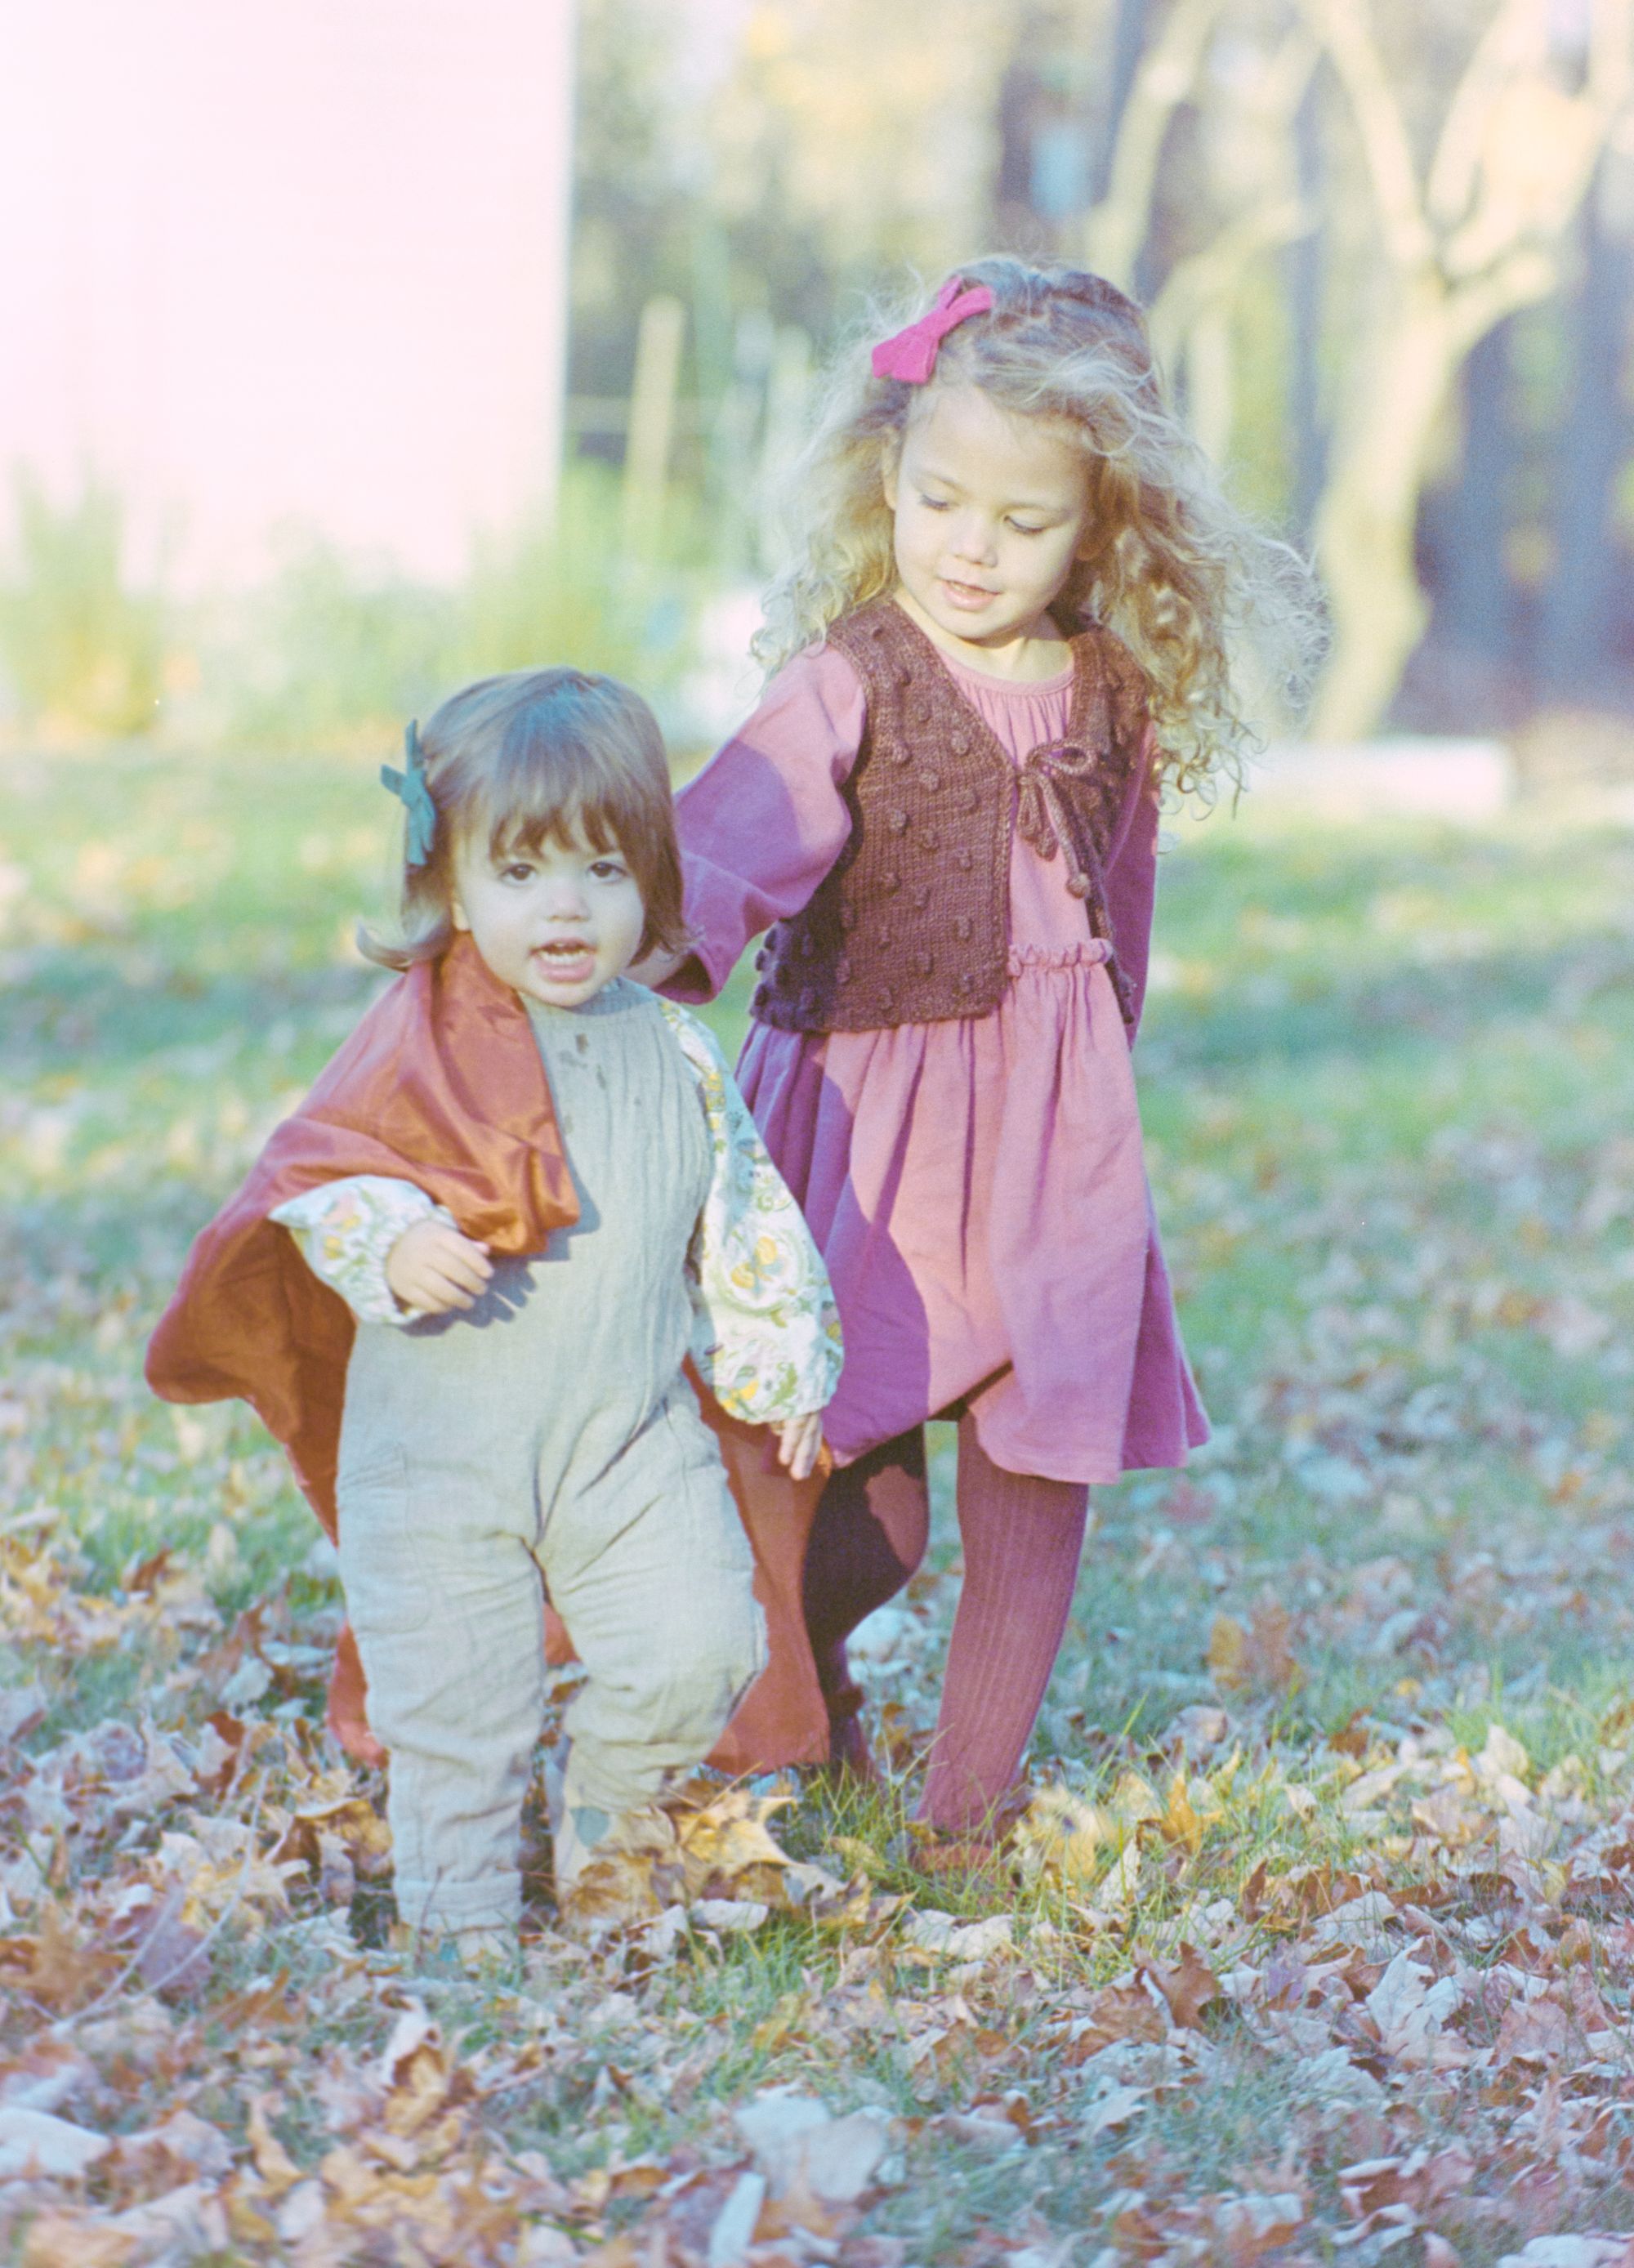
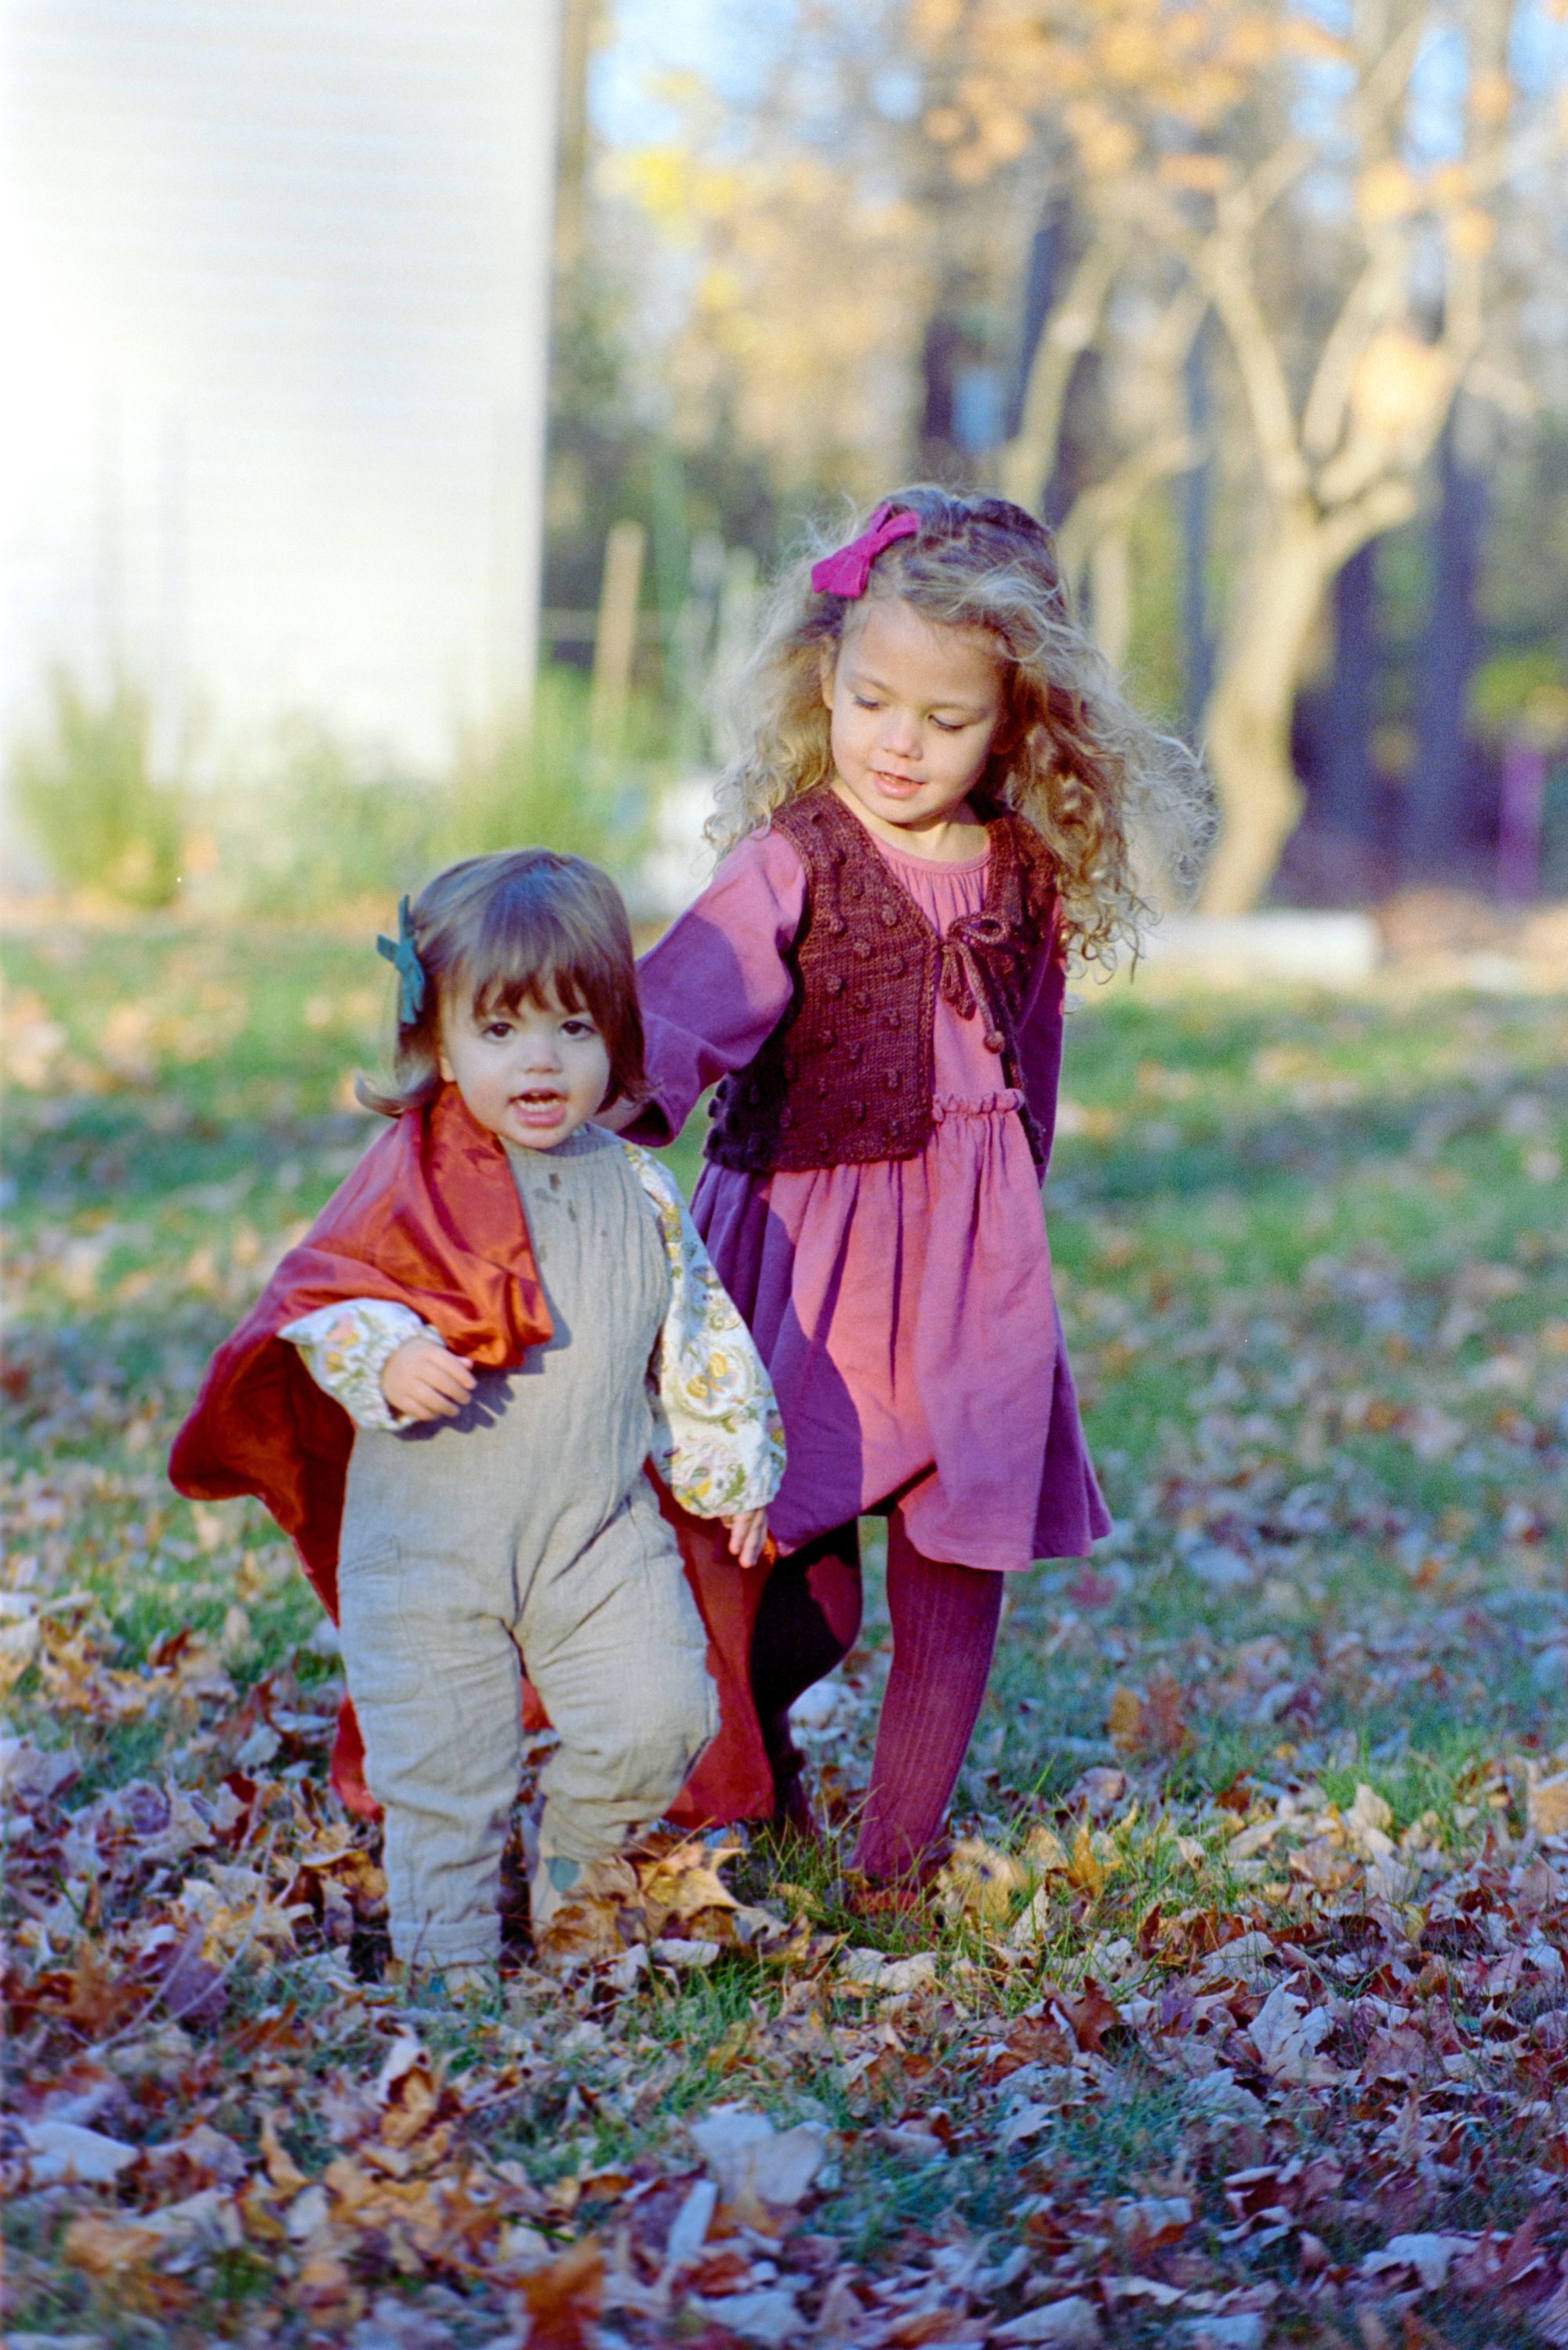
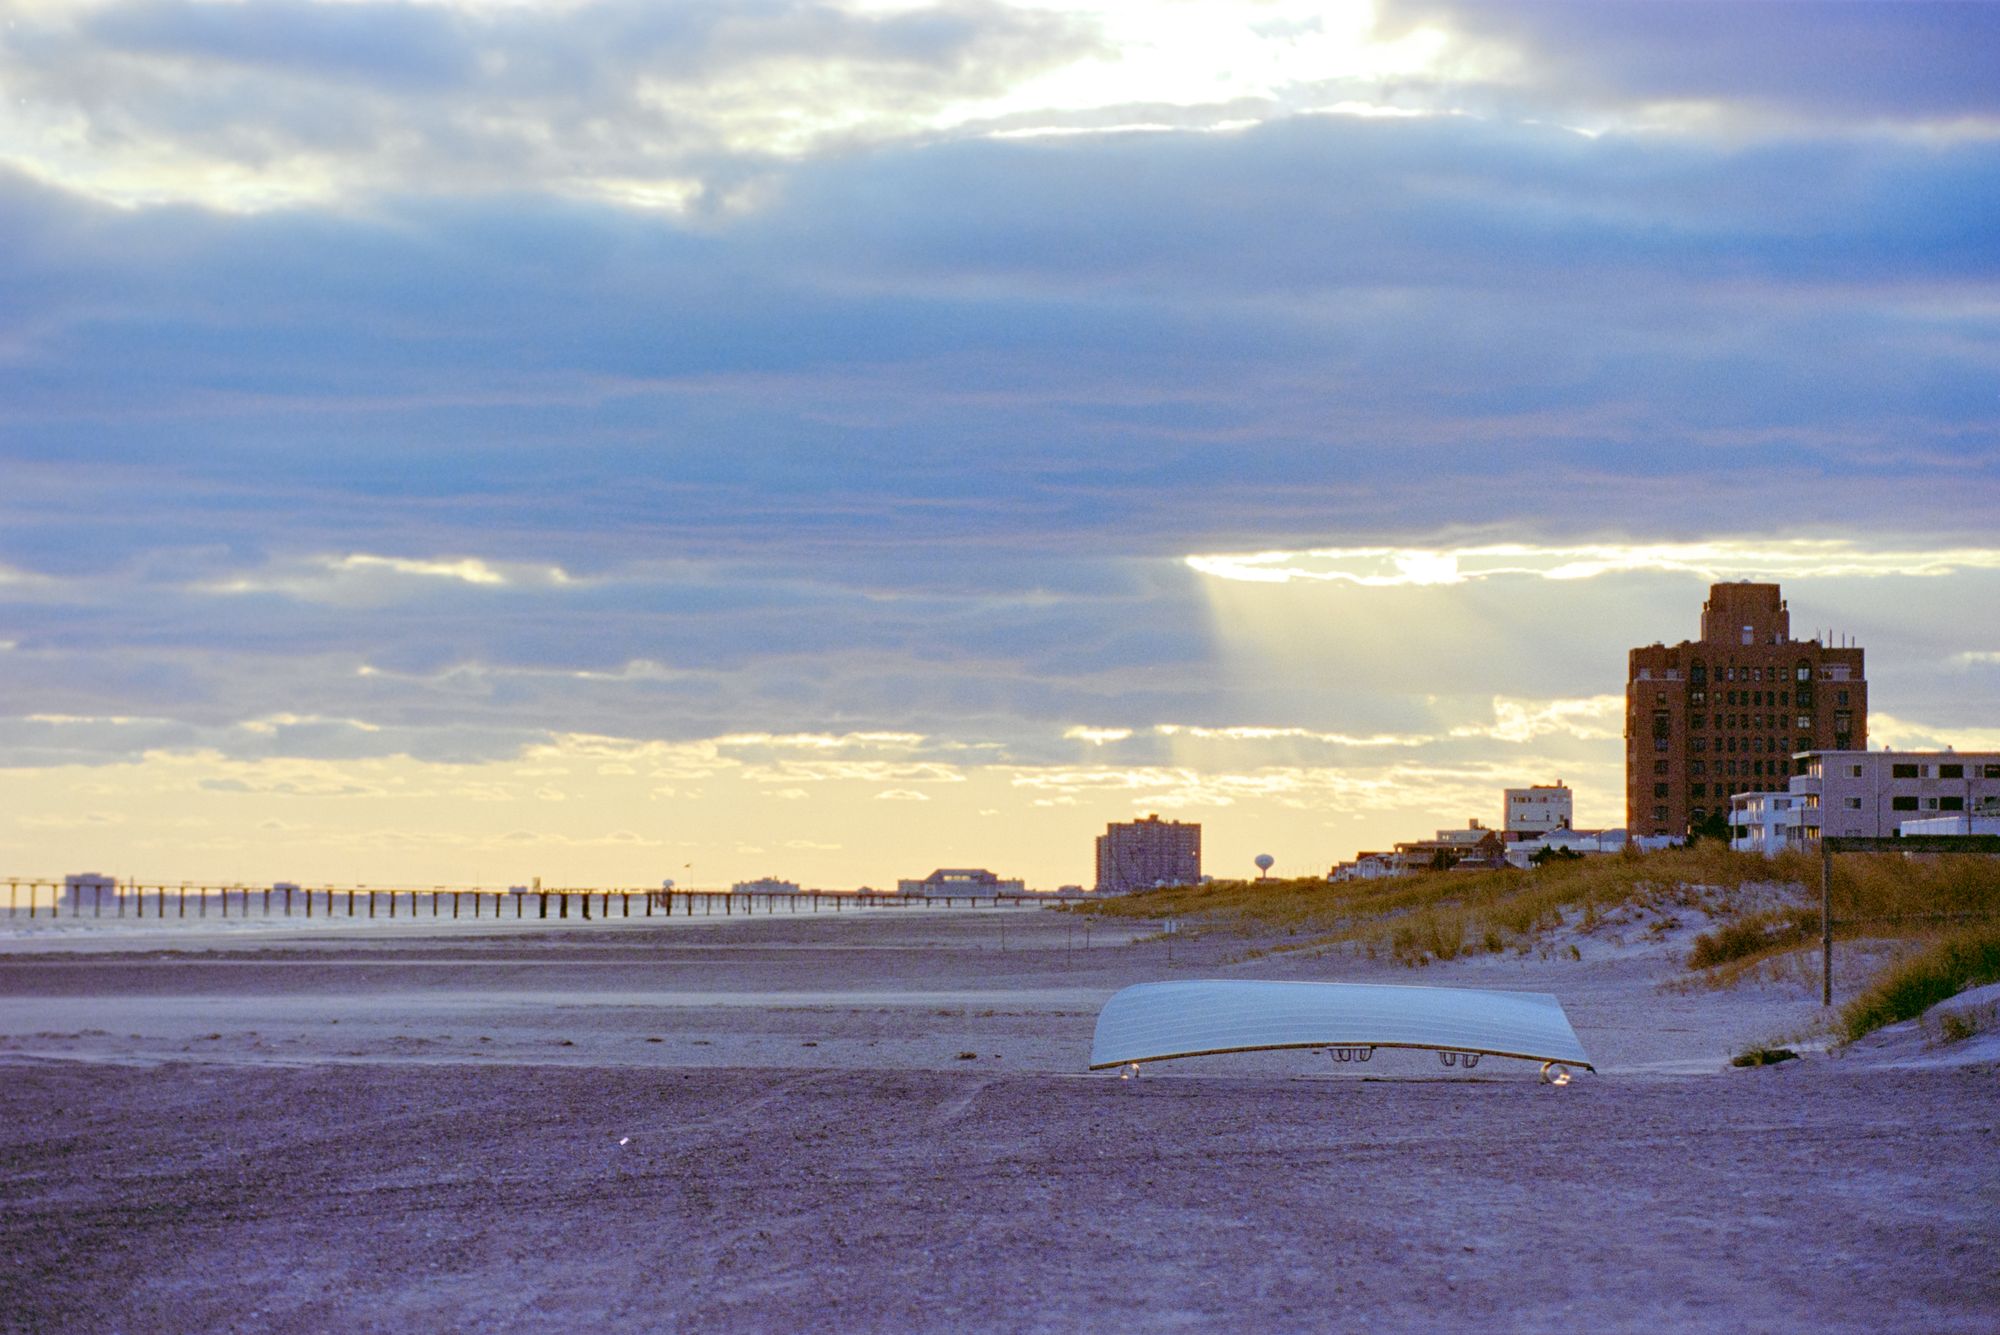
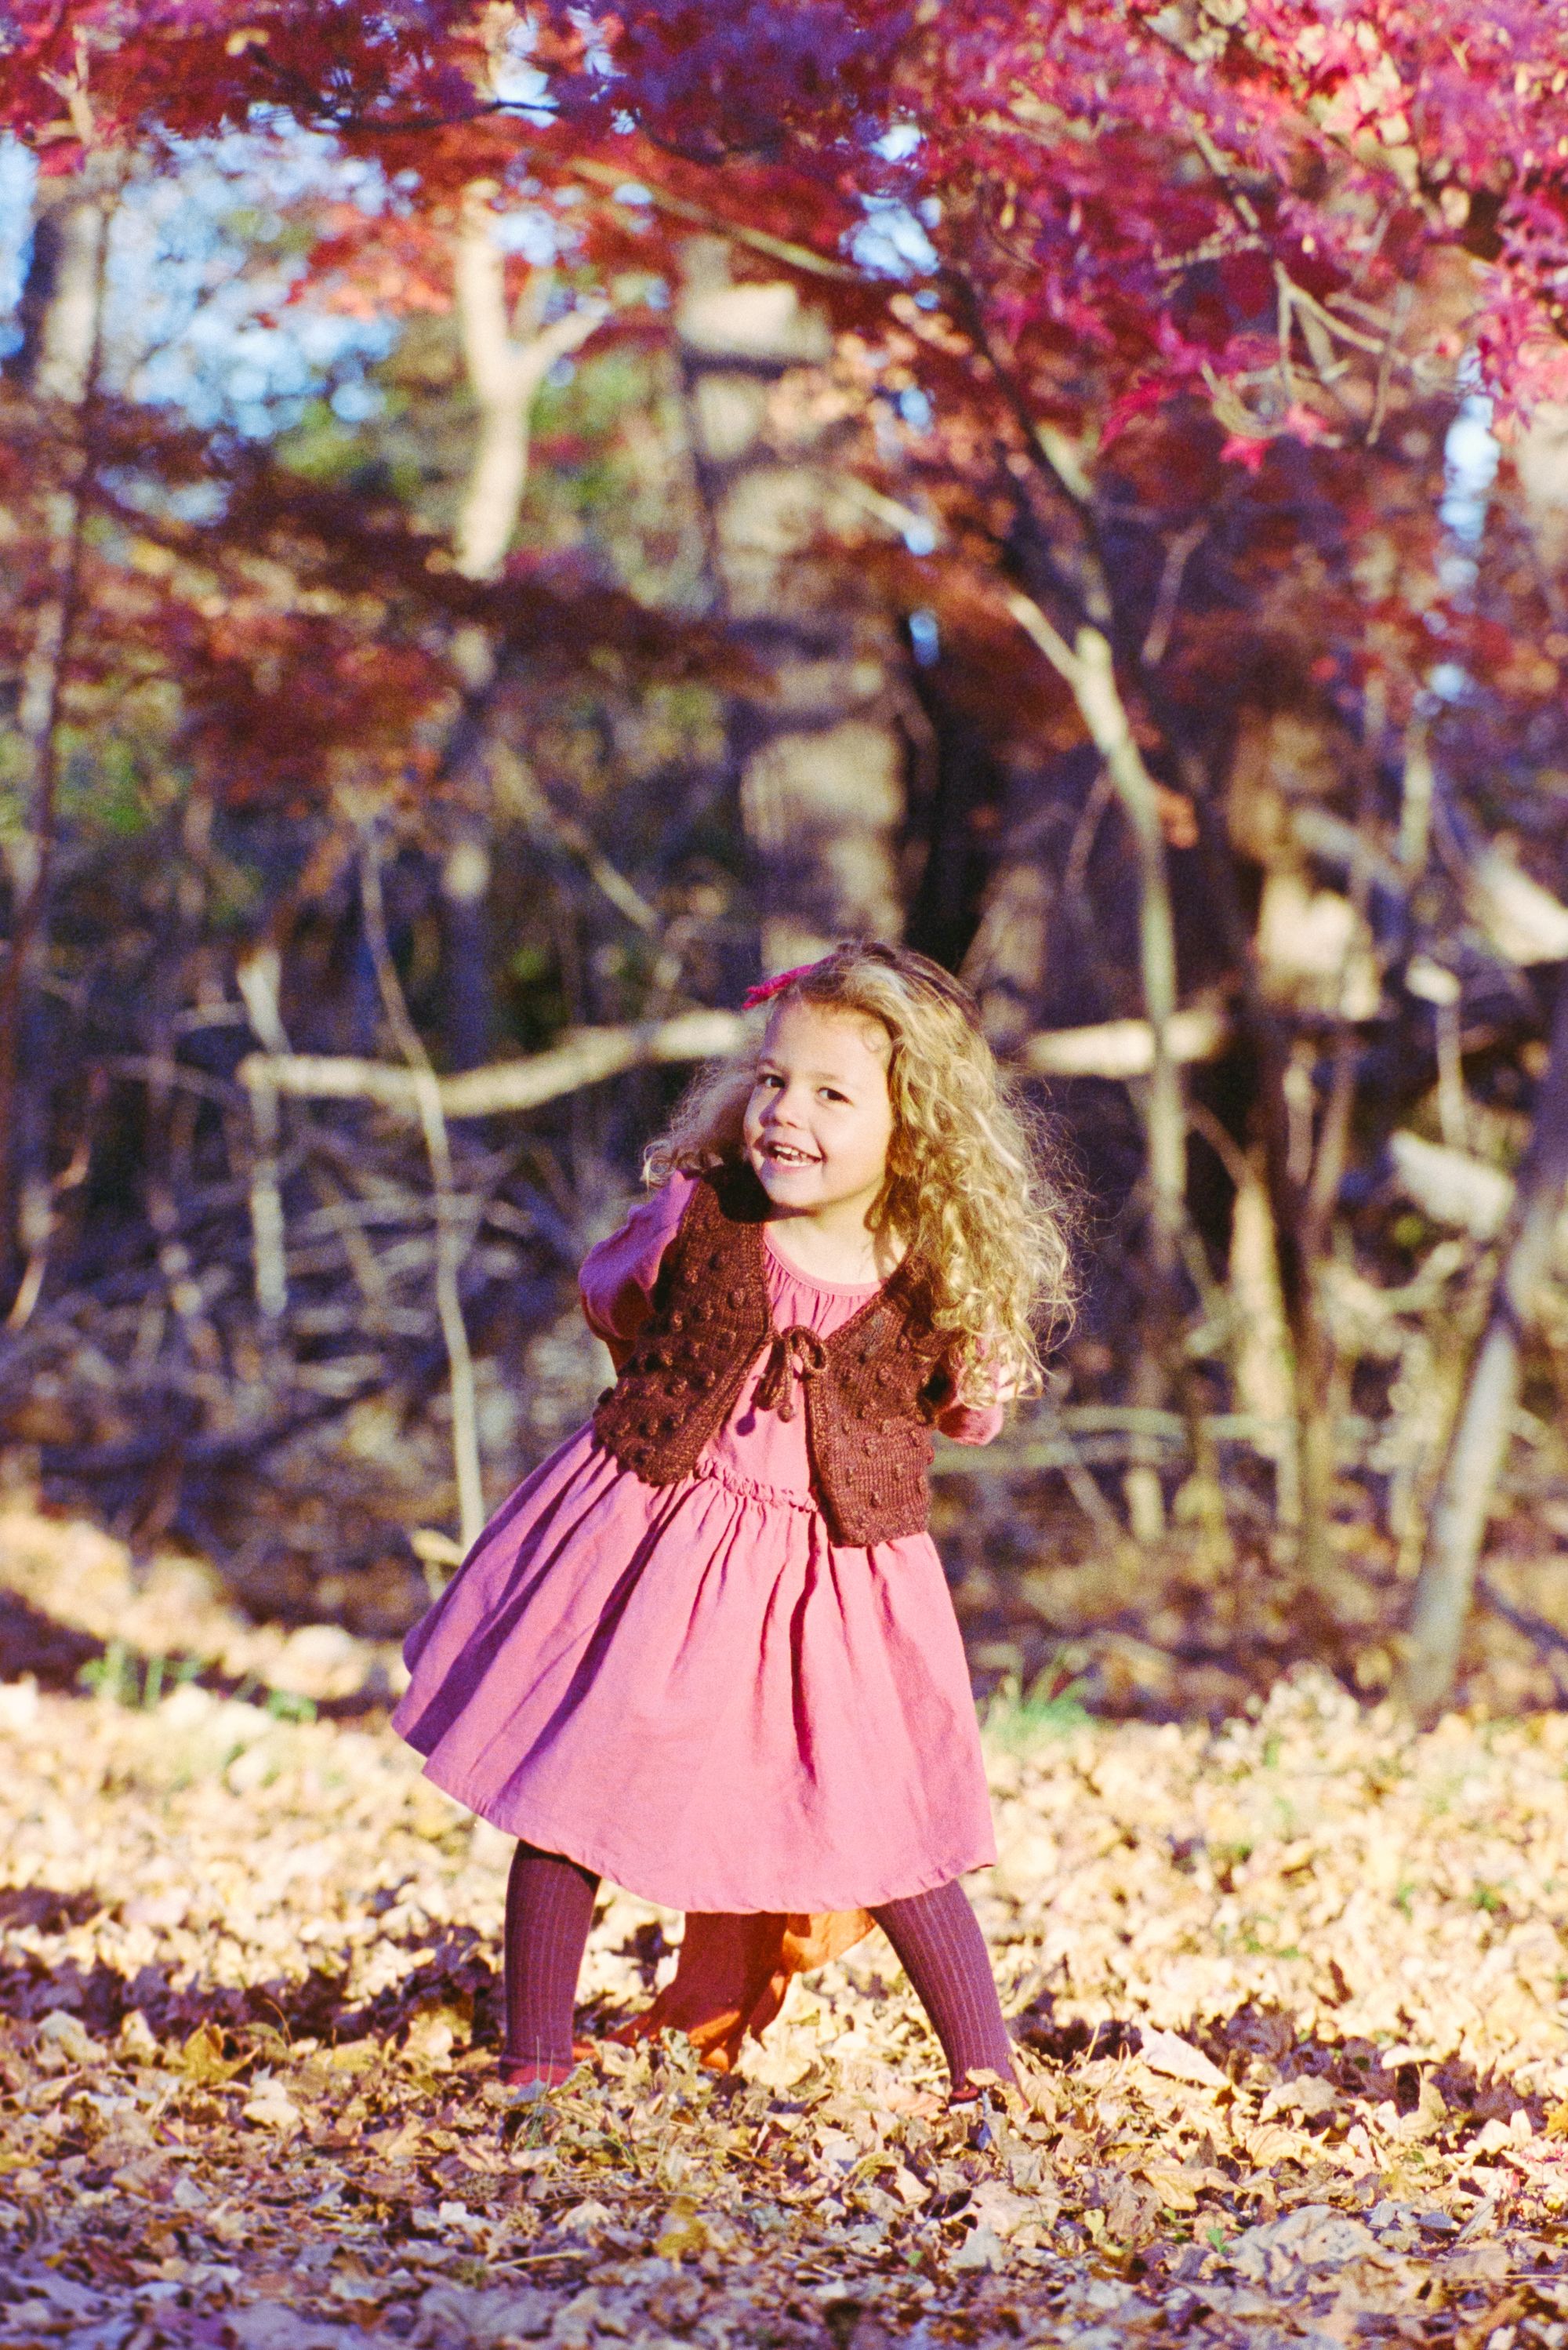
Given my recent success with Black & White home development, I decided to try my hand at color film photography as well. I picked up a role of Kodak Portra 400, which is one of the more popular color negative films on the market. My wife and I had decided that we wanted to send out our holiday cards this past year using film photos to give the cards a bit more of a hand crafted touch - and to be the most hipster on the block. We figured that bright Fall colors of our wooded backyard would provide the perfect backdrop for taking pictures of our 3 children, and would also be an opportunity to showcase the unique characteristic attributes of 35mm film.
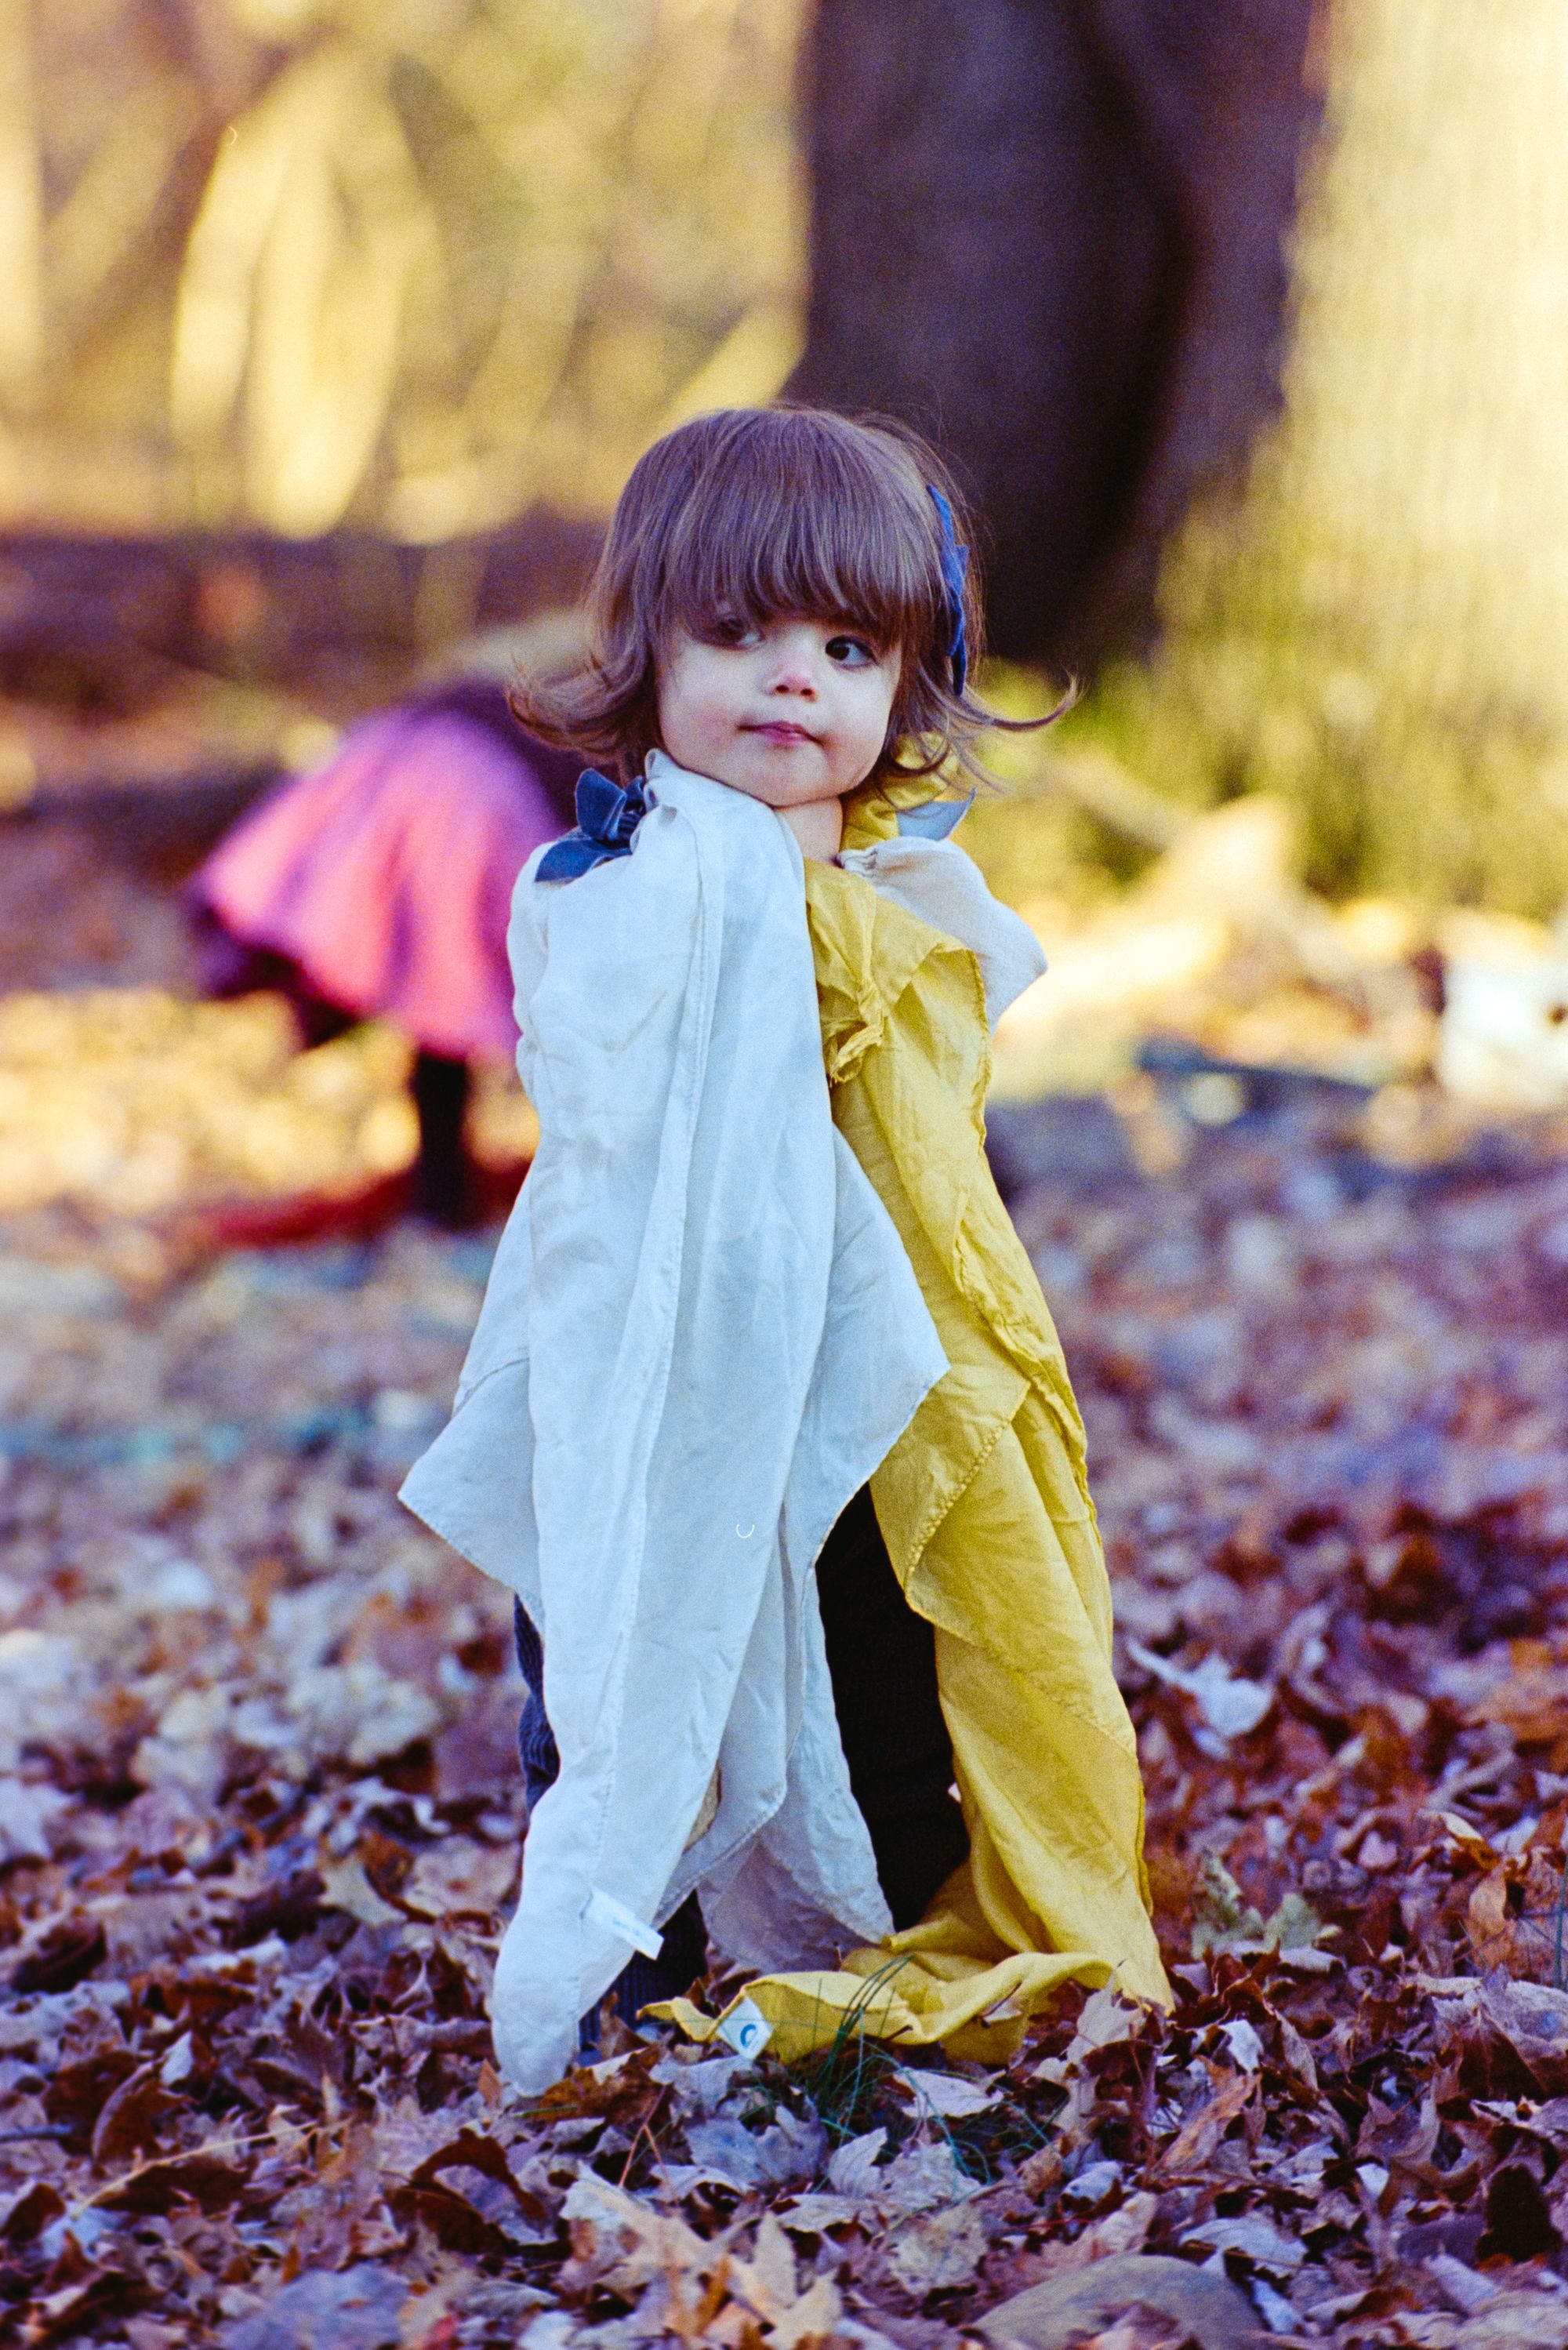

| Film | Kodak Portra 400 |
|---|---|
| Camera | Nikon N80 |
| Lens | Nikkor 24-70mm f/2.8 G ED |
Some observations that I made during the shoot - with the difficulties in capturing photos of children being well known, the issues are magnified with knowing that you just have ~36 shots in the can to capture the moment. With digital cameras, my strategy for photographing children is typically to set the 3D-tracking on, and just spray and pray.
"Something in that 40 round burst has to be good, right??"
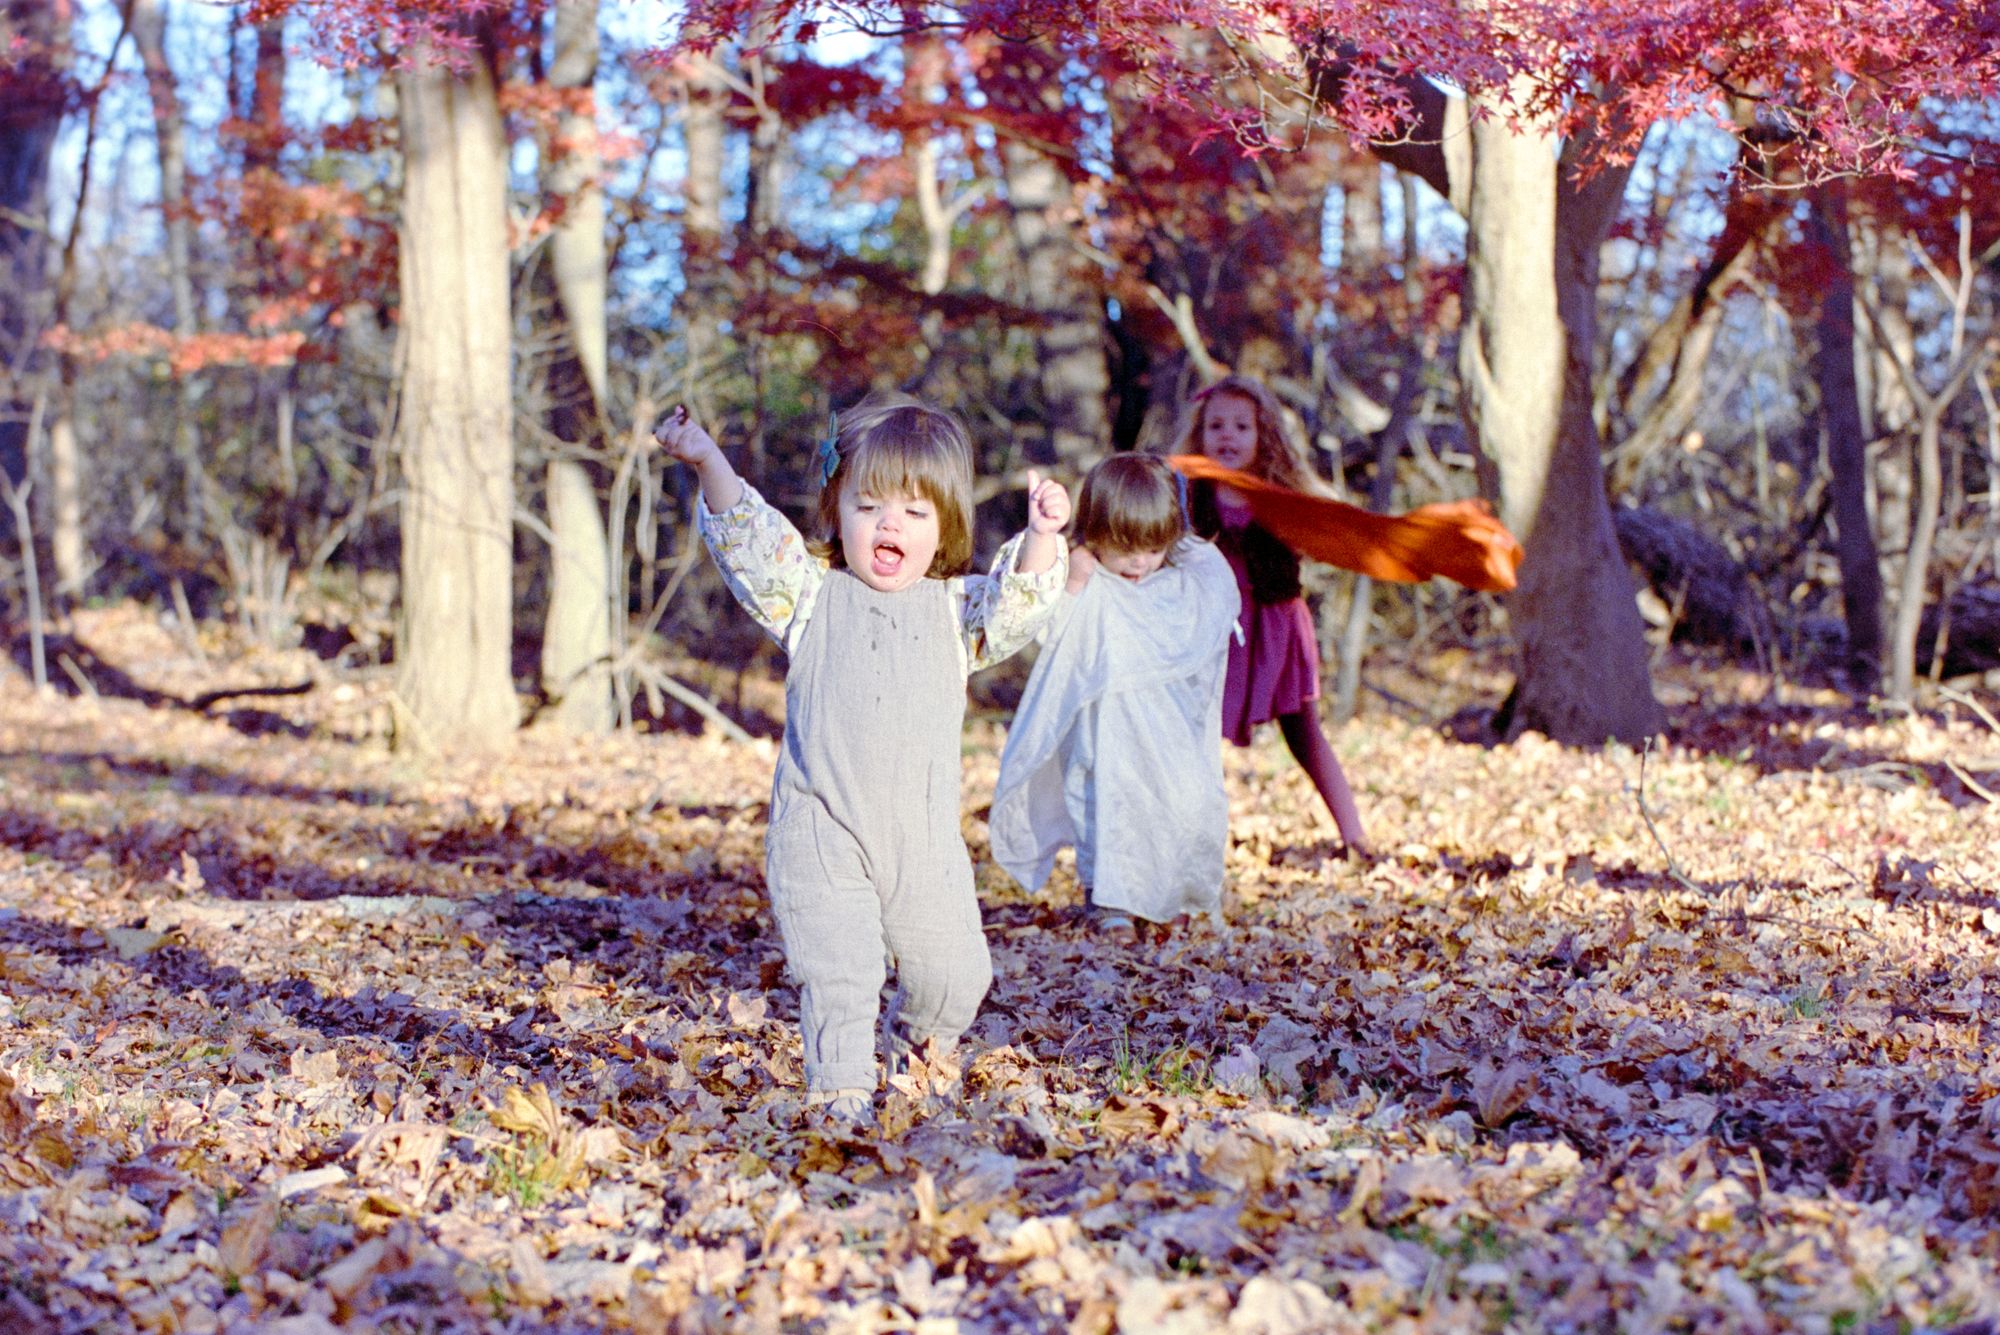
While it is true that you will likely capture some more "perfect" moments on digital with a continuous shutter, there's no denying the character that the film imparts, and the extra care you take with each shutter press.
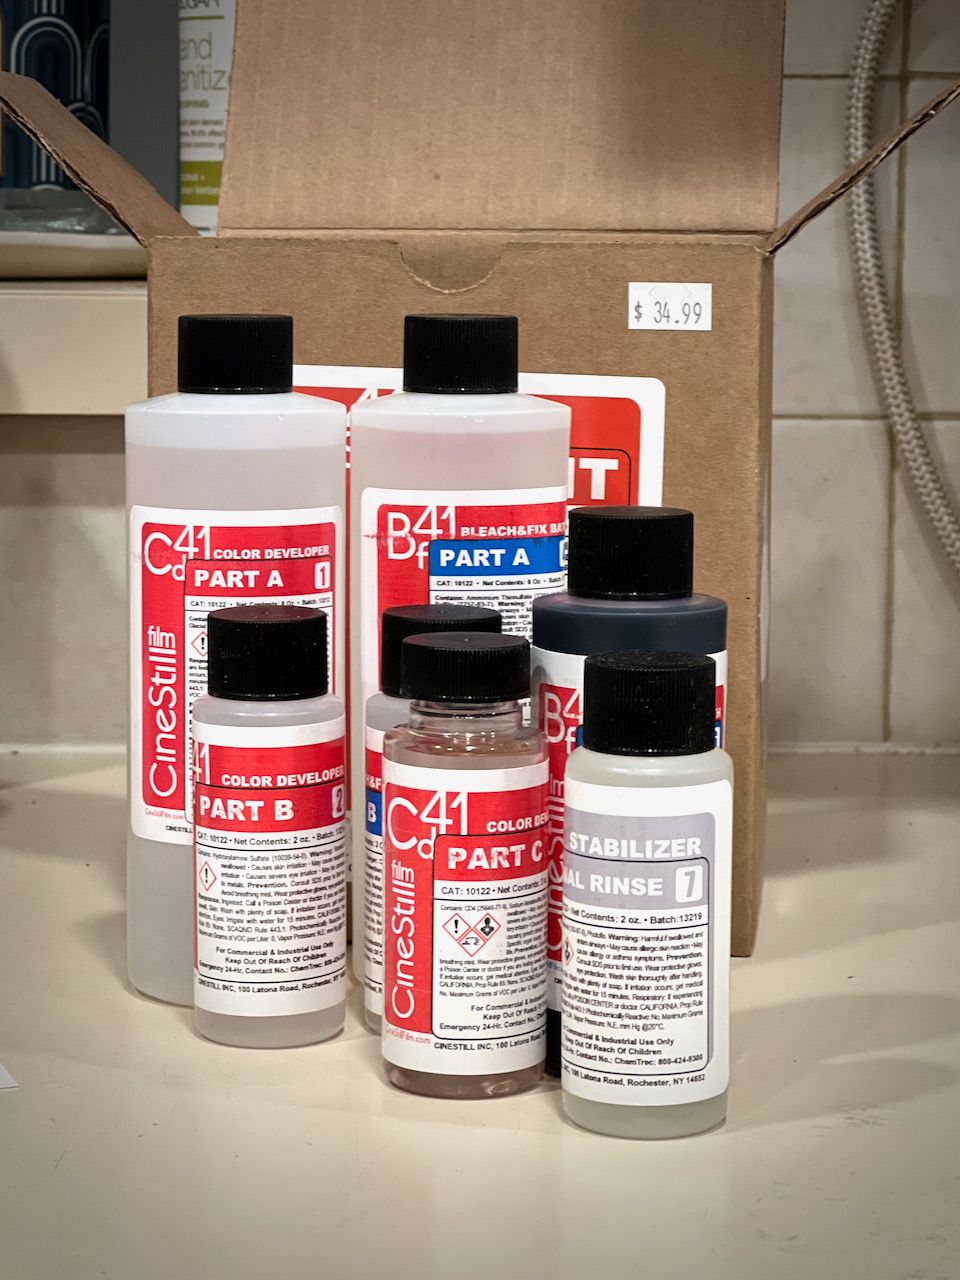
The initial process of removing the color film from the canister remains exactly the same as in B&W film. You get yourself a changing bag or a dark room completely devoid of light, you pop the top on the spent film canister, and your transfer the undeveloped film into a developing tank. Where the process differs is the chemicals you use, and the temperatures that you need to develop the film at. Otherwise, it's all literally the same. No mystery, no tricks - perhaps some more toxic substances - but I wasn't planning on drinking B&W development chemicals anyway. I used the CS-C41 development kit, and followed the instructions exactly. To warm the chemicals up to the temperatures recommended by the manufacturer, I placed the chemical bottles into a sous vide bath for ~15 minutes, but I'm certain that just using a thermometer with some hot water will do the trick just fine.
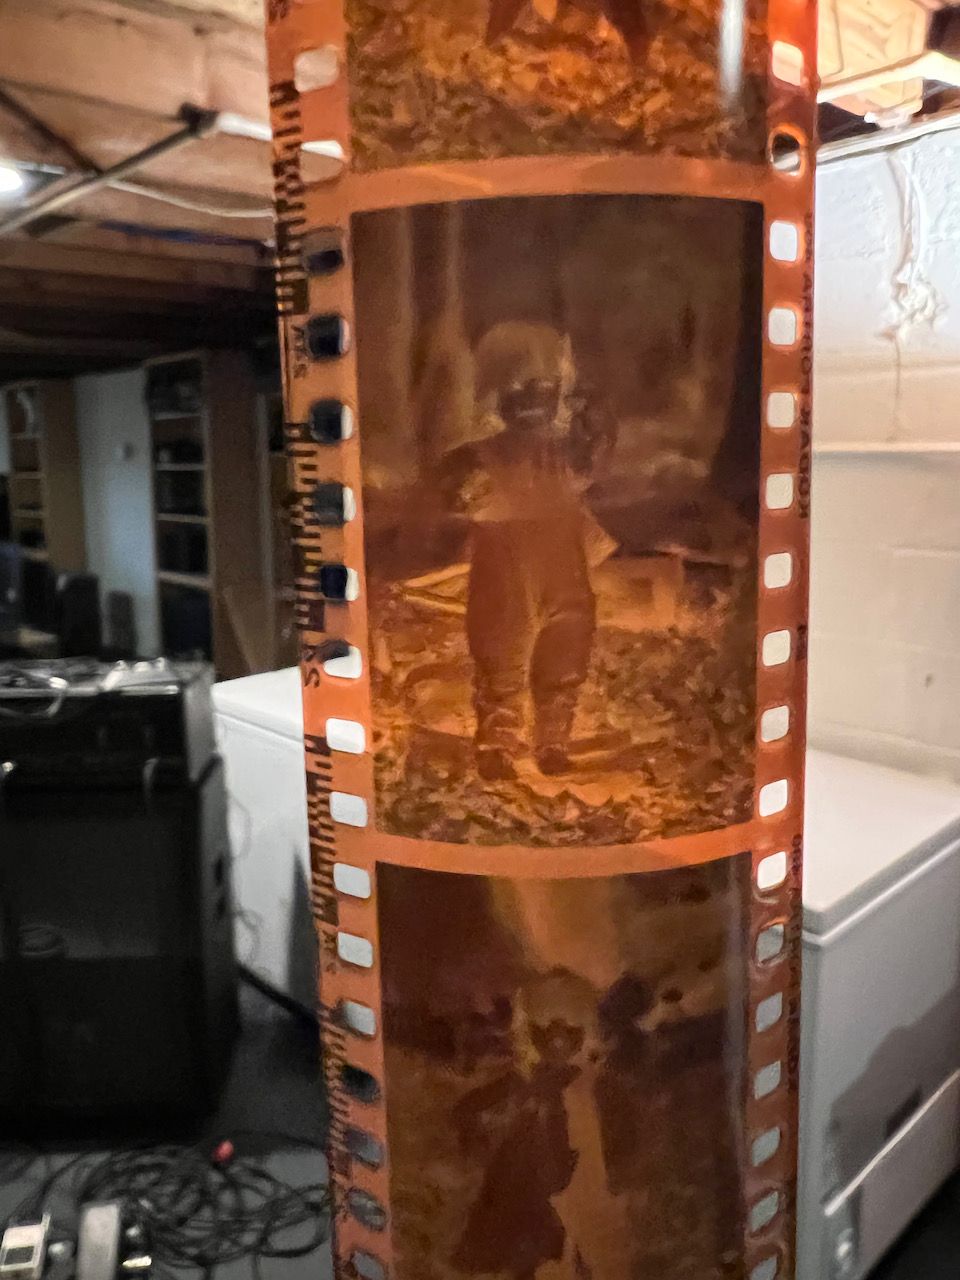
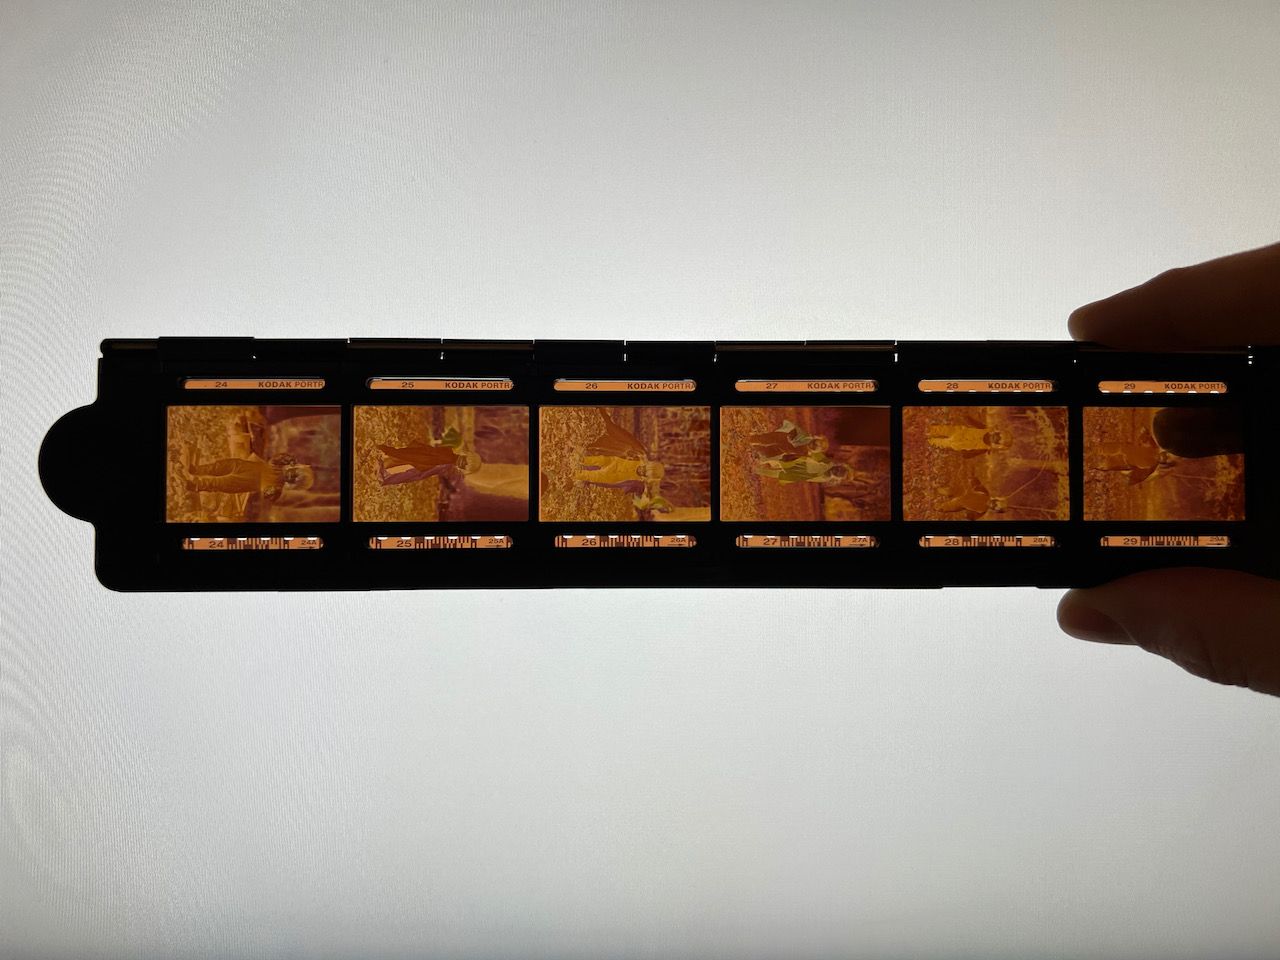
The tricky part, for me, was in the digitization and processing of the color negatives.
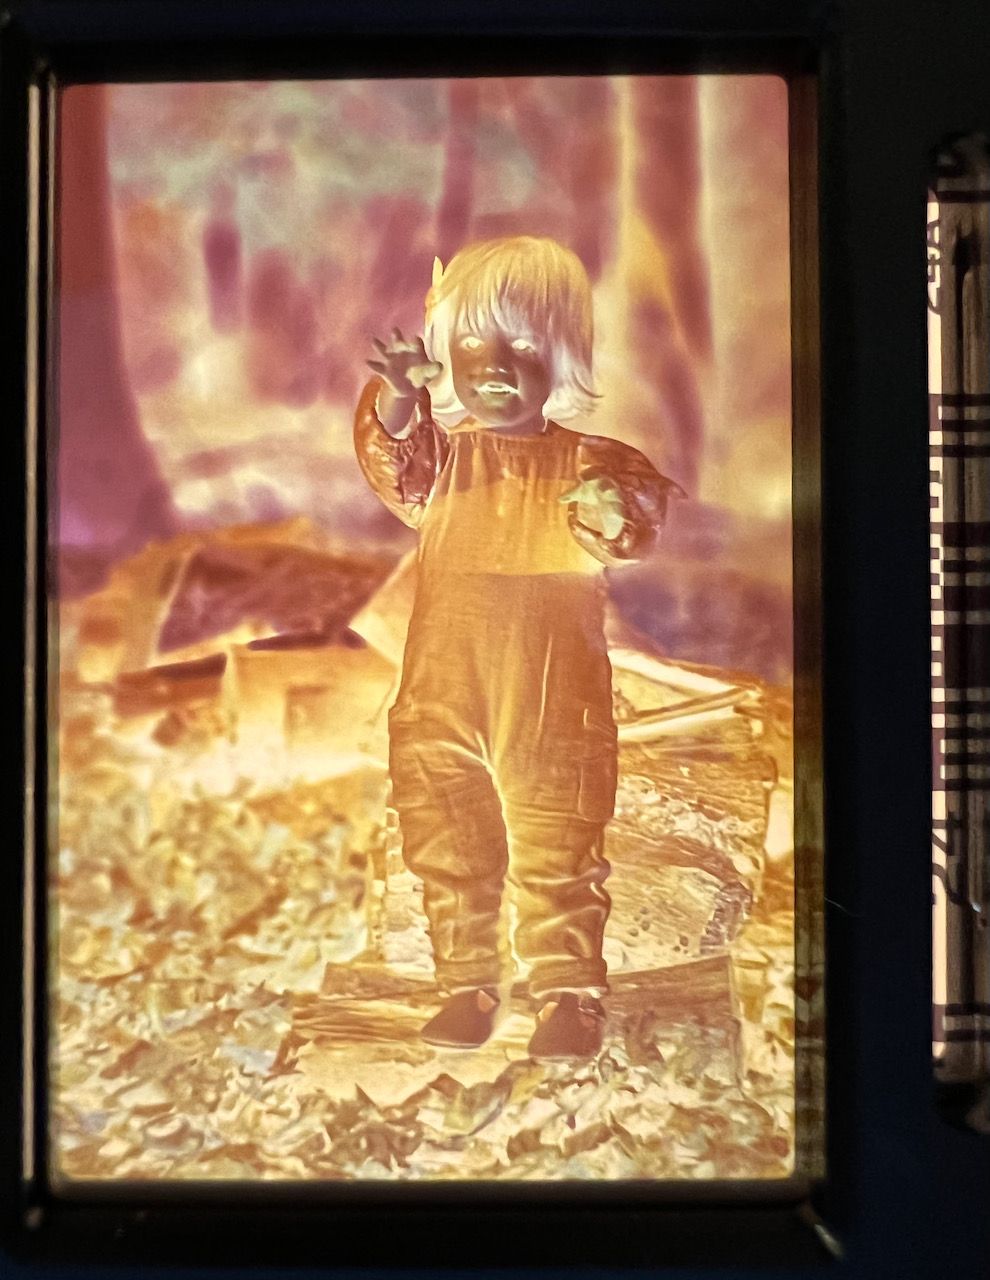
Just like with my Black & White negatives digitization, I used the Nikon ES2 Film Digitizer to scan my negatives with my D800. This is a great place to start, as you are provided 36MP high resolution scans of your negatives. Where I got tripped up however, was in processing the digital negative. As you can see in my early results in the photo above and to the left, my colors were washed out, and had me wondering whether I had developed the film incorrectly. A friend of mine pointed me at an excellent tutorial from Alex Burke Photography.
 Alex Burke
Not to rehash the article above here, but there is an initial step that I was missing where I needed to screen out the "orange" cast of the color negative. Basically, a step where you use a substractive layer over your digital negative, using the color of the film negative itself. From there, processing the film to taste becomes more more manageable. The article above is an excellent tutorial in how to do this in photoshop. There are also some excellent plugins available in Lightroom:
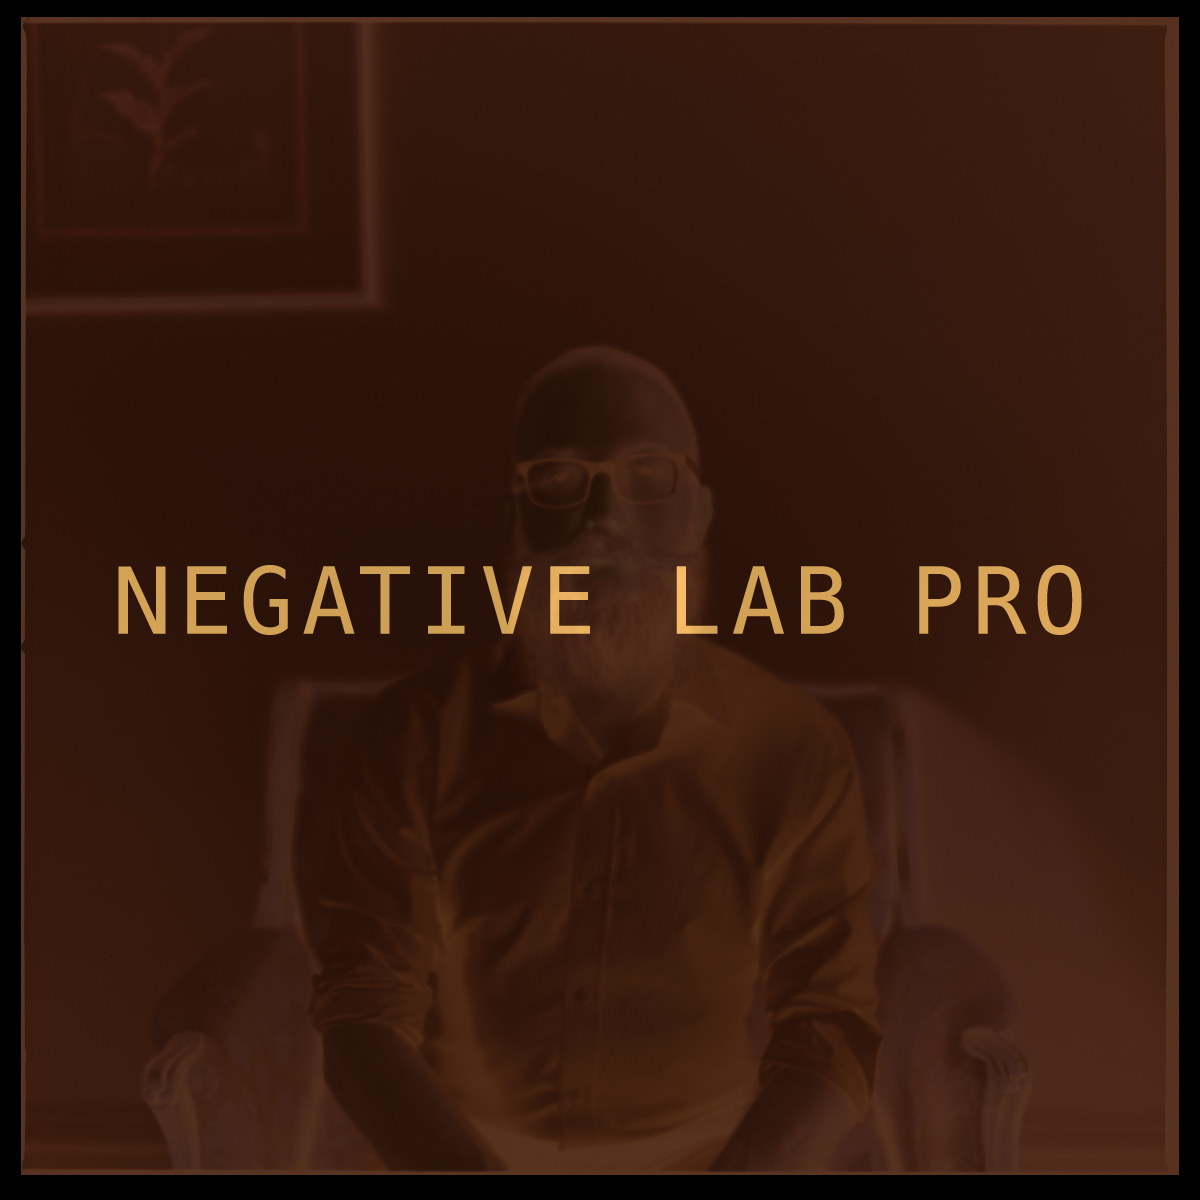
Negative Lab Pro requires a license that is a bit pricey, but saves you a tremendous amount of time over the Photoshop method of a subtractive color layer. If you will be processing a number of color or black & white negatives, I recommend using a trial license to see if you like it. You can export 12 pictures using the trial, to get a feel of the plugin.
I did notice that the Portra 400 film was much less forgiving for underexposed photos. After reading a bit more online, film photographers lean toward overexposing a stop, rather than under, as you would traditionally do with a modern DSLR. The digital cameras these days can easily recover details in shadows, so it makes sense to expose for things like the sky or bright lights as to not get blown out highlights. However, the color in shadows in film are much harder to get "right" when you are trying to process the photo in a digital workflow. The next roll I shoot, I'll definitely look to overexpose, or at least expose for shadows, in order to capture the most amount of color. Since I doubt that I'll be shooting color indoors again, I'll likely opt for a lower ISO film as well, to see if I can get some better results. Looking forward to next time however, and I hope to see more of you shooting color film and attempting to develop it yourselves as well. Please reach out to share your experience!
Member discussion